Zum Hauptinhalt wechseln

Samsung Galaxy Tab 7.0 Front Panel Replacement

Hinweis: Du bearbeitest eine grundständige Anleitung. Alle Änderungen, die du vornimmst, betreffen alle 4 Anleitungen, die diese beinhalten.

Englisch
Deutsch
Schritt 6
Samsung Galaxy Tab 7.0 Front Panel Replacement: Schritt 0, Bild 1 von 3 Samsung Galaxy Tab 7.0 Front Panel Replacement: Schritt 0, Bild 2 von 3 Samsung Galaxy Tab 7.0 Front Panel Replacement: Schritt 0, Bild 3 von 3
  • Be careful when approaching the top left corner of the Galaxy Tab. Be sure to follow the next step carefully.

  • When separating the front panel from the top left corner of the Galaxy Tab, be careful not to rip the microphone ribbon cable (highlighted in red in the first picture). It is extremely thin and easy to tear.

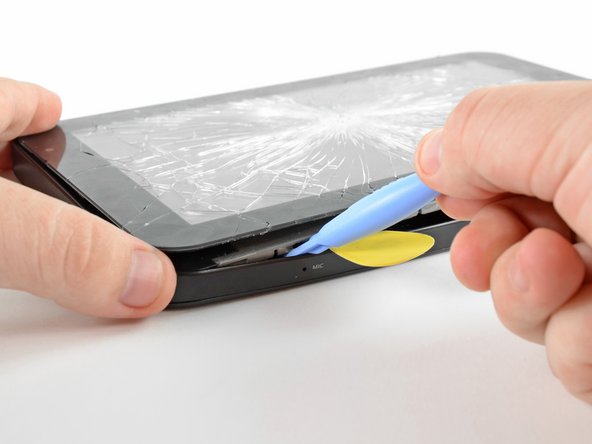
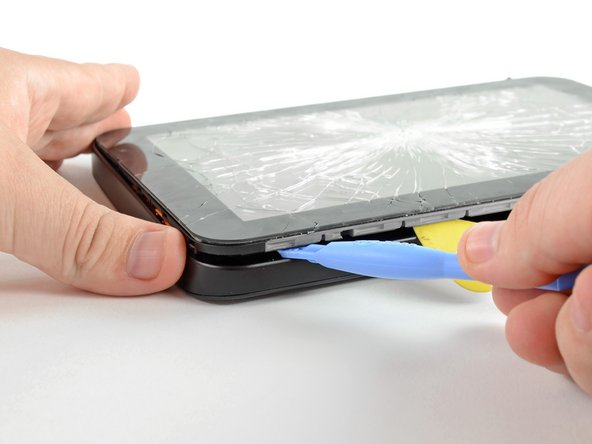
  • Insert a plastic opening tool into the gap next to the left side of the guitar pick.

  • Make sure to wedge it underneath the inner framework to gain the most leverage when releasing the clips.

  • Simultaneously lift upwards and run the plastic opening tool along the top left corner of the Galaxy Tab to free the Front Panel Assembly from the retaining clips.

Hier Übersetzung einfügen

Hier Übersetzung einfügen

Hier Übersetzung einfügen

Hier Übersetzung einfügen

Hier Übersetzung einfügen

Deine Beiträge sind lizenziert unter der Open-Source Creative Commons Lizenz.