Hinweis: Du bearbeitest eine grundständige Anleitung. Alle Änderungen, die du vornimmst, betreffen auch die Anleitung, die diese beinhaltet.
Schritt 2 übersetzen
Schritt 2


-
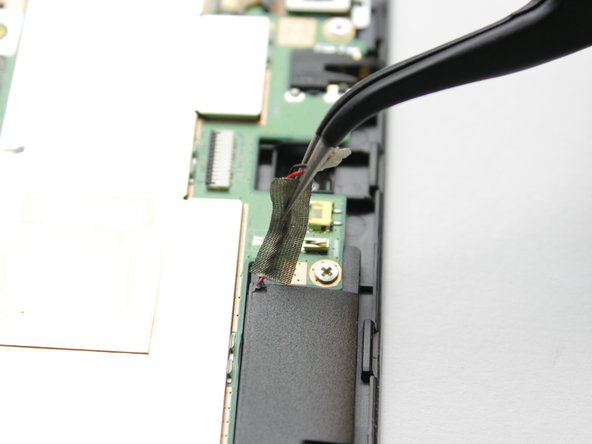
Using the tweezers remove the connector gently from the yellow slot
-
Gently peel up the tape until is is completely released from the motherboard
Deine Beiträge sind lizenziert unter der Open-Source Creative Commons Lizenz.