Hinweis: Du bearbeitest gerade eine grundständige Anleitung, die Teil der Anleitung ist, die du eben angeschaut hast. Alle Änderungen, die du vornimmst, betreffen alle 4 Anleitungen, die diese grundständige Anleitung beinhalten.
Schritt 4 übersetzen
Schritt 4


-
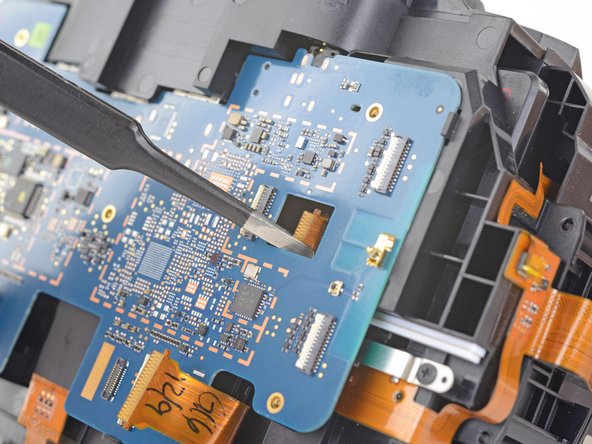
Use a pair tweezers to slightly twist the interconnect cable and press it down until the tabs on either side of the cable clear the hole in the motherboard.
| - | [* black] Use a pair tweezers to slightly twist the interconnect cable and press it down until the tabs on either side of the cable clear the hole in the motherboard. |
|---|---|
| + | [* black] Use a pair [product|IF145-020|tweezers] to slightly twist the interconnect cable and press it down until the tabs on either side of the cable clear the hole in the motherboard. |
| [* icon_reminder] During reassembly, make sure to thread the interconnect cable through its slot in the motherboard. |
Deine Beiträge sind lizenziert unter der Open-Source Creative Commons Lizenz.