Einleitung
This is the ASUS Chromebook (Model C424MA-DH48F), here we will be guiding you though a daughterboard replacement for the ASUS Chromebook.
Alternatively called a piggyback board and daughter card, a daughterboard is an expansion board that connects directly to the motherboard and gives added functionality.
Reasons to replace the daughterboard include:
- Performance loss
- Sudden crashing
- Water damage
- Physical damage
Was du brauchst
-
-
Use a Phillips #0 screwdriver to remove the eleven 6.9 mm screws that secure the lower case.
-
Insert an opening pick into the gap between the lower case and chassis.
-
Slide the pick around the entire perimeter of the laptop until the lower case fully releases.
-
Remove the lower case.
-
-
-
Use an opening tool to pop up the silver locking bar securing the battery connector.
-
Push the battery connector directly out of its motherboard port.
-
-
-
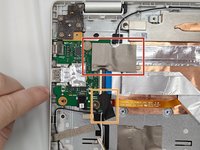
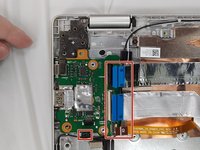
Remove the thermal tape covering the large ribbon cable connector from the daughterboard.
-
Remove the black electrical tape from the small I/O connector on the bottom right corner of the daughterboard.
-
-
-
-
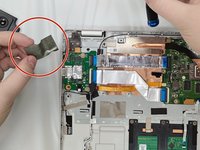
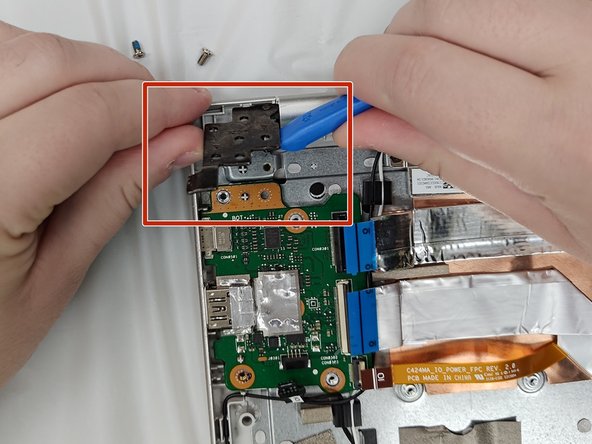
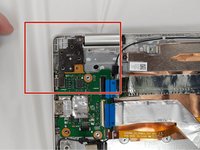
Use an opening tool lift the left hinge bracket out of the way of the daughterboard.
-
-
-
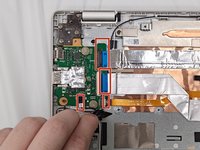
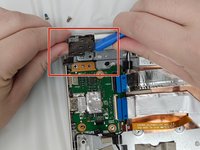
Remove the daughterboard by pulling straight up then back towards the motherboard.
-


To reassemble your device, follow the above steps in reverse order.
Take your e-waste to an R2 or e-Stewards certified recycler.
To reassemble your device, follow the above steps in reverse order.
Take your e-waste to an R2 or e-Stewards certified recycler.

Team

University of North Texas, Team 1-6, Kilpatrick Fall 2024 Mitglied von University of North Texas, Team 1-6, Kilpatrick Fall 2024
UNT-KILPATRICK-F24S1G6
4 Mitglieder
5 Anleitungen geschrieben