Einleitung
If your Acer Chromebook CB5-132T-C8ZW is not playing any audio, the speakers may be broken and need repair.
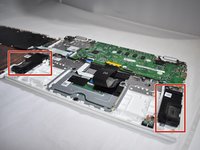
The speakers are the part of the laptop that provides audio when an audio device is not plugged in. If the Chromebook has a non-functioning speaker, no sound will be produced from the laptop when a video is playing.
Before beginning, make sure the Chromebook is disconnected from any external power source; then press and hold the power button for at least five seconds prior to dismantling in order to release any stored energy that could potentially be harmful.
Was du brauchst
-
-
Remove eleven 7.2 mm screws from the bottom of the Chromebook using a JIS #1 screwdriver.
-
-
-
Insert and slightly twist a plastic opening tool to separate and remove the backing of the Chromebook from the body.
-
-
-
-
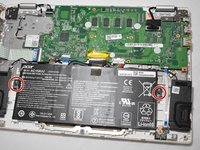
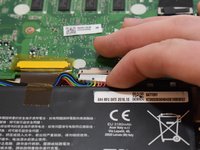
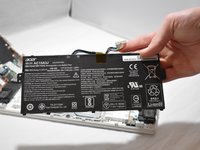
Carefully pull out the ribbon cable attached to the motherboard that runs wires to the battery.
-
Remove the battery.
-
-
In diesem Schritt verwendetes Werkzeug:Tweezers$4.99
-
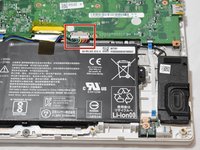
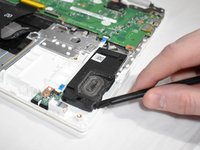
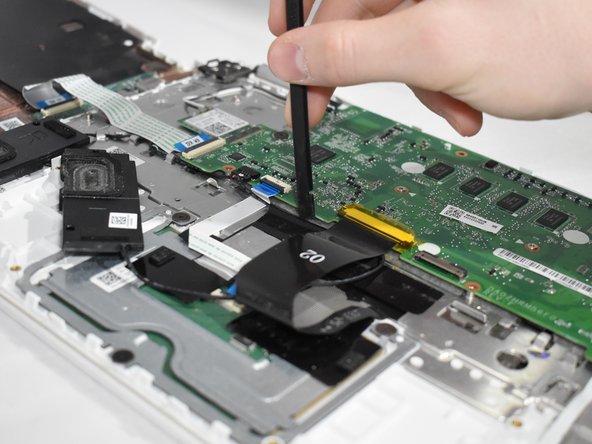
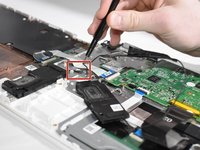
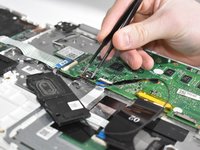
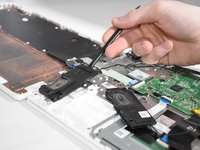
Remove the black tape that holds the wire in place using precision tweezers.
-
Unhook the wire from the small hooks that hold the wire in place.
-
-
-
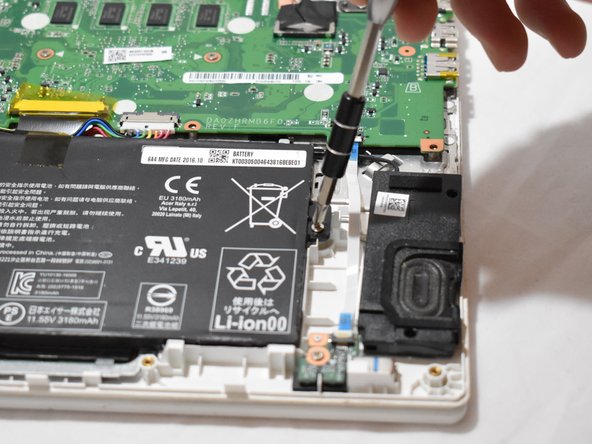
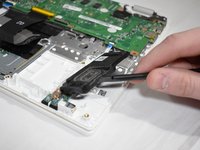
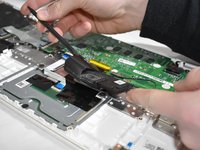
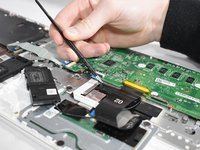
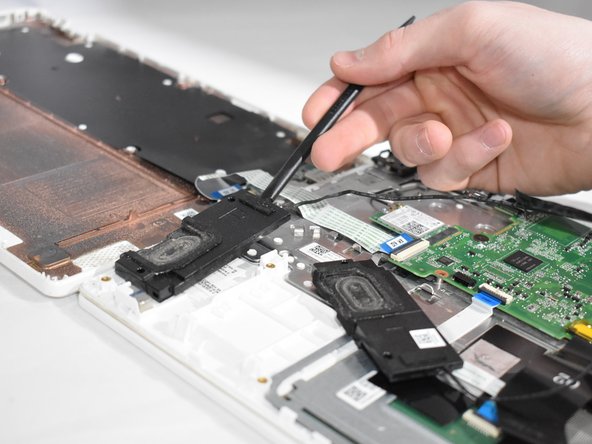
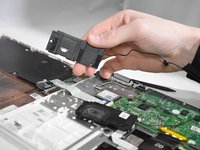
Disconnect the black connective piece using tweezers.
-
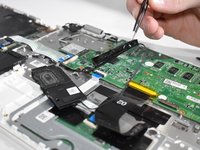
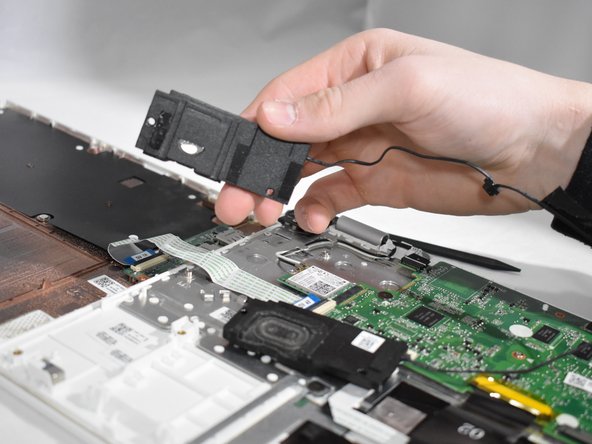
Lift the second speaker up using a plastic spudger tool.
-


To reassemble your device, follow these instructions in reverse order.
To reassemble your device, follow these instructions in reverse order.
Rückgängig: Ich habe diese Anleitung nicht absolviert.
Eine weitere Person hat diese Anleitung absolviert.

Team

Eastern Washington University, Team S1-G2, Carnegie Winter 2020 Mitglied von Eastern Washington University, Team S1-G2, Carnegie Winter 2020
EWU-CARNEGIE-W20S1G2
3 Mitglieder
4 Anleitungen geschrieben