Einleitung
A trackpad can be considered the most essential part of a laptop. If something were to happen to it, you may want to fix it immediately. If it cannot be fixed then you may want to replace it. Luckily for you, both are included in this guide.
Before replacing it, ensure you try the steps listed in our troubleshooting guide first.
Was du brauchst
-
-
Turn the laptop so that the back cover is visible and facing you. Make sure it is on a flat surface such as a table.
-
Use a Phillips #0 screwdriver to remove the 6 mm screws along the edge of the bottom cover.
-
-
-
Once all the screws are removed, you should easily be able to remove the back cover. This can be done by hand or by using a Spudger as seen in the tools list.
-
-
-
-
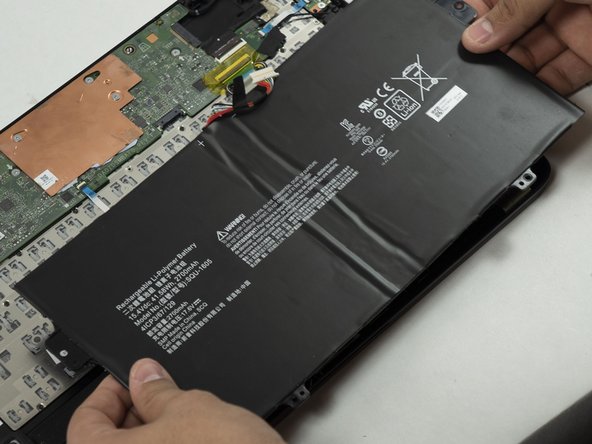
Remove the battery connector cable from the motherboard.
-
Ensure that you are pulling the connector straight back, if you pull up at all you may damage the battery connector on the motherboard.
-
-
-
Use a Phillips #0 screwdriver to remove the last two 3mm long fasteners at the edge of the laptop body, and carefully remove the battery.
-
Place the new battery in the battery slot
-
-
-
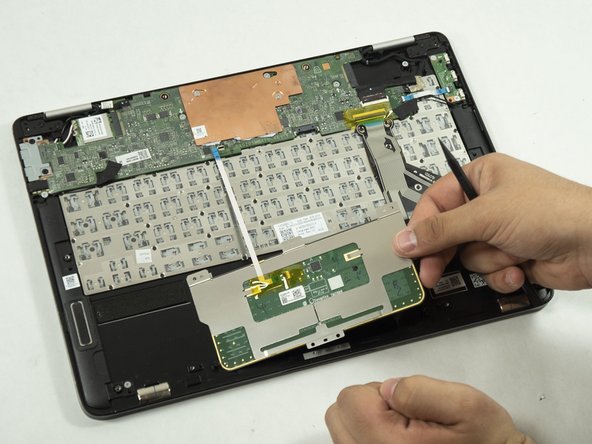
Use your fingernail or another small pry tool to gently pry up the black locking tab on the ribbon cable connector, then slide the ribbon cable out gently holding the blue tab attached to the cable.
-
-
-
Use a Phillips #000 screwdriver to remove the five 2mm screws from the back of the trackpad, then carefully remove the trackpad and set it aside.
-


To reassemble your device, follow these instructions in reverse order.
To reassemble your device, follow these instructions in reverse order.
Team

UMass Dartmouth, Team 7-3, Sinclaire Spring 2022 Mitglied von UMass Dartmouth, Team 7-3, Sinclaire Spring 2022
UMASSD-SINCLAIRE-S22S7G3
4 Mitglieder
5 Anleitungen geschrieben