Zum Hauptinhalt wechseln

Alldaymall A88X Speaker Replacement

Was du brauchst

  1. Alldaymall A88X Speaker Replacement, Alldaymall A88X Back Cover: Schritt 1, Bild 1 von 3 Alldaymall A88X Speaker Replacement, Alldaymall A88X Back Cover: Schritt 1, Bild 2 von 3 Alldaymall A88X Speaker Replacement, Alldaymall A88X Back Cover: Schritt 1, Bild 3 von 3
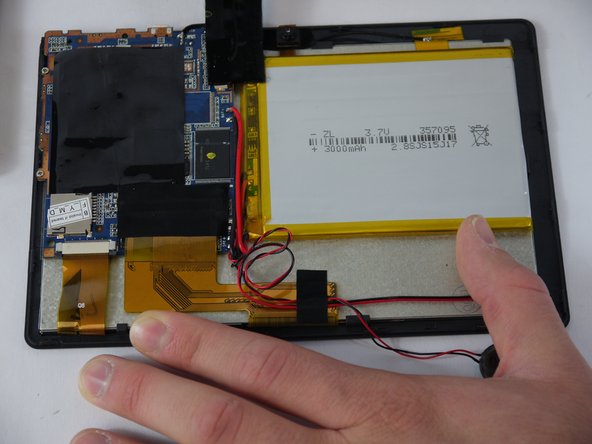
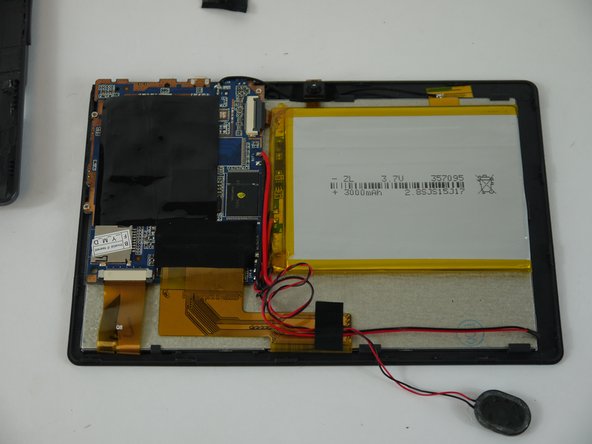
    • Using a plastic opening tool, carefully pry the device apart. Make your way around the entire perimeter of the device and carefully place the two panels next to each other.

    • After the panels are separated, watch out for the speaker on the rear panel as it's wire is rather short.

    • When separating the panels keep an eye out for the power button and volume rocker as they can be dislodged.

  2. Alldaymall A88X Speaker Replacement: Schritt 2, Bild 1 von 1
    • Grip the speaker from the sides with your fingers or a pair of tweezers and slowly begin to remove it from the rear panel.

    • When removing the speaker, make sure not to disconnect the wires in any way.

    • After the speaker has been removed, place the rear panel aside.

  3. Alldaymall A88X Speaker Replacement, Speaker: Schritt 3, Bild 1 von 3 Alldaymall A88X Speaker Replacement, Speaker: Schritt 3, Bild 2 von 3 Alldaymall A88X Speaker Replacement, Speaker: Schritt 3, Bild 3 von 3
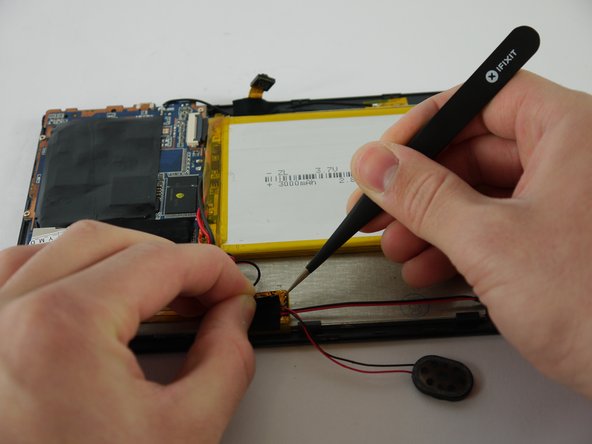
    • Carefully separate the speaker wire from the tape and proceed to peel the tape off in an upwards direction.

    • The tape we are removing covers a number of connections on the motherboard. Be extra careful not to sever any of these.

  4. Alldaymall A88X Speaker Replacement: Schritt 4, Bild 1 von 3 Alldaymall A88X Speaker Replacement: Schritt 4, Bild 2 von 3 Alldaymall A88X Speaker Replacement: Schritt 4, Bild 3 von 3
    • Using a pair of tweezers, begin separating the tape downwards from the back panel.

    • Pull the tape away from the wire bundle beneath.

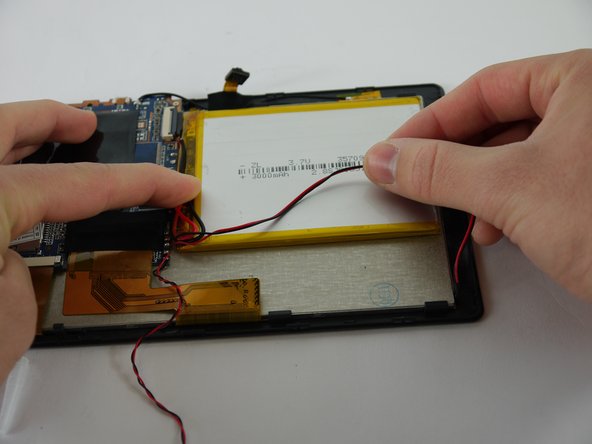
    • Isolate the wire running from the speaker to the motherboard.

  5. Alldaymall A88X Speaker Replacement: Schritt 5, Bild 1 von 3 Alldaymall A88X Speaker Replacement: Schritt 5, Bild 2 von 3 Alldaymall A88X Speaker Replacement: Schritt 5, Bild 3 von 3
    • Desolder the speaker wires from the motherboard.

Abschluss

To reassemble your device, follow these instructions in reverse order.

Drhaber

Mitglied seit: 02/10/16

985 Reputation

7 Anleitungen geschrieben

Team

USF Tampa, Team 4-1, Lacy Spring 2016 Mitglied von USF Tampa, Team 4-1, Lacy Spring 2016

USFT-LACY-S16S4G1

4 Mitglieder

16 Anleitungen geschrieben

0 Kommentare

Kommentar hinzufügen

Seitenaufrufe:

Letzte 24 Stunden: 0

Letzte 7 Tage: 0

Letzte 30 Tage: 0

Insgesamt: 218