Diese Version enthält möglicherweise inkorrekte Änderungen. Wechsle zur letzten geprüften Version.
Was du brauchst
-
Dieser Schritt ist noch nicht übersetzt. Hilf mit, ihn zu übersetzen!
-
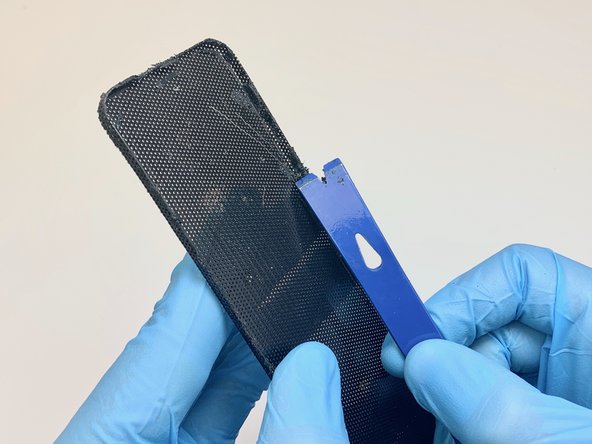
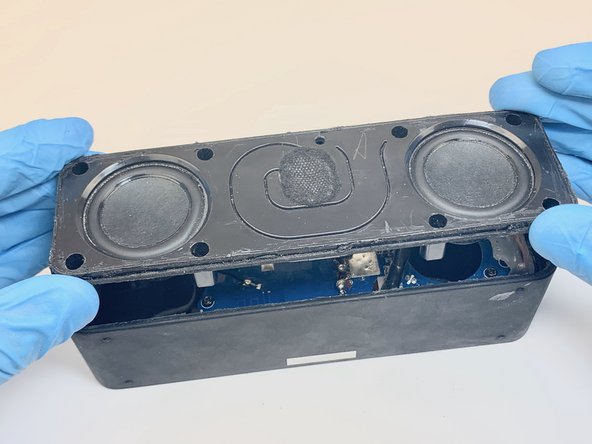
Gently pry on each edge of the front grill with a plastic opening tool.
-
Using the pry tool, start at one side and lift and remove the front grille.
-
-
Dieser Schritt ist noch nicht übersetzt. Hilf mit, ihn zu übersetzen!
-
Use the plastic opening tool to gently remove the remaining silicone.
-
-
Dieser Schritt ist noch nicht übersetzt. Hilf mit, ihn zu übersetzen!
-
Use the plastic opening tool to gently scrape and remove the excess silicone.
-
-
Dieser Schritt ist noch nicht übersetzt. Hilf mit, ihn zu übersetzen!
-
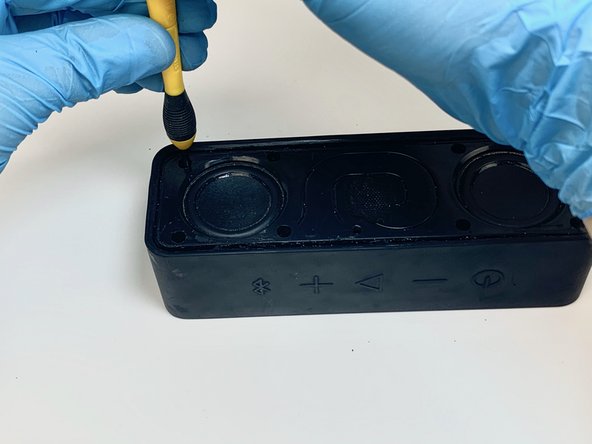
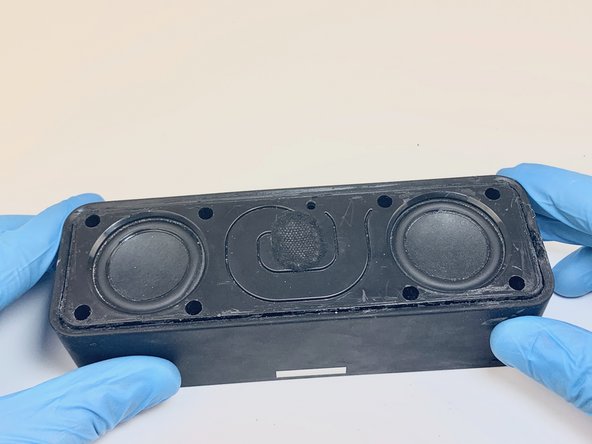
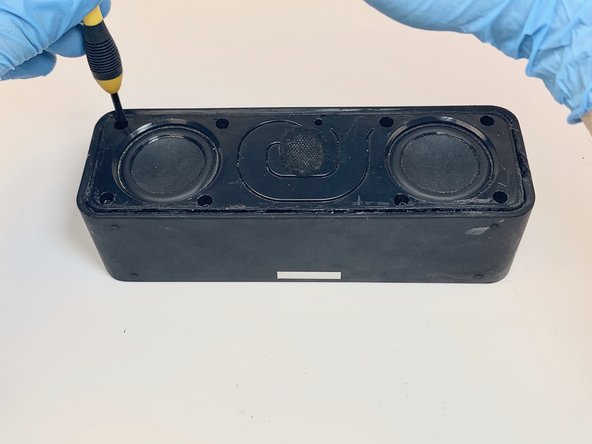
Remove the eight 2mm screws from the speaker housing using a Phillips #1 screwdriver.
-
-
Dieser Schritt ist noch nicht übersetzt. Hilf mit, ihn zu übersetzen!
-
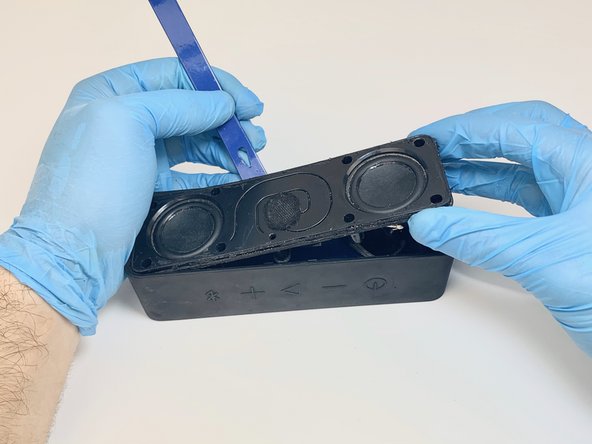
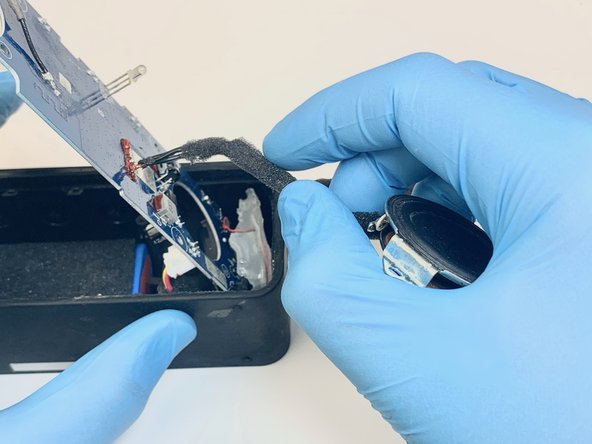
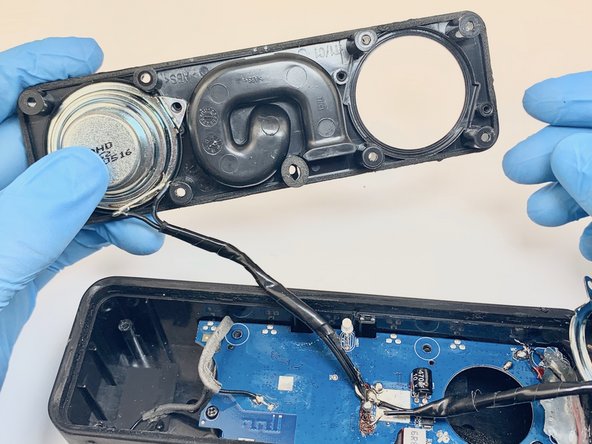
Using the plastic opening tool, gently lift all sides of the housing.
-
-
Dieser Schritt ist noch nicht übersetzt. Hilf mit, ihn zu übersetzen!
-
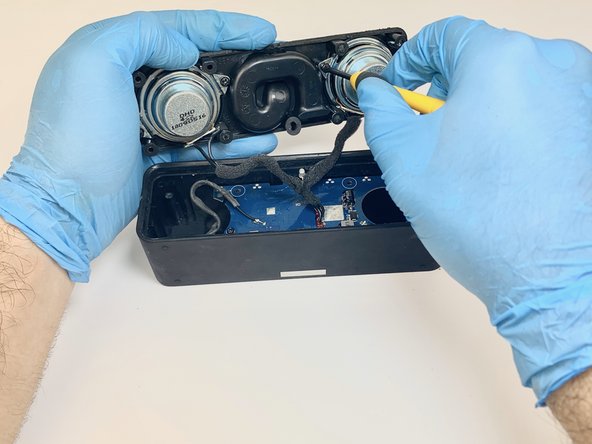
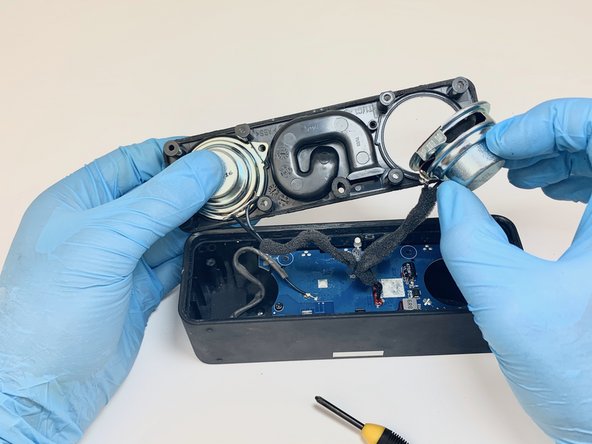
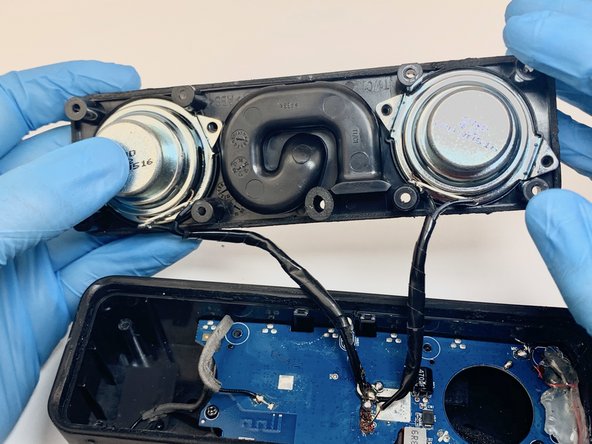
Use a Phillips #1 screwdriver to remove the two 2mm screws from each of the speakers (four in total).
-
-
Dieser Schritt ist noch nicht übersetzt. Hilf mit, ihn zu übersetzen!
-
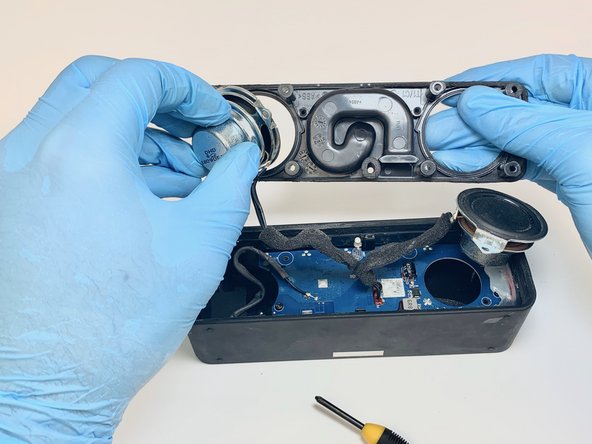
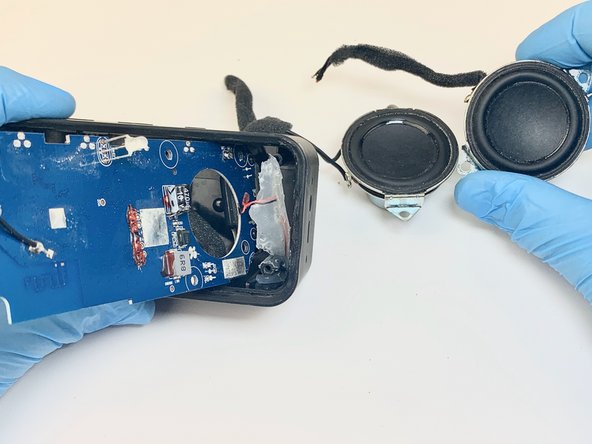
Gently lift the speakers out of the housing.
-
-
Dieser Schritt ist noch nicht übersetzt. Hilf mit, ihn zu übersetzen!
-
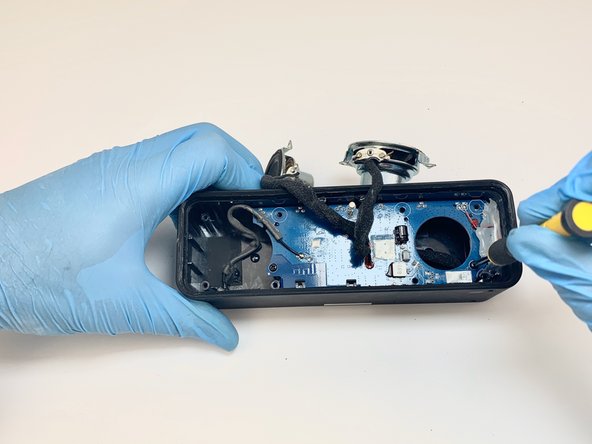
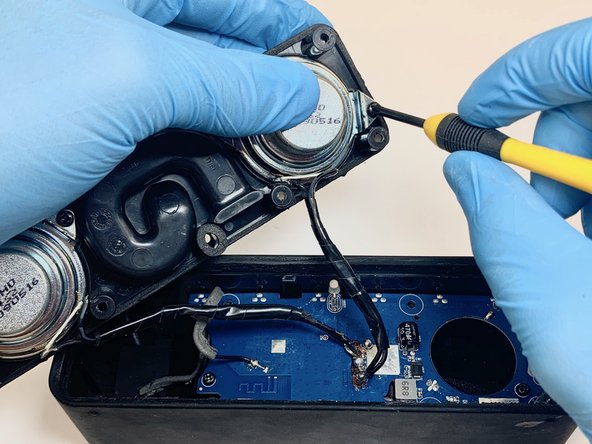
Use a Phillips #1 screwdriver to remove the two 1mm screws holding down the motherboard.
-
-
Dieser Schritt ist noch nicht übersetzt. Hilf mit, ihn zu übersetzen!
-
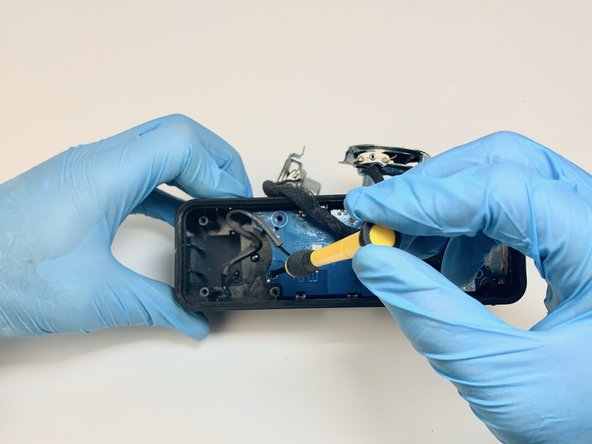
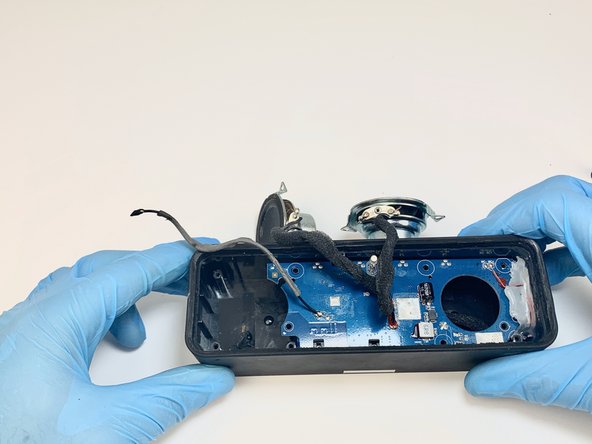
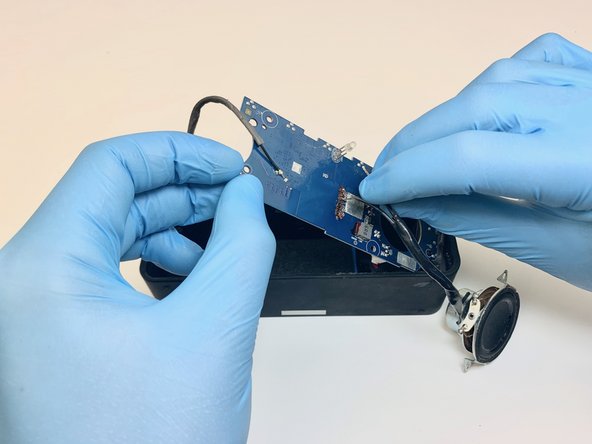
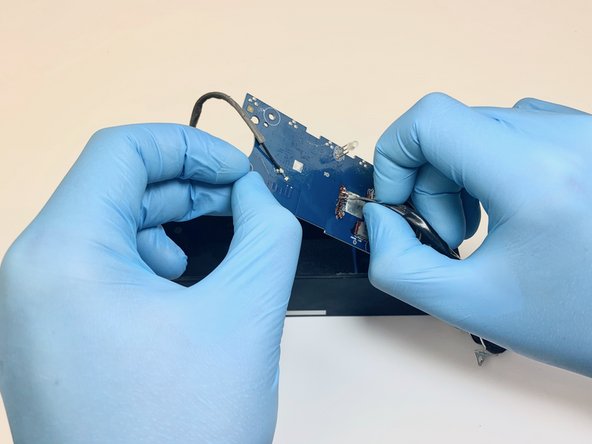
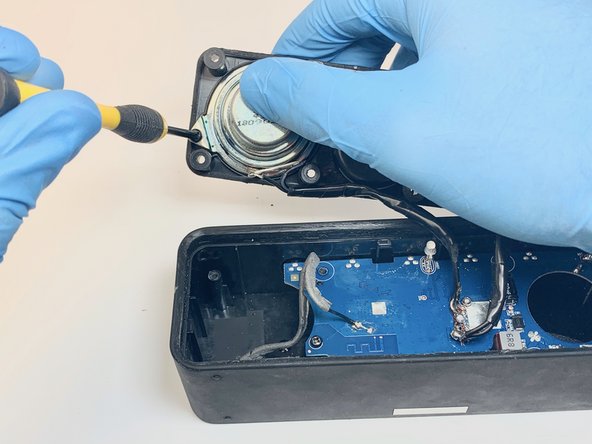
Gently pull the ground wire on the left side of the motherboard, to remove it from the case.
-
-
-
Dieser Schritt ist noch nicht übersetzt. Hilf mit, ihn zu übersetzen!
-
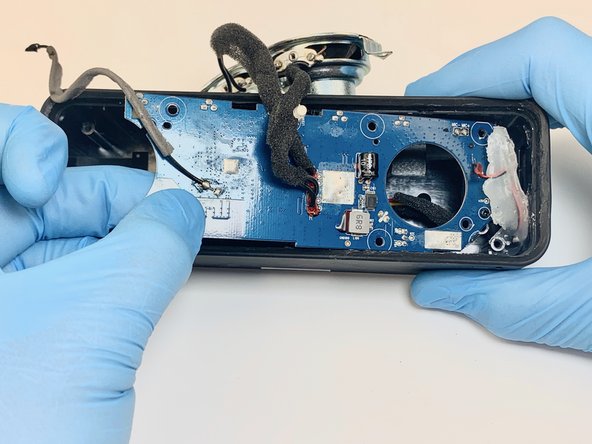
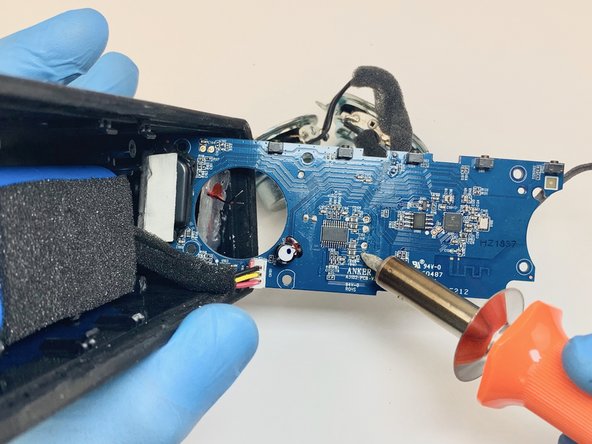
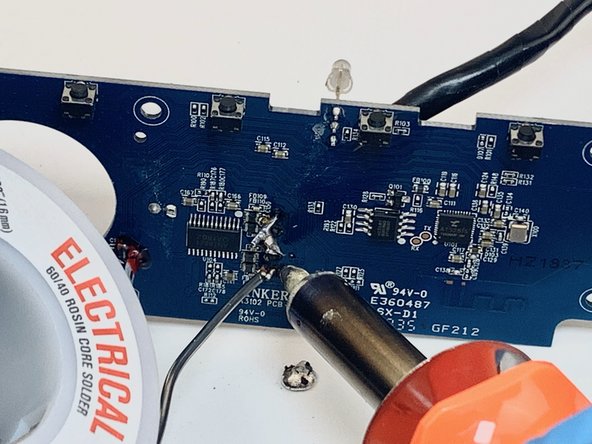
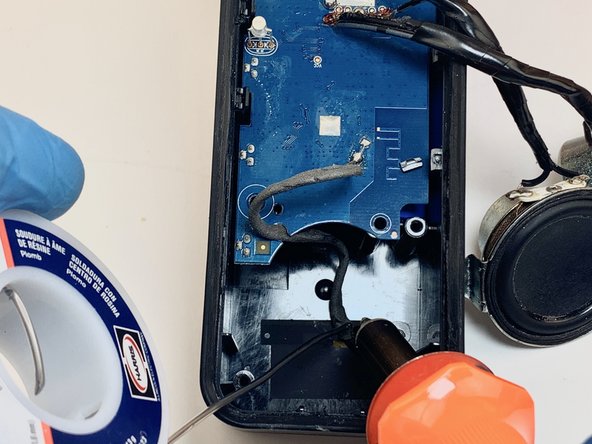
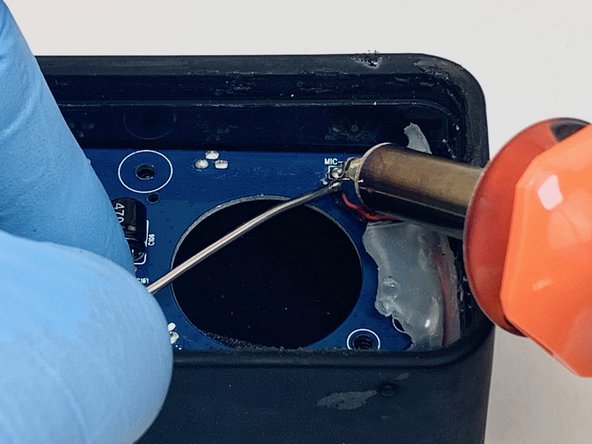
To disconnect the microphone wire use the soldering iron and melt the solder connecting the wires to the motherboard.
-
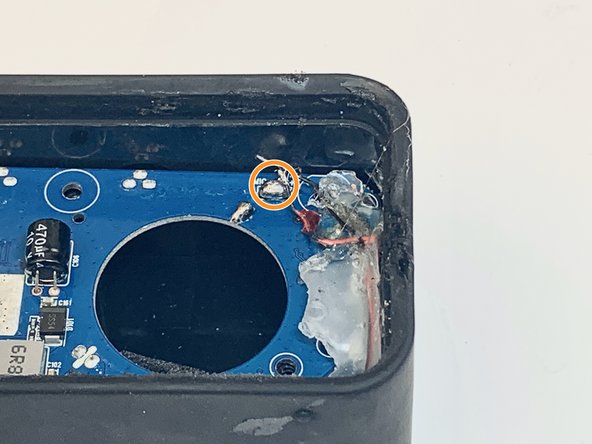
Gently lift the edges of the hot glue off the mother board.
-
-
Dieser Schritt ist noch nicht übersetzt. Hilf mit, ihn zu übersetzen!
-
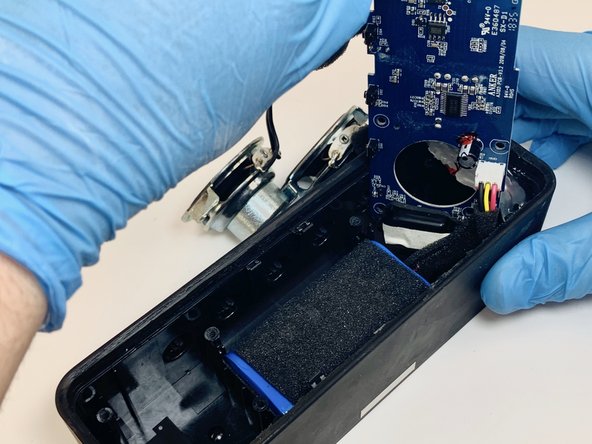
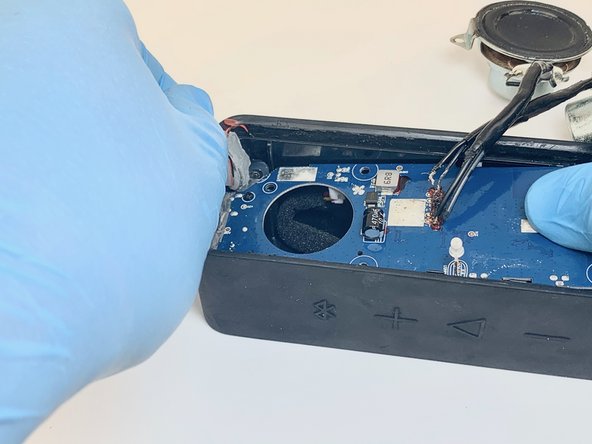
Gently lift and pull out the motherboard slightly, being sure the wires on the back are not yanked out.
-
-
Dieser Schritt ist noch nicht übersetzt. Hilf mit, ihn zu übersetzen!
-
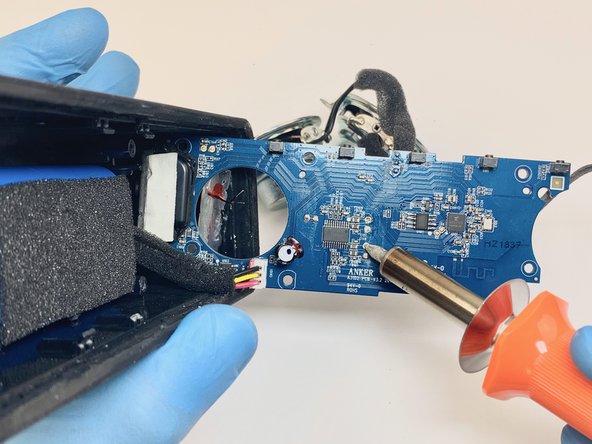
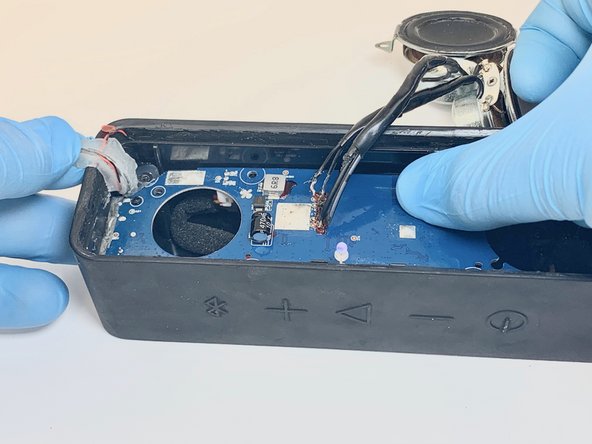
To access the soldering holding the speakers to the motherboard, rotate the motherboard to where the backside is visible.
-
-
Dieser Schritt ist noch nicht übersetzt. Hilf mit, ihn zu übersetzen!
-
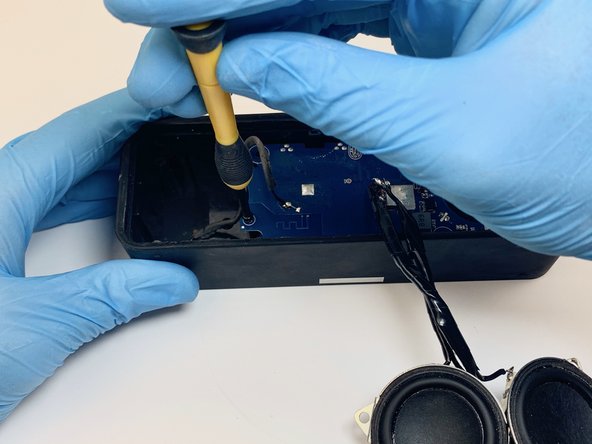
Using the soldering iron, melt the four solder connections to free the speaker wires from the motherboard.
-
-
Dieser Schritt ist noch nicht übersetzt. Hilf mit, ihn zu übersetzen!
-
Using the soldering iron, melt the solder connections to free the speaker wires.
-
-
Dieser Schritt ist noch nicht übersetzt. Hilf mit, ihn zu übersetzen!
-
Gently pull the wires away from the motherboard to remove and disconnect the speakers from the motherboard.
-
-
Dieser Schritt ist noch nicht übersetzt. Hilf mit, ihn zu übersetzen!
-
Solder the four connections to the replacement speaker's wires poking out on the other side of the board.
-
-
Dieser Schritt ist noch nicht übersetzt. Hilf mit, ihn zu übersetzen!
-
Gently set the motherboard into the speaker case.
-
-
Dieser Schritt ist noch nicht übersetzt. Hilf mit, ihn zu übersetzen!
-
Using the soldering iron and soldering wire, solder the ground wire into place.
-
After soldering the ground wire into place, run the wire through the cutout in the motherboard.
-
-
Dieser Schritt ist noch nicht übersetzt. Hilf mit, ihn zu übersetzen!
-
Solder the two microphone wires back onto the motherboard.
-
-
Dieser Schritt ist noch nicht übersetzt. Hilf mit, ihn zu übersetzen!
-
Replace the two 1mm Phillips #1 screws that hold down the motherboard.
-
-
Dieser Schritt ist noch nicht übersetzt. Hilf mit, ihn zu übersetzen!
-
Now, gently set the two replacement speakers into the black speaker housing ensuring that all screw holes are aligned.
-
-
Dieser Schritt ist noch nicht übersetzt. Hilf mit, ihn zu übersetzen!
-
Replace the four 2mm screws to affix the new speakers to the speaker housing with a Phillips #1 screwdriver.
-
-
Dieser Schritt ist noch nicht übersetzt. Hilf mit, ihn zu übersetzen!
-
Gently set the speaker housing into the case. Apply small amounts of focused pressure to ensure proper seating of the speaker housing.
-
-
Dieser Schritt ist noch nicht übersetzt. Hilf mit, ihn zu übersetzen!
-
Replace the eight 2mm screws to secure the speaker housing with a Phillips #1 screwdriver.
-
-
Dieser Schritt ist noch nicht übersetzt. Hilf mit, ihn zu übersetzen!
-
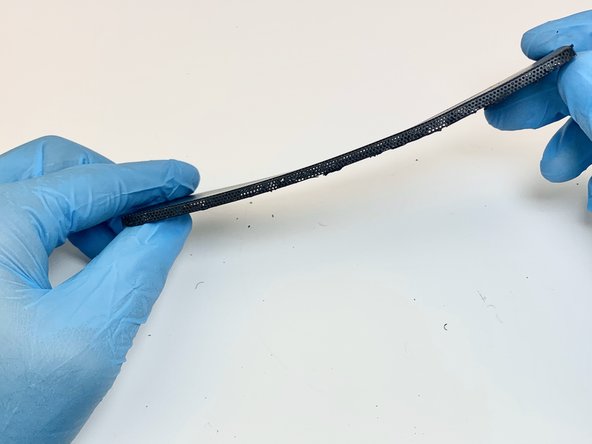
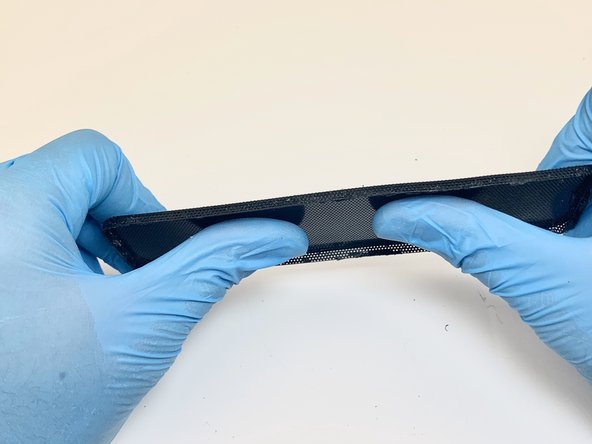
Straighten the grille for reassembly by gently applying pressure to the bent areas.
-
-
Dieser Schritt ist noch nicht übersetzt. Hilf mit, ihn zu übersetzen!
-
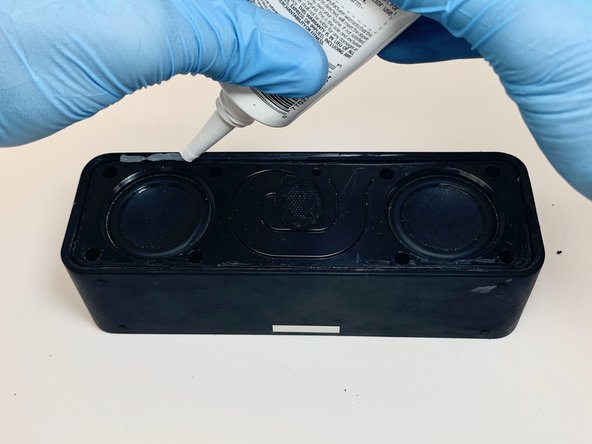
Apply silicone glue to all four sides of the speaker housing along the speaker case.
-
-
Dieser Schritt ist noch nicht übersetzt. Hilf mit, ihn zu übersetzen!
-
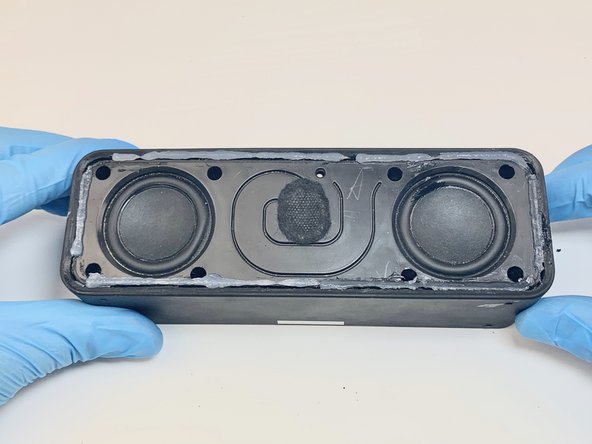
Gently set the grille into the speaker housing and speaker case.
-
Once the grille has been positioned properly, use firm pressure to seat the grille into the speaker housing and speaker case.
-
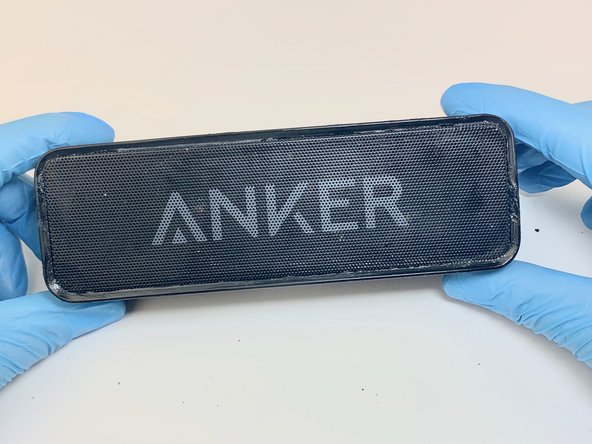
Allow the glue to dry for the time recommended on the bottle, typically around 30-120 minutes.
-
-
Dieser Schritt ist noch nicht übersetzt. Hilf mit, ihn zu übersetzen!
-
After reassembly the process is complete. This photo depicts the tools necessary to complete the guide.
-


Rückgängig: Ich habe diese Anleitung nicht absolviert.
2 weitere Nutzer:innen haben diese Anleitung absolviert.

Team

Embry-Riddle Aeronautical University, Team S10-G5, Salas Spring 2020 Mitglied von Embry-Riddle Aeronautical University, Team S10-G5, Salas Spring 2020
ERAU-SALAS-S20S10G5
2 Mitglieder
1 Anleitung geschrieben