Einleitung
This guide will help you replace the optical drive in an Asus A53S
Optical drives allow you to read CDs and DVDs through your laptop.
Before using this guide, make sure to review the troubleshooting page. A DVD player repair might be needed if it stops working for any reason.
Make sure to power off your laptop completely, disconnect from any external power source, and remove the battery before beginning the process.
Was du brauchst
-
-
Open the laptop.
-
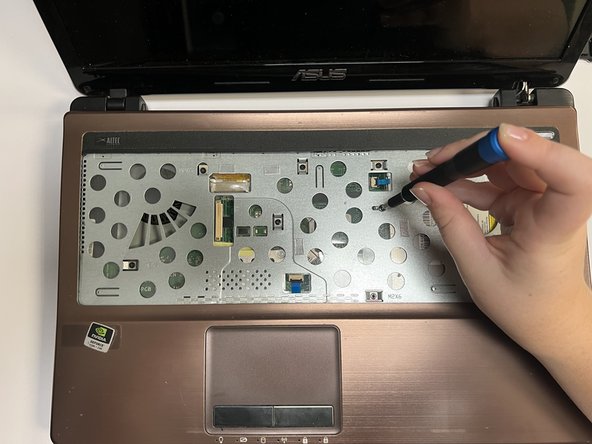
Using the Spudger, insert the flat end into the notches at the top of the keyboard and slowly "pop" the keyboard up and out of the device.
-
-
-
Using the flat end of the spudger, lift the black lock bard on the ZIF connector and disconnect the keyboard from the computer.
-
Remove the keyboard.
-
-
To reassemble your device, follow these instructions in reverse order.
To reassemble your device, follow these instructions in reverse order.
Rückgängig: Ich habe diese Anleitung nicht absolviert.
Eine weitere Person hat diese Anleitung absolviert.


