Einleitung
If you're experiencing issues with your ASUS L410MA-MH09-CA keyboard not responding or being physically damaged, you may need to replace your keyboard, use this guide to learn how to replace your keyboard.
When replacing your keyboard be sure to check if the keyboard replacement you're buying has the same connectors. Here is a link for a suitable keyboard replacement. https://a.co/d/1l29C2m
Was du brauchst
-
-
Remove all ten 6 mm Phillips #1 screws that secure the lower case.
-
Insert an opening pick in the gap between the lower case and chassis.
-
Slide the opening pick around the entire perimeter of the laptop until the lower case fully releases.
-
Remove the lower case.
-
-
-
-
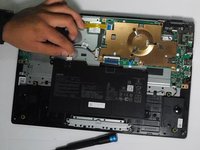
Use a Phillips #1 screwdriver to remove the screws that secure the hinges.
-
Lift the hinges up and out.
-
-
-
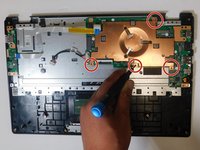
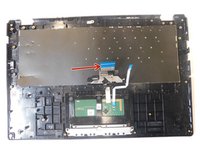
Remove the four 4 mm Phillips #1 screws that secure the heatsink.
-
Remove the heatsink.
-
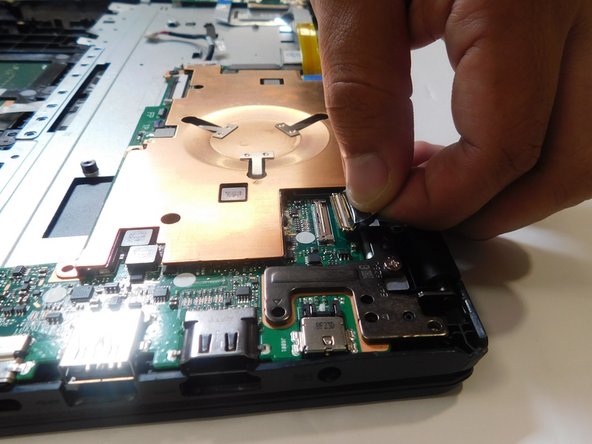
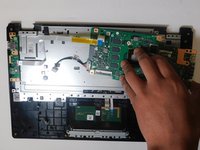
Remove the remaining two 4 mm Phillips #1 screws that secure the motherboard.
-
Remove the motherboard.
-
-
-
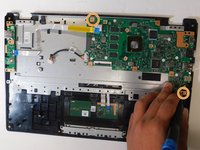
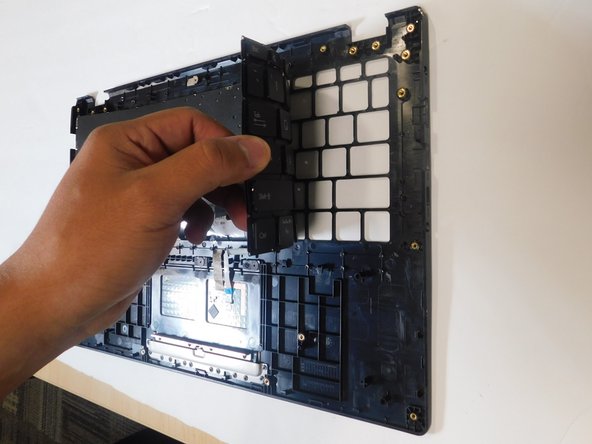
Use a spudger to pry around the entire perimeter of the metal bracket until it fully releases.
-
Remove the metal bracket.
-


To reassemble your device, follow the above steps in reverse order.
Take your e-waste to an R2 or e-Stewards certified recycler.m
To reassemble your device, follow the above steps in reverse order.
Take your e-waste to an R2 or e-Stewards certified recycler.m
Team

Gateway, Team 8-2, Gonzalez Fall 2024 Mitglied von Gateway, Team 8-2, Gonzalez Fall 2024
GCC-GONZALEZ-F24S8G2
5 Mitglieder
3 Anleitungen geschrieben