Diese Version enthält möglicherweise inkorrekte Änderungen. Wechsle zur letzten geprüften Version.
Was du brauchst
-
Dieser Schritt ist noch nicht übersetzt. Hilf mit, ihn zu übersetzen!
-
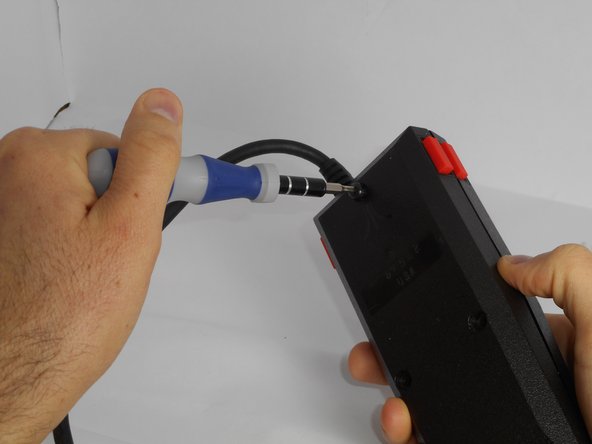
Turn the controller over, exposing the three screws on the back. Use a 6mm screwdriver to remove these screws.
-
Carefully slide and pull the two parts of the controller shell apart, exposing the innards.
-
-
Dieser Schritt ist noch nicht übersetzt. Hilf mit, ihn zu übersetzen!
-
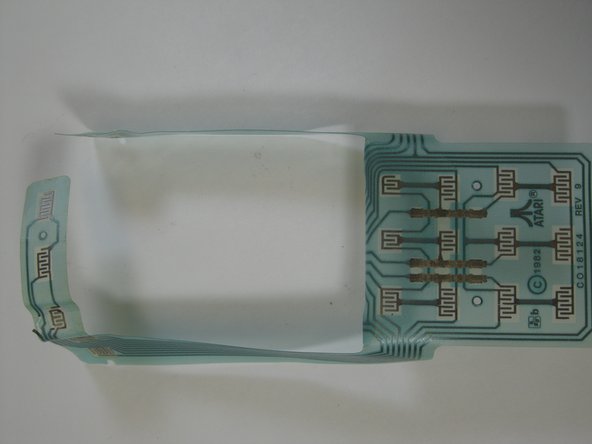
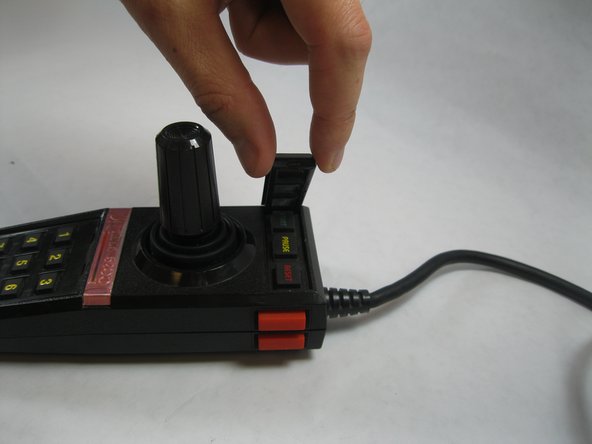
Slide out the strip of the board connected to the controller's START, PAUSE, and RESET buttons.
-
-
Dieser Schritt ist noch nicht übersetzt. Hilf mit, ihn zu übersetzen!
-
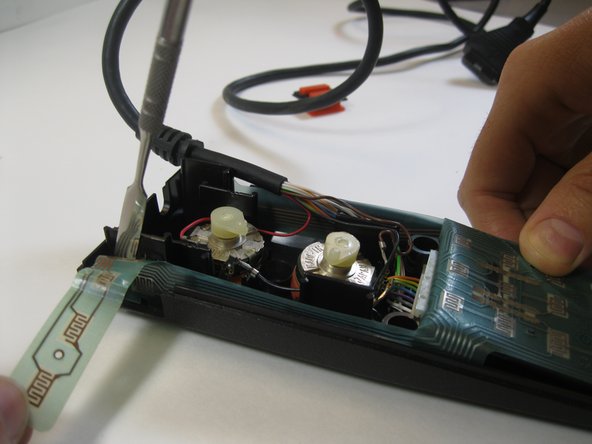
Peel off the old circuit board.
-
Disconnect it from the wire connector.
-
-
-
Dieser Schritt ist noch nicht übersetzt. Hilf mit, ihn zu übersetzen!
-
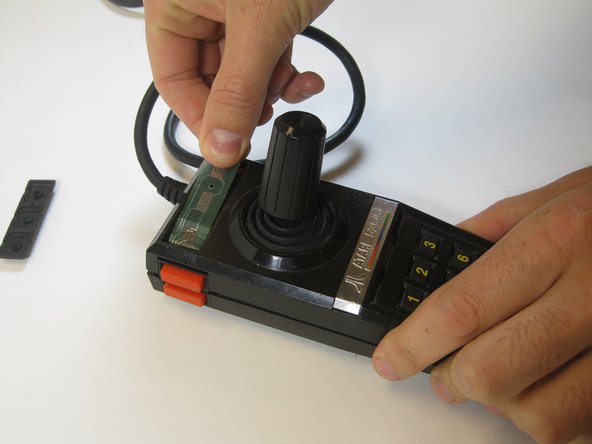
Place the new circuit board where the old one was.
-
Glue/tape it in places where the previous board was held.
-
Connect it to the wire connector.
-
-
Dieser Schritt ist noch nicht übersetzt. Hilf mit, ihn zu übersetzen!
-
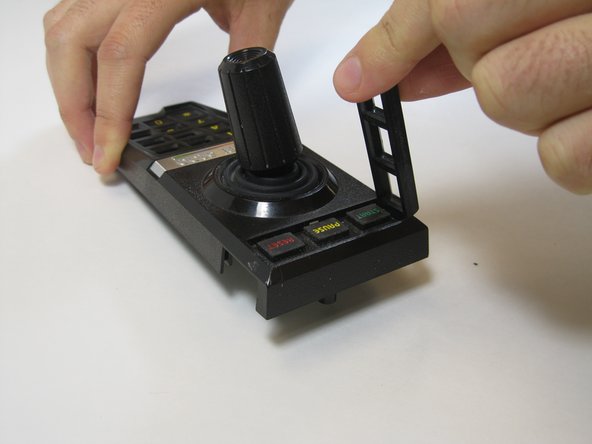
Use a spudger to remove the top frame.
-
Take off the plate.
-
Remove the rubber buttons.
-
-
Dieser Schritt ist noch nicht übersetzt. Hilf mit, ihn zu übersetzen!
-
Pull the circuit strip through the new space.
-
Realign the top and bottom of the controller.
-
-
Dieser Schritt ist noch nicht übersetzt. Hilf mit, ihn zu übersetzen!
-
Return the buttons to the top of the controller.
-
Snap the frame back into place.
-
Screw the Screws
-


Rückgängig: Ich habe diese Anleitung nicht absolviert.
Ein:e weitere:r Nutzer:in hat diese Anleitung absolviert.

Team

USF Tampa, Team 13-1, Staggers Fall 2014 Mitglied von USF Tampa, Team 13-1, Staggers Fall 2014
USFT-STAGGERS-F14S13G1
5 Mitglieder
17 Anleitungen geschrieben