Einleitung
This repair guide will help you with the following:
- Install the left headphone cable
- Fix sound coming from the left headphone
Was du brauchst
-
-
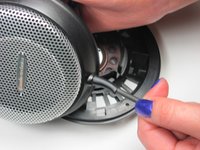
Remove all four 1cm screws on the inside of the headphone using a #1 Phillips head.
-
-
-
-
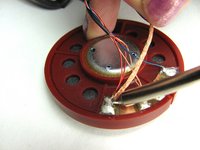
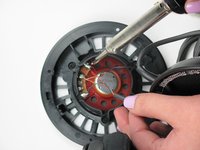
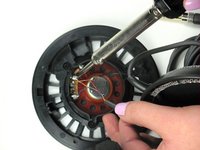
Desolder the red, yellow, and blue wires using a soldering iron and desoldering wick. If you need assistance, reference Wie man Lötverbindungen herstellt und entlötet.
-
-
-
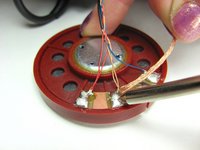
Untie the knot in the thick main cable.
-
Remove the main cable from the headphones by pulling it out.
-
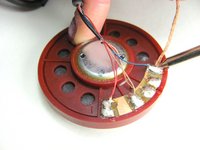
Thread the replacement cable into the hole on the bottom of the headphones. Pull the cable all the way through.
-
-
-
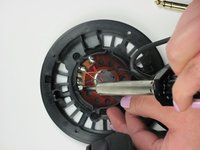
Re-solder the new red, yellow, and blue wires using a soldering iron. If you need assistance, reference Wie man Lötverbindungen herstellt und entlötet.
-


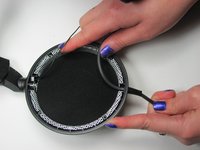


To reassemble your device, follow these instructions in reverse order.
To reassemble your device, follow these instructions in reverse order.
Rückgängig: Ich habe diese Anleitung nicht absolviert.
3 weitere Personen haben diese Anleitung absolviert.
Team

Cal Poly, Team 17-19, Forte Winter 2013 Mitglied von Cal Poly, Team 17-19, Forte Winter 2013
CPSU-FORTE-W13S17G19
6 Mitglieder
17 Anleitungen geschrieben
2 Kommentare
Not sure if it’s on purpose or not but on my A900Xs the cable is on the left headphone and so, the one on the right is the one with the tiny wire going through, I found that a 2 core wire is needed for this replacement, I only managed to find one that’s 1,4mm diameter and it seems to be a little thicker than what’s actually inside the headphones but I figured I’ll give it a try, anyways here’s the wire I found on AliExpress https://www.aliexpress.com/item/40004436...