Zum Hauptinhalt wechseln

Barreto Tillers E1320HTRLR 2016 Hydraulic Fluid Tank Lid Replacement

Grundständige Anleitung
Dies ist eine grundständige Anleitung, die nur als Teil einer anderen Anleitung verwendet werden sollte.

Was du brauchst

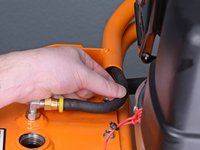
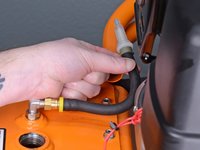
  1. Barreto Tillers E1320HTRLR 2016 Hydraulic Fluid Tank Lid Replacement, Disconnect the spark plug wire: Schritt 1, Bild 1 von 2 Barreto Tillers E1320HTRLR 2016 Hydraulic Fluid Tank Lid Replacement, Disconnect the spark plug wire: Schritt 1, Bild 2 von 2
    • Before you begin, ensure that the engine is powered down and cool to the touch.

    • Grab the plastic housing at the end of the spark plug wire and pull firmly to disconnect it.

  2. Barreto Tillers E1320HTRLR 2016 Hydraulic Fluid Tank Lid Replacement, Flip the engine switch to the off position: Schritt 2, Bild 1 von 2 Barreto Tillers E1320HTRLR 2016 Hydraulic Fluid Tank Lid Replacement, Flip the engine switch to the off position: Schritt 2, Bild 2 von 2
    • Flip the red engine ON/OFF switch to the OFF position.

  3. Barreto Tillers E1320HTRLR 2016 Hydraulic Fluid Tank Lid Replacement, Close the fuel valve: Schritt 3, Bild 1 von 2 Barreto Tillers E1320HTRLR 2016 Hydraulic Fluid Tank Lid Replacement, Close the fuel valve: Schritt 3, Bild 2 von 2
    • Flip the fuel valve lever to the OFF position.

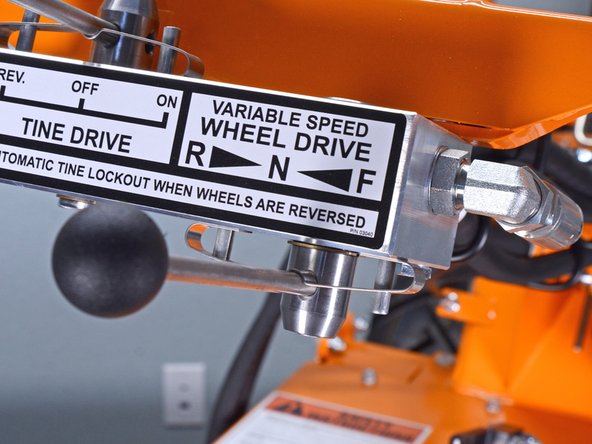
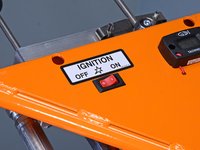
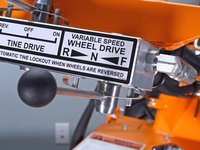
  4. Barreto Tillers E1320HTRLR 2016 Hydraulic Fluid Tank Lid Replacement, Turn off the ignition: Schritt 4, Bild 1 von 2 Barreto Tillers E1320HTRLR 2016 Hydraulic Fluid Tank Lid Replacement, Turn off the ignition: Schritt 4, Bild 2 von 2
    • Flip the ignition switch to the OFF position.

    • Ensure the wheel drive control lever is set to the neutral position.

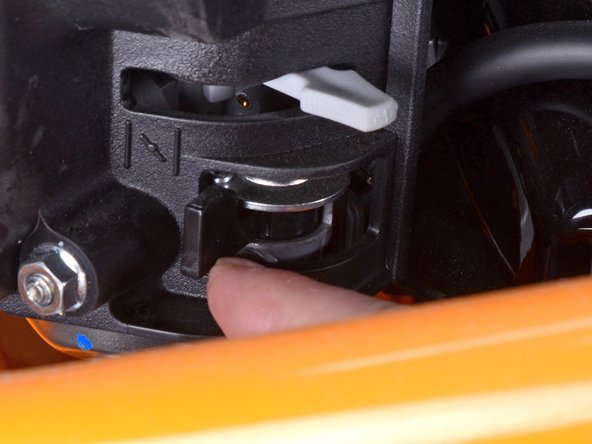
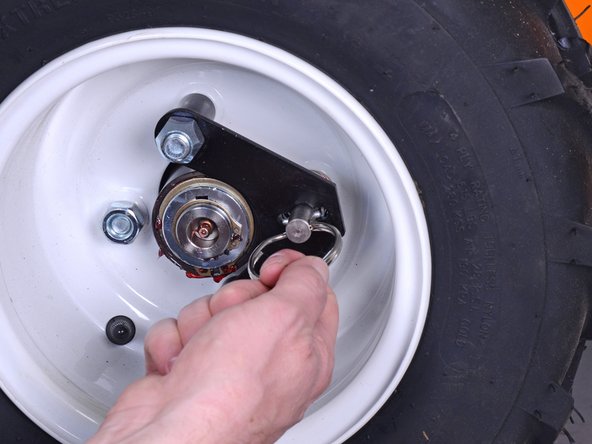
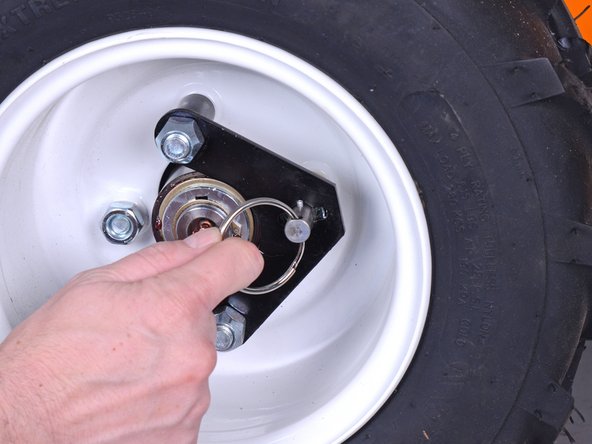
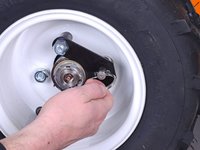
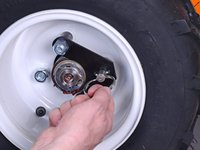
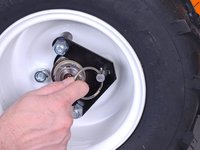
  5. Barreto Tillers E1320HTRLR 2016 Hydraulic Fluid Tank Lid Replacement, Allow the wheels to freewheel: Schritt 5, Bild 1 von 3 Barreto Tillers E1320HTRLR 2016 Hydraulic Fluid Tank Lid Replacement, Allow the wheels to freewheel: Schritt 5, Bild 2 von 3 Barreto Tillers E1320HTRLR 2016 Hydraulic Fluid Tank Lid Replacement, Allow the wheels to freewheel: Schritt 5, Bild 3 von 3
    • Pull the locking pin out and rotate it 90˚ to unlock the right wheel from the hub.

    • Repeat for the left wheel.

  6. Barreto Tillers E1320HTRLR 2016 Hydraulic Fluid Tank Lid Replacement, Add wheel chocks: Schritt 6, Bild 1 von 1
    • Insert wheel chocks underneath each wheel to keep the device stationary during disassembly.

  7. Barreto Tillers E1320HTRLR 2016 Hydraulic Fluid Tank Lid Replacement, Remove the fill plug: Schritt 7, Bild 1 von 1
    • Use a 14 mm hex key to remove the tank fill plug.

  8. Barreto Tillers E1320HTRLR 2016 Hydraulic Fluid Tank Lid Replacement, Remove the fluid: Schritt 8, Bild 1 von 1
    • Use a siphon to pump out as much fluid as you're able to, totaling about 14 gallons.

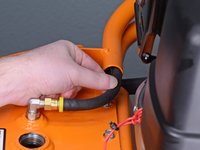
  9. Barreto Tillers E1320HTRLR 2016 Hydraulic Fluid Tank Lid Replacement, Remove the breather tube from the engine guard: Schritt 9, Bild 1 von 3 Barreto Tillers E1320HTRLR 2016 Hydraulic Fluid Tank Lid Replacement, Remove the breather tube from the engine guard: Schritt 9, Bild 2 von 3 Barreto Tillers E1320HTRLR 2016 Hydraulic Fluid Tank Lid Replacement, Remove the breather tube from the engine guard: Schritt 9, Bild 3 von 3
    • Remove the end of the tank breather tube from inside the engine guard structural pipe.

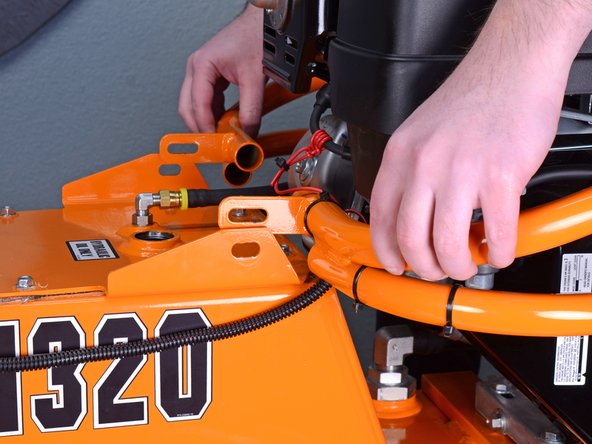
  10. Barreto Tillers E1320HTRLR 2016 Hydraulic Fluid Tank Lid Replacement, Tilt up the engine guard: Schritt 10, Bild 1 von 1
    • Use a 9/16 inch socket and wrench to remove the two bolts and accompanying nuts securing the engine guard to the tank lid, one on each side.

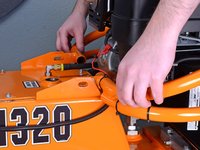
  11. Barreto Tillers E1320HTRLR 2016 Hydraulic Fluid Tank Lid Replacement: Schritt 11, Bild 1 von 2 Barreto Tillers E1320HTRLR 2016 Hydraulic Fluid Tank Lid Replacement: Schritt 11, Bild 2 von 2
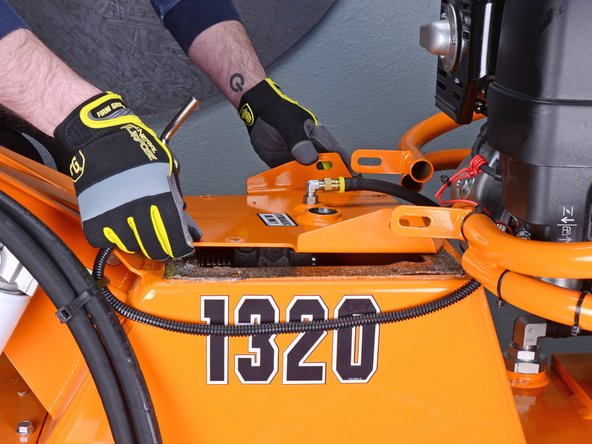
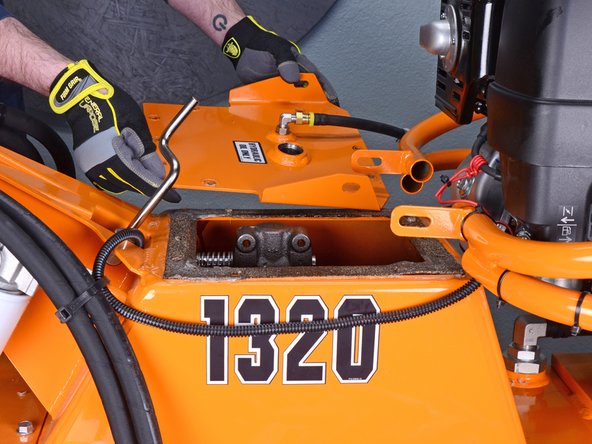
    • Lift the engine guard up above the tank lid flanges.

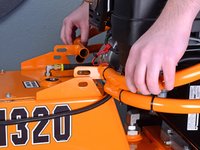
  12. Barreto Tillers E1320HTRLR 2016 Hydraulic Fluid Tank Lid Replacement, Remove the tank lid bolts: Schritt 12, Bild 1 von 1
    • Use a 3/8 inch socket to remove the ten bolts securing the tank lid.

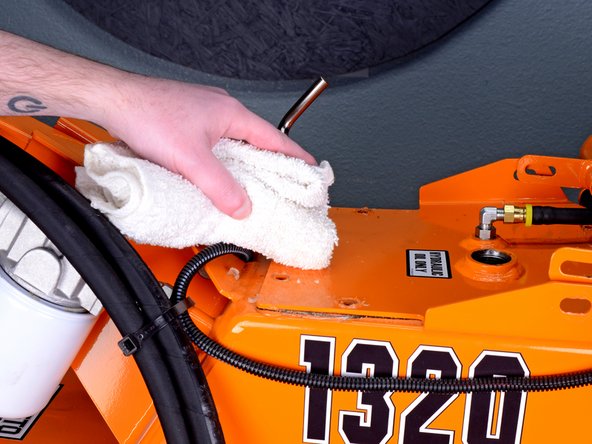
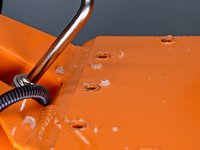
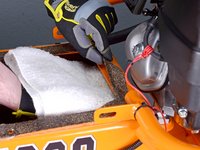
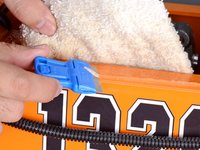
  13. Barreto Tillers E1320HTRLR 2016 Hydraulic Fluid Tank Lid Replacement, Clean the lid: Schritt 13, Bild 1 von 2 Barreto Tillers E1320HTRLR 2016 Hydraulic Fluid Tank Lid Replacement, Clean the lid: Schritt 13, Bild 2 von 2
    • Use a shop towel to clean and remove any remnants of silicone gasket material from the top of the lid and surrounding areas.

    • Try to prevent any silicone remnants from falling into the hydraulic fluid tank.

  14. Barreto Tillers E1320HTRLR 2016 Hydraulic Fluid Tank Lid Replacement, Remove the tank lid: Schritt 14, Bild 1 von 2 Barreto Tillers E1320HTRLR 2016 Hydraulic Fluid Tank Lid Replacement, Remove the tank lid: Schritt 14, Bild 2 von 2
    • Lift up on the lid to break the seal around the perimeter of the gasket.

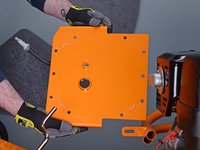
  15. Barreto Tillers E1320HTRLR 2016 Hydraulic Fluid Tank Lid Replacement: Schritt 15, Bild 1 von 3 Barreto Tillers E1320HTRLR 2016 Hydraulic Fluid Tank Lid Replacement: Schritt 15, Bild 2 von 3 Barreto Tillers E1320HTRLR 2016 Hydraulic Fluid Tank Lid Replacement: Schritt 15, Bild 3 von 3
    • Lift the tank lid out and around the engine guard mounting tabs to remove it.

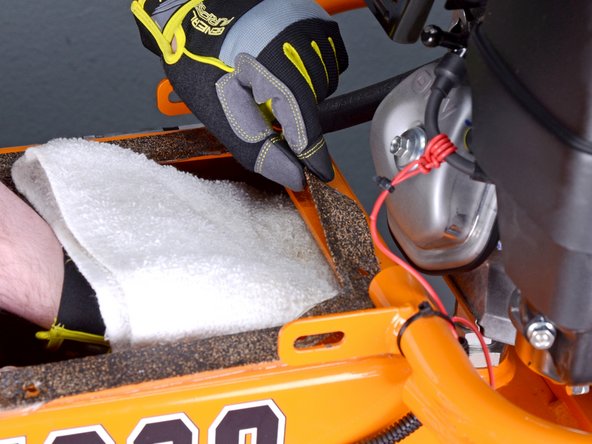
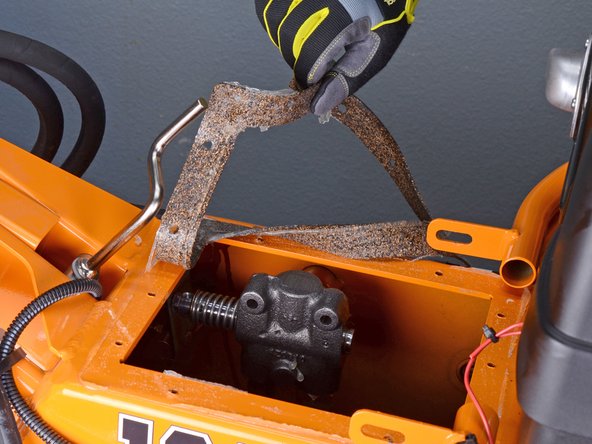
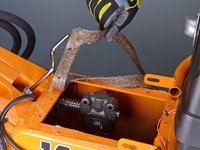
  16. Barreto Tillers E1320HTRLR 2016 Hydraulic Fluid Tank Lid Replacement, Remove the old gasket: Schritt 16, Bild 1 von 3 Barreto Tillers E1320HTRLR 2016 Hydraulic Fluid Tank Lid Replacement, Remove the old gasket: Schritt 16, Bild 2 von 3 Barreto Tillers E1320HTRLR 2016 Hydraulic Fluid Tank Lid Replacement, Remove the old gasket: Schritt 16, Bild 3 von 3
    • When peeling up the gasket, hold a shop towel underneath the lip of the tank to prevent any silicone remnants from falling in.

    • Peel the gasket up from around the perimeter of the tank.

    • Remove the gasket.

  17. Barreto Tillers E1320HTRLR 2016 Hydraulic Fluid Tank Lid Replacement, Reinstallation tip: Schritt 17, Bild 1 von 2 Barreto Tillers E1320HTRLR 2016 Hydraulic Fluid Tank Lid Replacement, Reinstallation tip: Schritt 17, Bild 2 von 2
    • Before reinstallation, remove all remnants of old silicone gasket from both the rim of the fluid tank as well as the tank's lid.

Abschluss

To reassemble your device, follow these instructions in reverse order.

Carsten Frauenheim

Mitglied seit: 03/10/20

136.384 Reputation

371 Anleitungen geschrieben

Team

iFixit Mitglied von iFixit

Staff

118 Mitglieder

19.623 Anleitungen geschrieben

0 Guide Comments

Kommentar hinzufügen

Seitenaufrufe:

Letzte 24 Stunden: 0

Letzte 7 Tage: 0

Letzte 30 Tage: 0

Insgesamt: 38