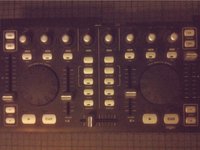
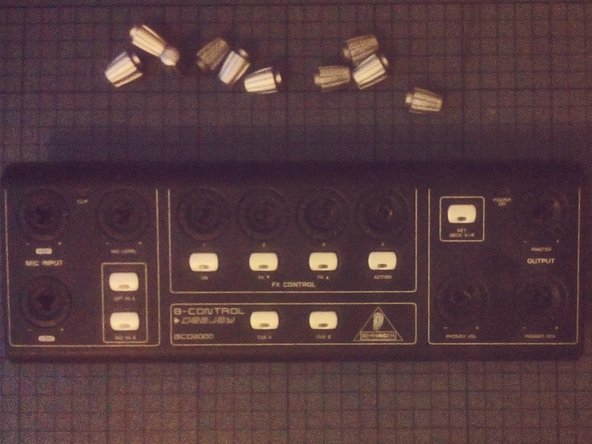
Was du brauchst
-
-
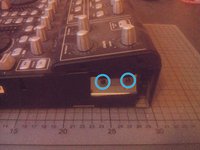
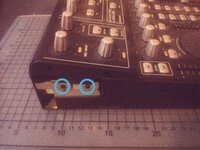
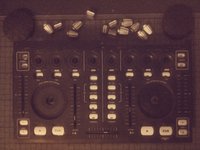
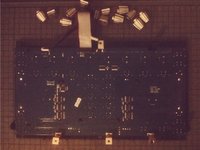
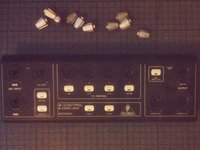
Entferne die beiden Kreuzschlitzschrauben auf jeder Seite.
-
Wenn die Schrauben zu fest sitzen kannst du für einen größeren Drehmoment die Wellenverlängerung benutzen.
-
-
-
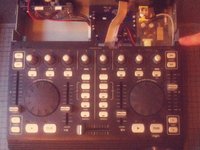
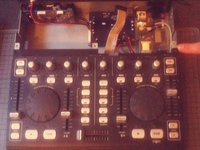
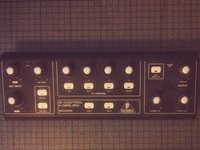
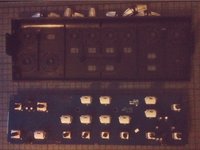
Hebe den oberen Kontrollteil an.
-
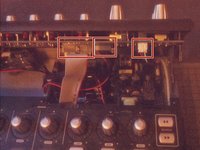
Trenne die Kabel ab, indem du die Stecker aus ihren Anschlüssen holst.
-
-
-
-
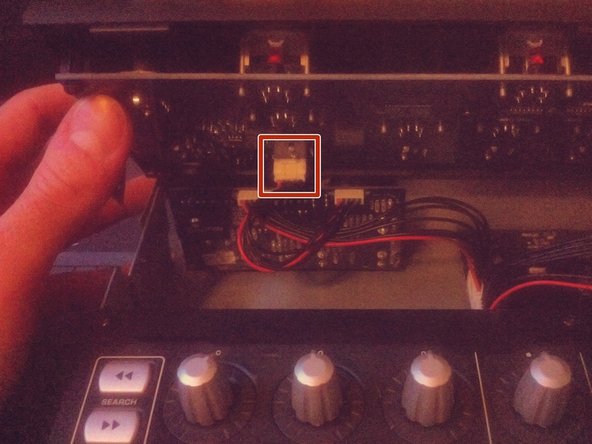
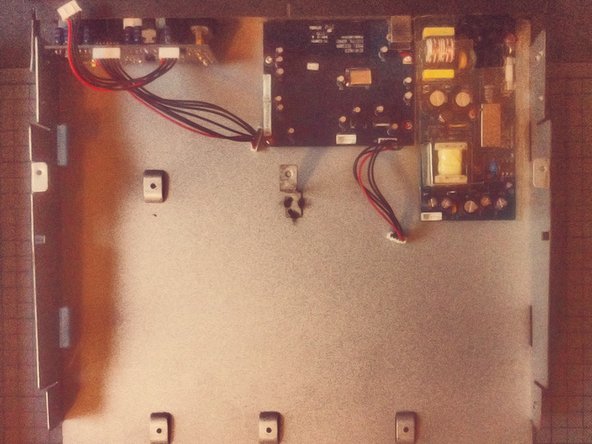
Trenne die beiden Kabel ab, mit denen der untere Bereich mit der Platine verbunden ist.
-
-
-
Schiebe den unteren Teil nach vorne.
-
Nun kannst du ihn anheben und beiseite legen.
-
-
-
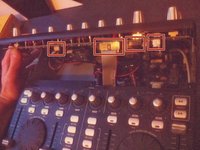
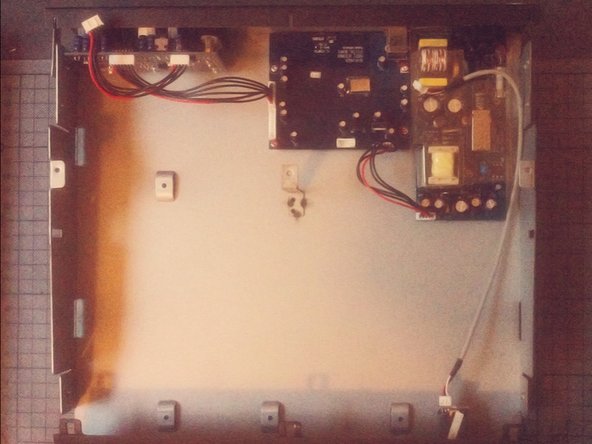
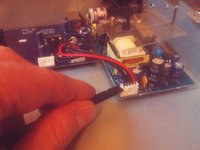
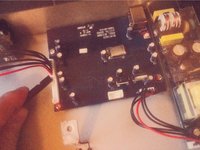
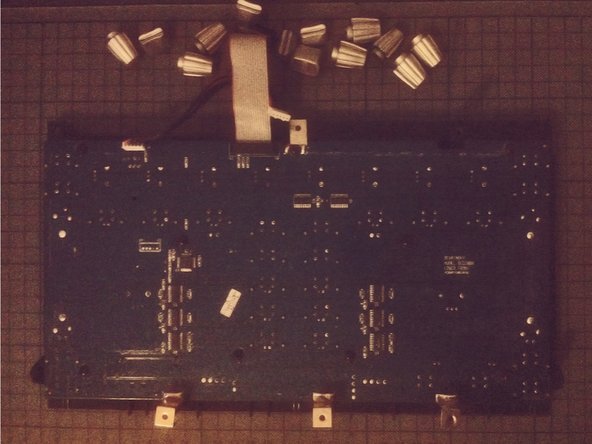
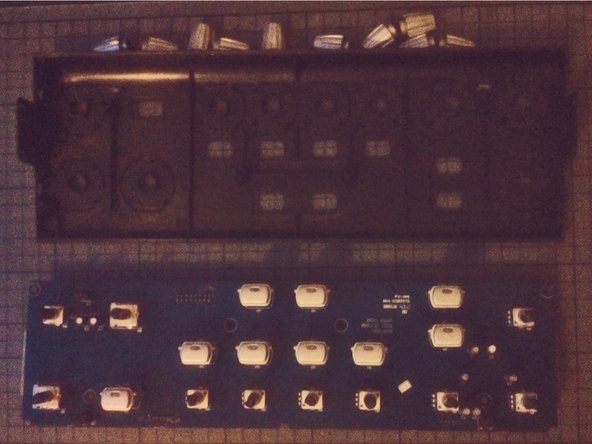
Trenne die beiden Platinen ab.
-
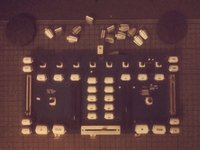
Entferne die Module, indem du sie vom Gehäuse losschraubst.
-
-
-
Die Jog-Wheels auf dem Front Panel können mit einem Spudger abgehebelt und entfernt werden.
-


Um dein Gerät wieder zusammenzubauen, folge den Schritten dieser Anleitung in umgekehrter Reihenfolge.
Um dein Gerät wieder zusammenzubauen, folge den Schritten dieser Anleitung in umgekehrter Reihenfolge.
Rückgängig: Ich habe diese Anleitung nicht absolviert.
5 weitere Personen haben diese Anleitung absolviert.
Besonderer Dank geht an diese Übersetzer:innen:
100%

Annika Faelker hilft uns, die Welt in Ordnung zu bringen! Wie kann ich mithelfen?
Hier starten ›

Team

Tobias Isakeit - Repairability Engineer Mitglied von Tobias Isakeit - Repairability Engineer
Business
1 Mitglied
1.132 Anleitungen geschrieben
2 Kommentare zur Anleitung
great stuff, with better quality pictures would be better