Diese Version enthält möglicherweise inkorrekte Änderungen. Wechsle zur letzten geprüften Version.
Was du brauchst
-
Dieser Schritt ist noch nicht übersetzt. Hilf mit, ihn zu übersetzen!
-
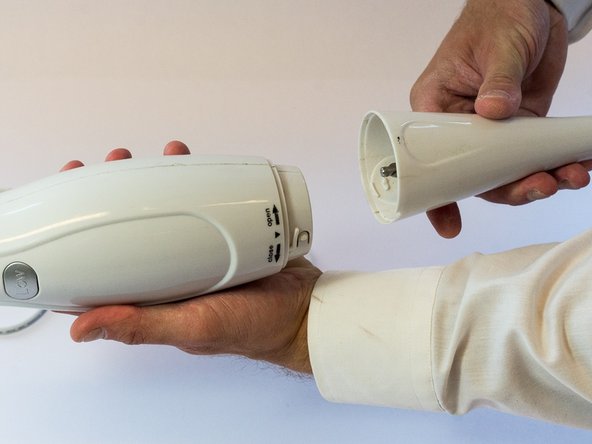
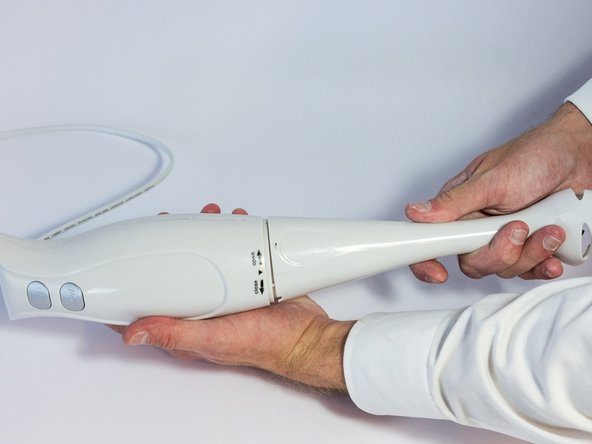
Take out the lower part of the blender, by rotating it clockwise, as stated on the upper part.
-
-
Dieser Schritt ist noch nicht übersetzt. Hilf mit, ihn zu übersetzen!
-
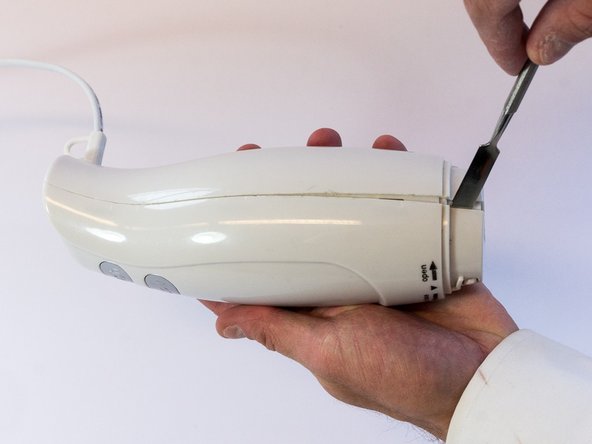
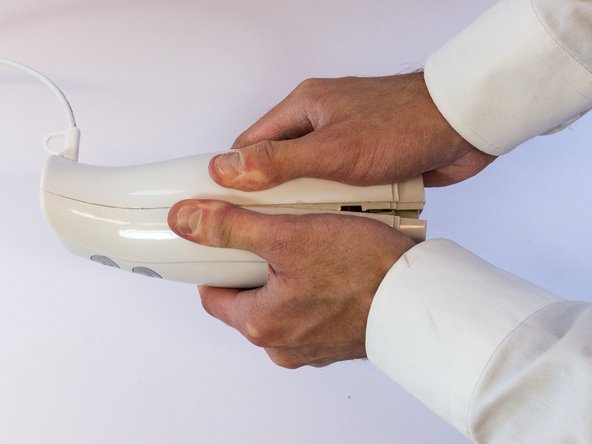
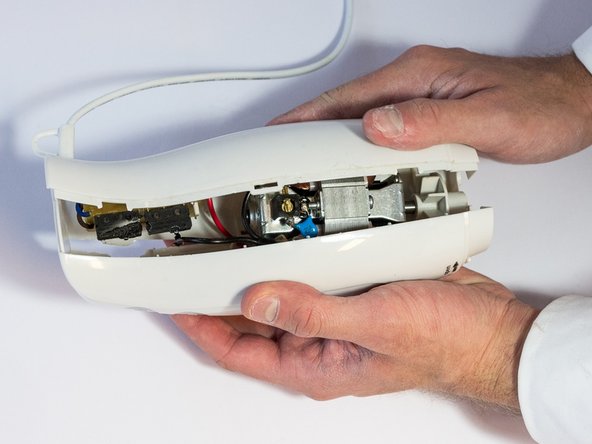
Gently put the metal spudger (1) in the gap between the two shell parts and force a small gap, so that the parts loosen up.
-
-
Dieser Schritt ist noch nicht übersetzt. Hilf mit, ihn zu übersetzen!
-
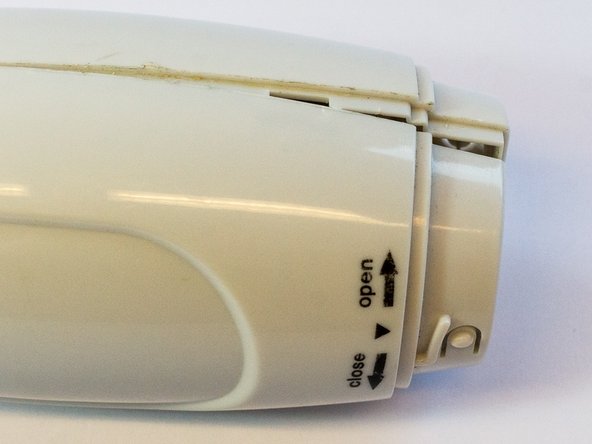
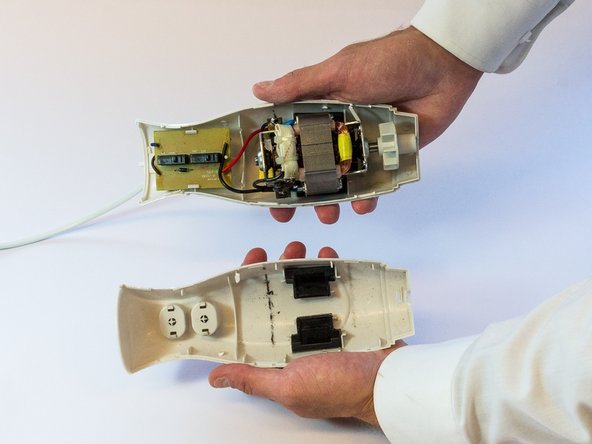
Open up the click connections inside the shells by gently pushing the two shells together with the hand palms, right next to the gap.
-
-
Dieser Schritt ist noch nicht übersetzt. Hilf mit, ihn zu übersetzen!
-
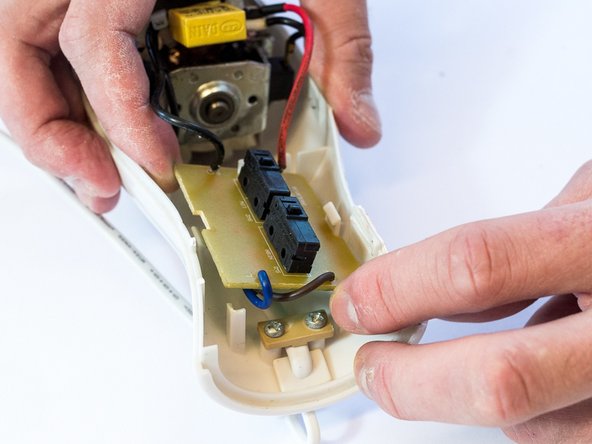
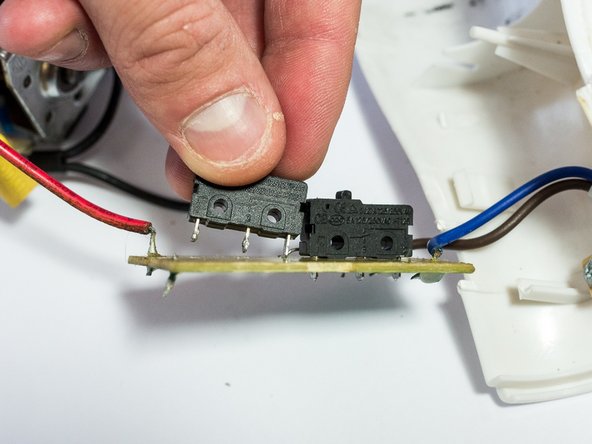
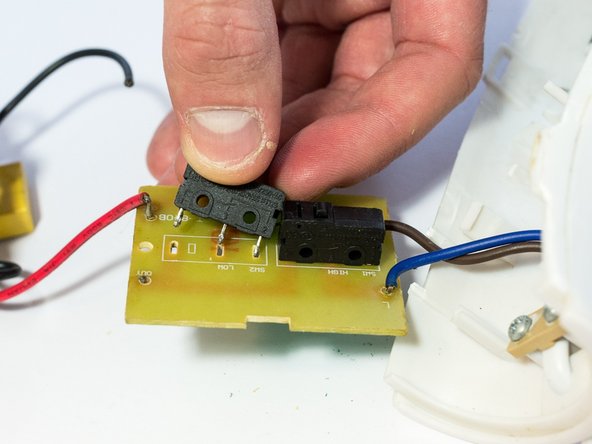
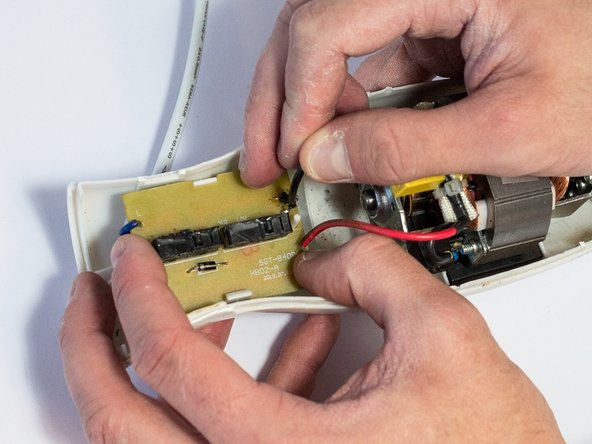
Slide out the printboard by pushing it back and forth in the clicking connection with the shell.
-
-
-
Dieser Schritt ist noch nicht übersetzt. Hilf mit, ihn zu übersetzen!
-
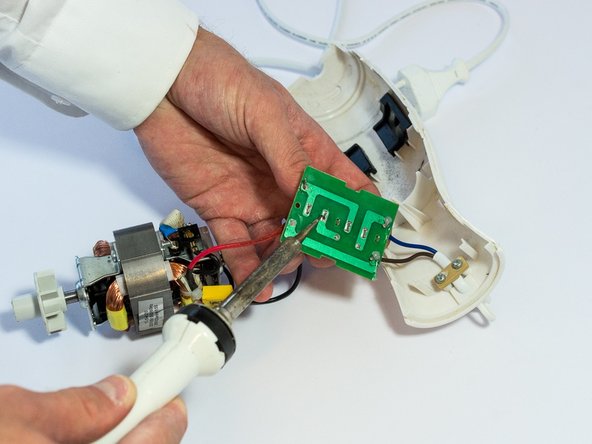
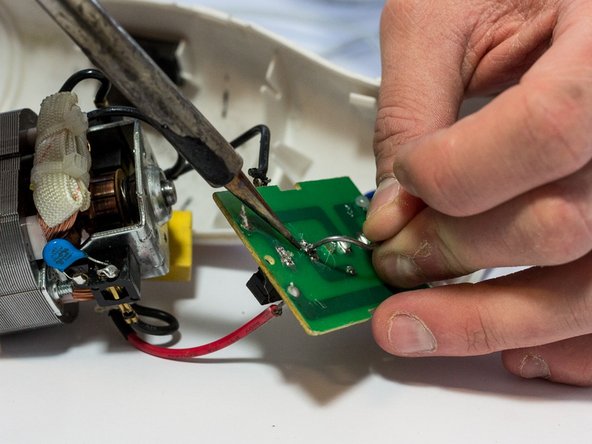
Loosen the two soldering connections between the metal connectivity ends of the switch and the printboard by heating it with a soldering iron from the soldering station (2), at a temperature of around 380 degrees Celsius. Use a desoldering pump (4) to suck the soldering tin away. Gently pull the switch away till it disconnects.
-
Take a look at this guide: Wie man Lötverbindungen herstellt und entlötet
-
Watch out: the soldering iron is hot and may melt other parts in the product if you aren't careful.
-
-
Dieser Schritt ist noch nicht übersetzt. Hilf mit, ihn zu übersetzen!
-
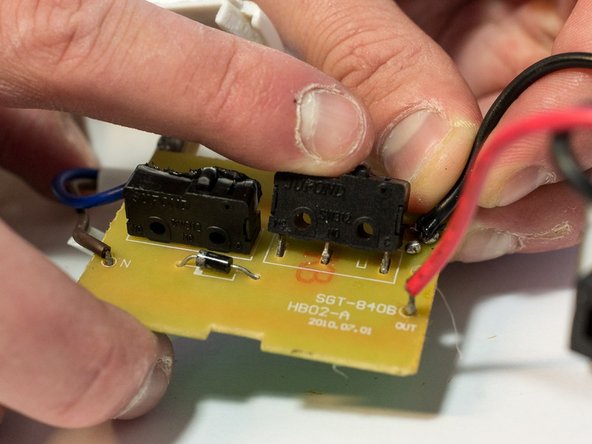
Take the replacement switch (5).
-
-
Dieser Schritt ist noch nicht übersetzt. Hilf mit, ihn zu übersetzen!
-
Place the new switch in the empty holes of the printboard and use a soldering iron (2) and soldering wire (3) to reconnect the parts with the printboard. Make sure the connection is strong enough.
-
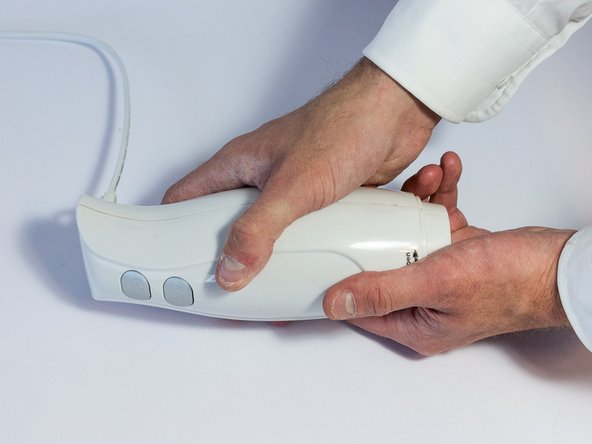
Make sure the new switch is placed with the button in the right direction.
-
-
Dieser Schritt ist noch nicht übersetzt. Hilf mit, ihn zu übersetzen!
-
Put the printboard back into the clicking connection with the shell. Make sure the motor is at the right location as well.
-
-
Dieser Schritt ist noch nicht übersetzt. Hilf mit, ihn zu übersetzen!
-
Push the two shells together until you hear a ‘click’ and make sure the two shells are well connected.
-
-
Dieser Schritt ist noch nicht übersetzt. Hilf mit, ihn zu übersetzen!
-
Put the lower part of blender back at the two shells by rotating it counterclockwise, as stated on the upper part.
-

Rückgängig: Ich habe diese Anleitung nicht absolviert.
Ein:e weitere:r Nutzer:in hat diese Anleitung absolviert.
Team

Delft University of Technology, Team S1-G4, Flipsen Spring 2017 Mitglied von Delft University of Technology, Team S1-G4, Flipsen Spring 2017
TUD-FLIPSEN-S17S1G4
3 Mitglieder
2 Anleitungen geschrieben