Einleitung
Following this guide involves completely disassembling the monitor. This process isn't terribly difficult, just time consuming.
Was du brauchst
-
-
Carefully place the monitor face down on a flat surface, being careful to protect the display.
-
Remove the four 10 mm Phillips #2 screws from the back panel.
-
-
-
Flip the monitor back over, so that the display is facing you.
-
Use a spudger to remove the front bezel by unsnapping it in a counter clockwise fashion, starting at the bottom right, and ending at the button panel.
-
-
-
Carefully flip the monitor back over, making sure to keep the front bezel in place.
-
Lift the back cover off of the rest of the monitor.
-
-
-
Locate the USB port cover on the right hand side of the monitor.
-
Remove the one 5 mm Phillips #2 screw.
-
Remove the USB port cover by sliding it out and away from the monitor.
-
-
-
-
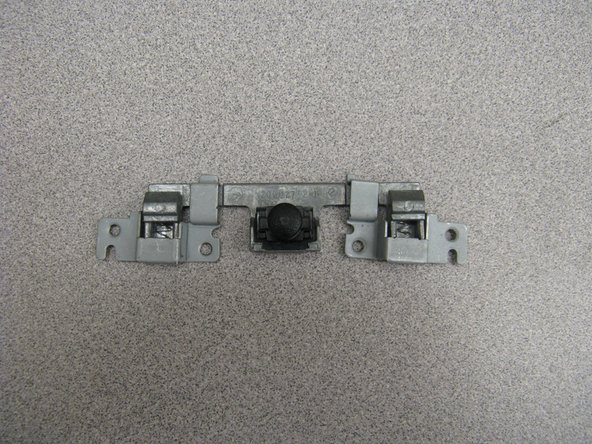
Remove the four 4 mm Phillips #2 screws that secure the monitor mount release mechanism to the panel.
-
Set this mechanism off to the side, taking care to keep it all in one piece.
-
-
-
Use a 5 mm nut driver to remove the four 12 mm standoff screws securing the video connectors to the panel.
-
-
-
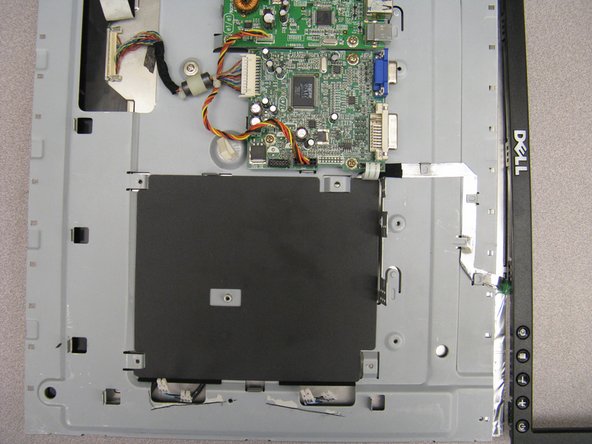
Use the tweezers to lift up the seven security tabs that secure the back panel to the rest of the monitor.
-
-
-
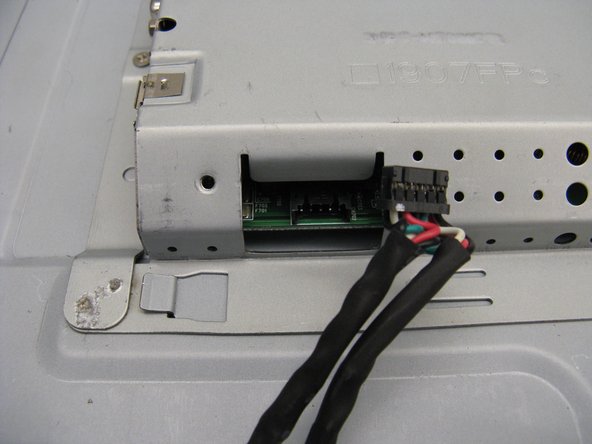
Open up the clip securing the wires running between the power supply and video boards.
-
Gently remove the connector running from the video board to the power supply board.
-


To reassemble your device, follow these instructions in reverse order.
To reassemble your device, follow these instructions in reverse order.
Rückgängig: Ich habe diese Anleitung nicht absolviert.
8 weitere Personen haben diese Anleitung absolviert.
