Zum Hauptinhalt wechseln

Dell Inspiron 15 7560 Fan Replacement

Was du brauchst

  1. Dell Inspiron 15 7560 Fan Replacement, Fan: Schritt 1, Bild 1 von 1
    • Power off the laptop.

    • Place the laptop with the bottom facing upwards.

    • Remove eight 5 mm screws from the bottom of the laptop.

    • Loosen the three captive screws.

    • Use an iFixit opening tool to pry the bottom cover away from the laptop.

  2. Dell Inspiron 15 7560 Fan Replacement: Schritt 2, Bild 1 von 1
    • Remove the two screws from the fan.

  3. Dell Inspiron 15 7560 Fan Replacement: Schritt 3, Bild 1 von 2 Dell Inspiron 15 7560 Fan Replacement: Schritt 3, Bild 2 von 2
    • Remove the black insulating tape from the fan connector.

    • Pinch the sides of the white fan connector with your thumb and index fingernail and pull it out of its socket.

    • Remove the fan from the laptop.

    • Save the insulating tape for reinstallation.

  4. Dell Inspiron 15 7560 Fan Replacement: Schritt 4, Bild 1 von 2 Dell Inspiron 15 7560 Fan Replacement: Schritt 4, Bild 2 von 2
    • Place the new fan in the laptop.

    • Plug the cable connector into its socket on the motherboard.

    • Replace the two screws around the fan.

  5. Dell Inspiron 15 7560 Fan Replacement: Schritt 5, Bild 1 von 1
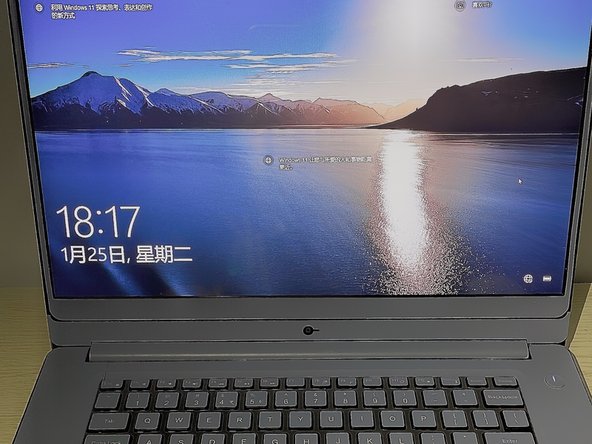
    • Before replacing the bottom cover, start the computer to check if the cooling fan is installed successfully.

  6. Dell Inspiron 15 7560 Fan Replacement: Schritt 6, Bild 1 von 1
    • Power down the computer.

    • Reassemble the bottom cover.

Ziellinie

Kristen Gismondi

Mitglied seit: 11/12/14

81.961 Reputation

200 Anleitungen geschrieben

Team

iFixit Mitglied von iFixit

Staff

135 Mitglieder

17.187 Anleitungen geschrieben

0 Kommentare

Kommentar hinzufügen

Seitenaufrufe:

Letzte 24 Stunden: 0

Letzte 7 Tage: 2

Letzte 30 Tage: 28

Insgesamt: 670