Zum Hauptinhalt wechseln

Epson Powerlite 410W Top Cover Replacement

Was du brauchst

  1. Epson Powerlite 410W Top Cover Replacement, Top Cover: Schritt 1, Bild 1 von 1
    • Press the power button located on top of the projector.

    • Remember to let the projector cool off completely after turning off the power before beginning the repair.

  2. Epson Powerlite 410W Top Cover Replacement: Schritt 2, Bild 1 von 1
    • Remove eight screws from the bottom of the device using a Phillips #00 screwdriver.

  3. Epson Powerlite 410W Top Cover Replacement: Schritt 3, Bild 1 von 3 Epson Powerlite 410W Top Cover Replacement: Schritt 3, Bild 2 von 3 Epson Powerlite 410W Top Cover Replacement: Schritt 3, Bild 3 von 3
    • Turn the projector so the power button is on top.

    • Gently pull up the cover until it pops off.

    • Do not pull too far; a ribbon cable still connects the top cover to the motherboard.

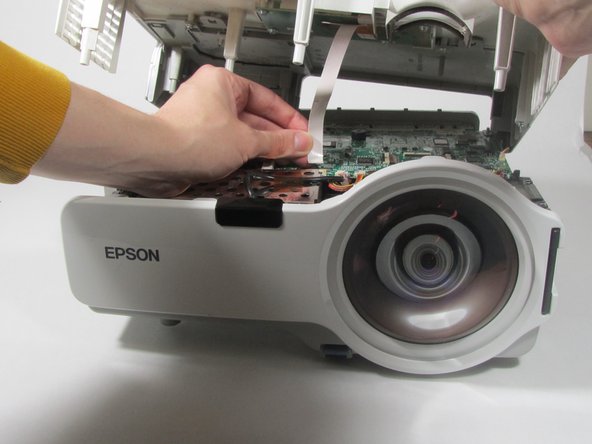
    • Disconnect the ribbon cable that attaches the cover to the motherboard.

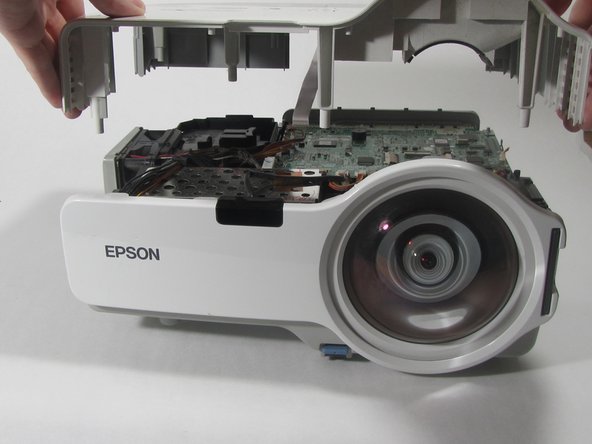
    • Remove the cover and place to the side.

Abschluss

To reassemble your device, follow these instructions in reverse order.

Kristen Gismondi

Mitglied seit: 11/12/14

83.185 Reputation

204 Anleitungen geschrieben

Team

iFixit Mitglied von iFixit

Staff

137 Mitglieder

17.524 Anleitungen geschrieben

0 Kommentare

Kommentar hinzufügen

Seitenaufrufe:

Letzte 24 Stunden: 0

Letzte 7 Tage: 0

Letzte 30 Tage: 0

Insgesamt: 50