Diese Anleitung enthält neuere Änderungen. Wechsel zur neuesten unüberprüften Version.
Einleitung
This guide is meant to remedy a faulty fan. Signs of a defective fan include overheating, rapid battery power depletion or grinding noises. This guide involves many small parts, do not lose track of these because they are necessary for reassembly.
Was du brauchst
-
-
Place computer with the screen down on a flat surface.
-
Push the two locking latches to the unlocked position.
-
Push the cover toward the top of the computer and lift up.
-
-
-
Press locking latch on the bottom of the base of the stand.
-
Pull the plastic cover off of the stand.
-
-
-
-
Use a Torx T15 driver and stick it through the holes on the stand in order to remove the two 12mm screws on the back of the main unit.
-
Tilt stand and lift up to remove it.
-
-
-
Use a Torx T15 driver to remove the single 10mm screw on the back panel.
-
Pull the back panel toward the bottom of the device to remove it.
-
-
-
Disconnect these two power connectors on the motherboard, one connector is white and the other is black. You can identify the correct wires by their braided colors: red, yellow, blue, and black.
-
-
-
Use a Torx T15 driver to remove the three 6mm screws surrounding the fan assembly.
-
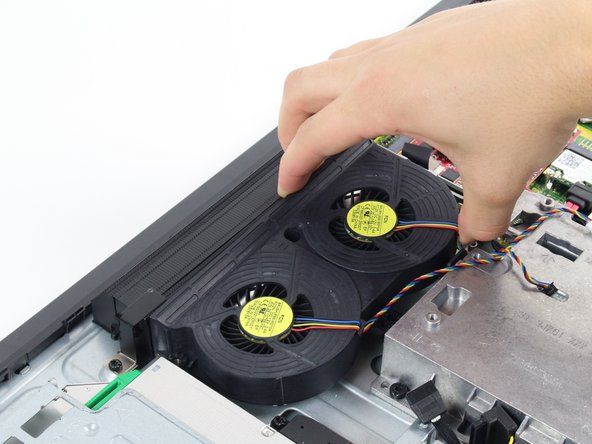
Pull the fan assembly up from the case to remove it.
-
To reassemble your device, follow these instructions in reverse order.
To reassemble your device, follow these instructions in reverse order.
Rückgängig: Ich habe diese Anleitung nicht absolviert.
5 weitere Nutzer:innen haben diese Anleitung absolviert.


