Einleitung
If your HP Envy m6-p114dx laptop runs slow when opening files or even internet browsing, then it's time to replace your ram. First, ram is your laptop’s short-term memory where data is stored, and your computer processor needs this to open files or applications. It's also important to note that this isn't just a replacement, but you can add more ram to improve your computer processor speed. After completing this replacement, your laptop will be as fast as when you first bought it,
There are no special skills required for this guide but you will be using a screwdriver. So, here is a link for Screwdriver Best Practices that can help.
Verwendung von Schraubendrehern[br
|new_window=true]
Was du brauchst
-
-
-
Carefully wedge an iFixit opening tool under the cover and slide it alongside the case to ensure that all clips are un-clipped.
-
-
-
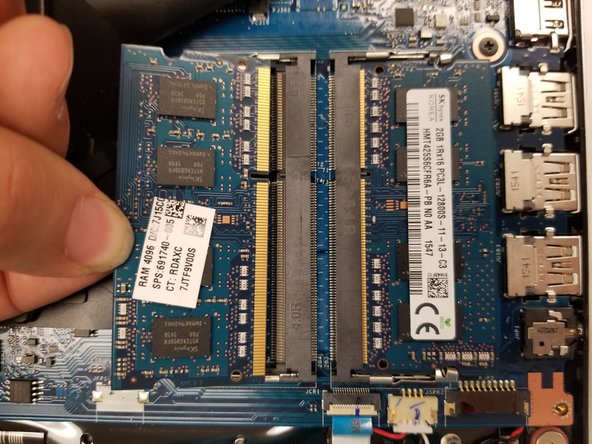
There will be two metal tabs on the side of the stick, carefully push down the stick then push the clips to the side to detach it from the slot
-
Remove the RAM by pulling it directly out of the port.
-
-
-
Insert RAM stick all the way into the slot, lining up the groove in the stick.
-
Press firmly down until the tabs click into place
-


To reassemble your device, follow these instructions in reverse order.
To reassemble your device, follow these instructions in reverse order.

Team

Gateway, Team S1-G1, Saknee Fall 2019 Mitglied von Gateway, Team S1-G1, Saknee Fall 2019
GCC-SAKNEE-F19S1G1
2 Mitglieder
5 Anleitungen geschrieben