Zum Hauptinhalt wechseln

HP Pavilion 15-n210dx Fan Replacement

Was du brauchst

  1. HP Pavilion 15-n210dx Fan Replacement, Battery: Schritt 1, Bild 1 von 1
    • Turn the laptop over.

  2. HP Pavilion 15-n210dx Fan Replacement: Schritt 2, Bild 1 von 3 HP Pavilion 15-n210dx Fan Replacement: Schritt 2, Bild 2 von 3 HP Pavilion 15-n210dx Fan Replacement: Schritt 2, Bild 3 von 3
    • Push the pins towards each other using your thumbs. The battery will pop out a little bit. Remove it using your hand.

  3. HP Pavilion 15-n210dx Fan Replacement, Keyboard: Schritt 3, Bild 1 von 1
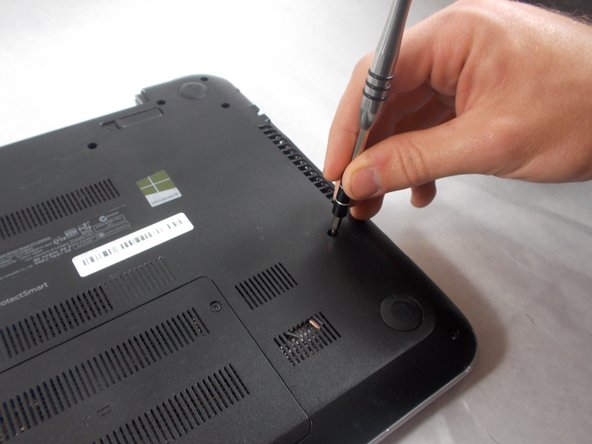
    • Turn over the laptop and remove the single screw using a Tri-point Y0 screwdriver.

  4. HP Pavilion 15-n210dx Fan Replacement: Schritt 4, Bild 1 von 1
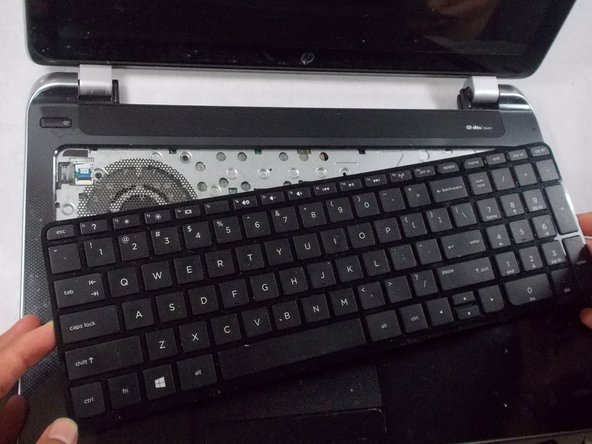
    • Open the laptop and use a spudger gently to get under the keyboard. Loosen the keyboard on all sides and then lift it up.

  5. HP Pavilion 15-n210dx Fan Replacement: Schritt 5, Bild 1 von 2 HP Pavilion 15-n210dx Fan Replacement: Schritt 5, Bild 2 von 2
    • Use the spudger to unhinge the fastener and remove the connector.

    • The keyboard should be completely detached from the computer now.

  6. HP Pavilion 15-n210dx Fan Replacement, Motherboard: Schritt 6, Bild 1 von 1
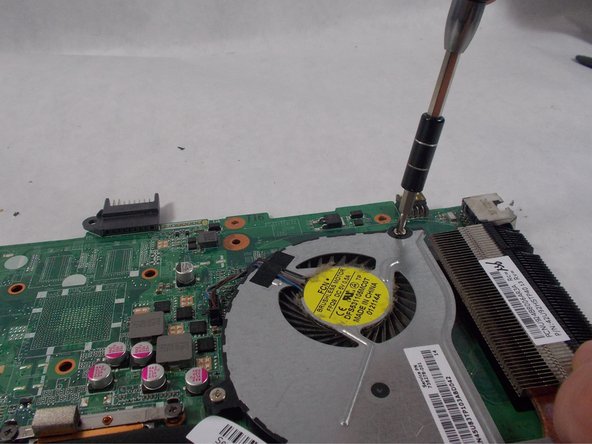
    • Use the Tri-point Y0 screwdriver to remove all the screws on the metal sheet.

  7. HP Pavilion 15-n210dx Fan Replacement: Schritt 7, Bild 1 von 2 HP Pavilion 15-n210dx Fan Replacement: Schritt 7, Bild 2 von 2
    • Lift up flaps to disconnect the blue connectors.

    • You can use your fingers or a tweezer to lift up the flap.

  8. HP Pavilion 15-n210dx Fan Replacement: Schritt 8, Bild 1 von 2 HP Pavilion 15-n210dx Fan Replacement: Schritt 8, Bild 2 von 2
    • Using the Phillips #0 screwdriver, remove twelve (12) screws from the back panel.

  9. HP Pavilion 15-n210dx Fan Replacement: Schritt 9, Bild 1 von 2 HP Pavilion 15-n210dx Fan Replacement: Schritt 9, Bild 2 von 2
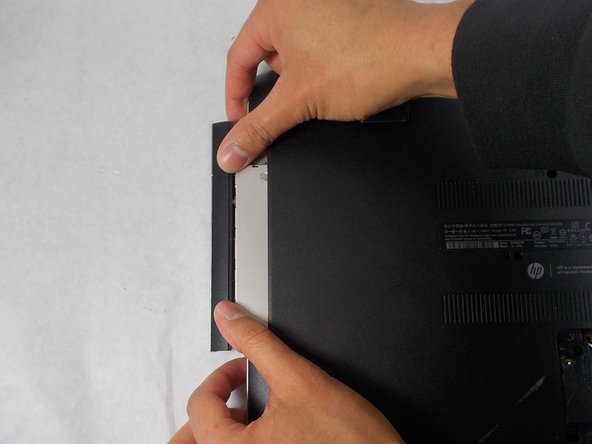
    • Remove the optic drive by pushing the flap with your thumbs. Once enough of the optic drive is exposed for fingers to grasp it, remove it entirely by using your hand.

    • A spudger can assist in initiating the separation. Insert the spudger between where the flap meets the body of the computer and push the spudger against the flap.

  10. HP Pavilion 15-n210dx Fan Replacement: Schritt 10, Bild 1 von 1
    • Using the Phillips #0 screwdriver, remove the screws that become exposed after the removal of the optic drive.

  11. HP Pavilion 15-n210dx Fan Replacement: Schritt 11, Bild 1 von 2 HP Pavilion 15-n210dx Fan Replacement: Schritt 11, Bild 2 von 2
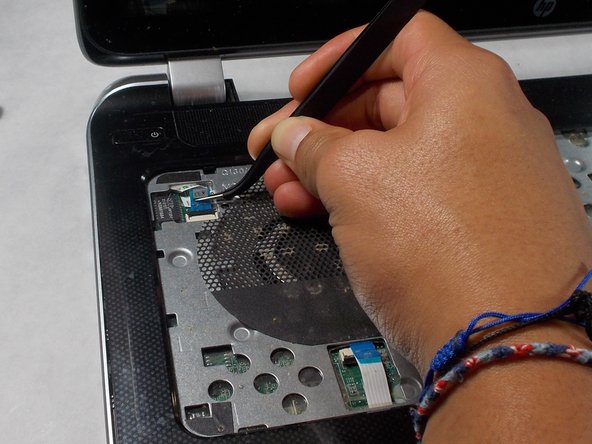
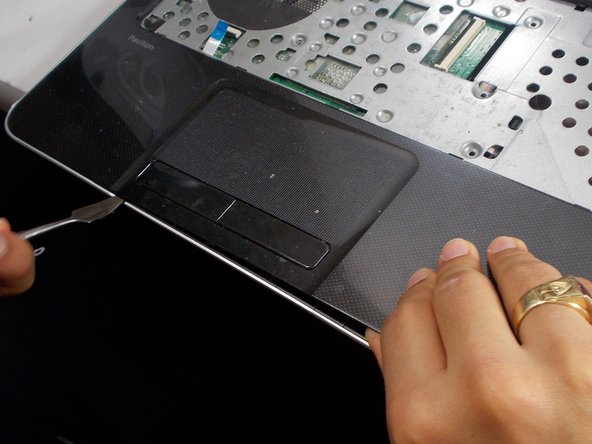
    • Insert a medal spudger between where the black plastic meets the silver plastic to loosing and eventually separate the two plastic parts.

    • Slide the spudger along where the two plastics meet to increase the separation. Use your other hand to stabilize the computer.

    • Avoid using the metal spudger unless for serious prying power. If used incorrectly, the metal spudger may damage the internal components of your device.

  12. HP Pavilion 15-n210dx Fan Replacement: Schritt 12, Bild 1 von 2 HP Pavilion 15-n210dx Fan Replacement: Schritt 12, Bild 2 von 2
    • After separating the two parts, they should look like this.

  13. HP Pavilion 15-n210dx Fan Replacement: Schritt 13, Bild 1 von 2 HP Pavilion 15-n210dx Fan Replacement: Schritt 13, Bild 2 von 2
    • Using the Phillips #0 screwdriver, remove the four black screws.

  14. HP Pavilion 15-n210dx Fan Replacement: Schritt 14, Bild 1 von 1
    • Flip the black flap up to sperate the strap.

  15. HP Pavilion 15-n210dx Fan Replacement: Schritt 15, Bild 1 von 2 HP Pavilion 15-n210dx Fan Replacement: Schritt 15, Bild 2 von 2
    • Lift up the blue flaps with a finger and detach the sliver straps.

  16. HP Pavilion 15-n210dx Fan Replacement: Schritt 16, Bild 1 von 1
    • Lift the motherboard up.

    • You might have to jiggle it around to loosen it before lifting it up and removing it from the base of the laptop.

  17. HP Pavilion 15-n210dx Fan Replacement: Schritt 17, Bild 1 von 1
    • Pull the black plug-in to detach it from the bottom of the motherboard.

    • The motherboard should be completely detached from the computer.

  18. HP Pavilion 15-n210dx Fan Replacement, Fan: Schritt 18, Bild 1 von 1
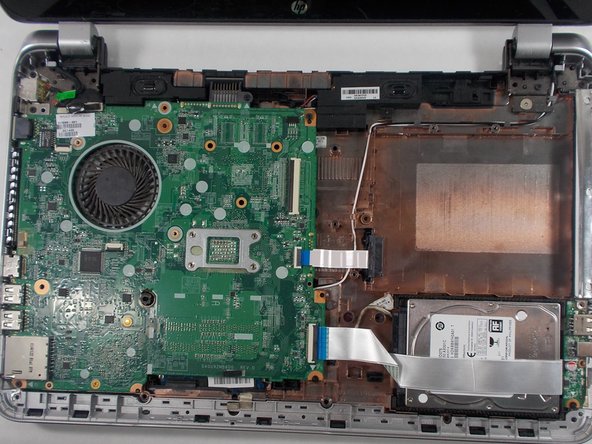
    • After removing the motherboard, turn it over and place it on a flat surface.

  19. HP Pavilion 15-n210dx Fan Replacement: Schritt 19, Bild 1 von 2 HP Pavilion 15-n210dx Fan Replacement: Schritt 19, Bild 2 von 2
    • Remove the two screws using the Phillips #0 screwdriver.

  20. HP Pavilion 15-n210dx Fan Replacement: Schritt 20, Bild 1 von 2 HP Pavilion 15-n210dx Fan Replacement: Schritt 20, Bild 2 von 2
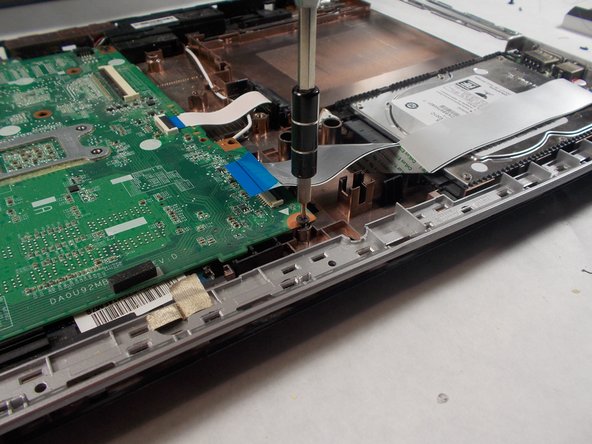
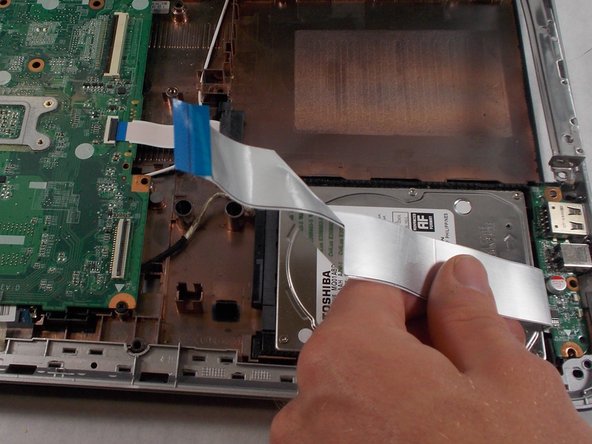
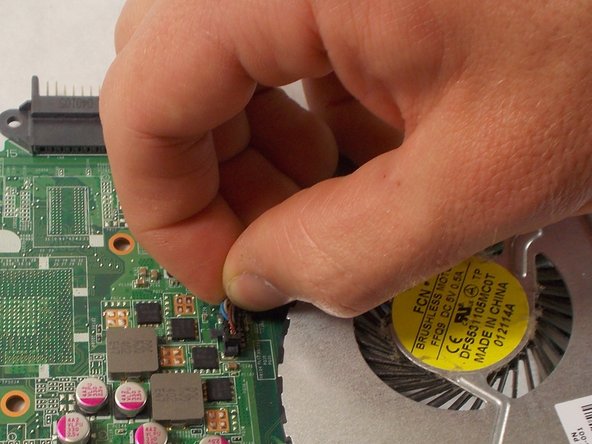
    • Using your thumb and index finger, grasp the wires closes to the motherboard and pull up to detach them from the motherboard.

  21. HP Pavilion 15-n210dx Fan Replacement: Schritt 21, Bild 1 von 1
    • Remove the fan from the motherboard.

Abschluss

To reassemble your device, follow these instructions in reverse order.

Ein:e weitere:r Nutzer:in hat diese Anleitung absolviert.

Team

UMass Dartmouth, Team 3-8, Sinclaire Fall 2021 Mitglied von UMass Dartmouth, Team 3-8, Sinclaire Fall 2021

UMASSD-SINCLAIRE-F21S3G8

4 Mitglieder

6 Anleitungen geschrieben

0 Kommentare

Kommentar hinzufügen

Seitenaufrufe:

Letzte 24 Stunden: 0

Letzte 7 Tage: 0

Letzte 30 Tage: 2

Insgesamt: 203