Einleitung
Sole delamination, where the sole separates from the shoe upper, is a common issue that can compromise both comfort and performance. We will walk you through the steps to repair sole delamination, ensuring your shoes regain their grip and longevity.
If you need to fix a smaller delamination from the midsole, check out this guide
Was du brauchst
-
-
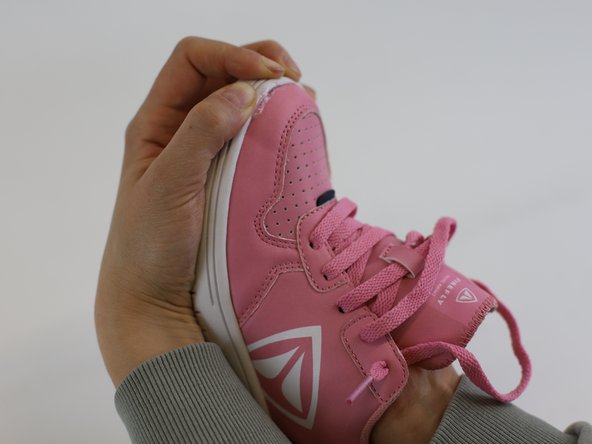
Identify the upper part that needs to be repaired
-
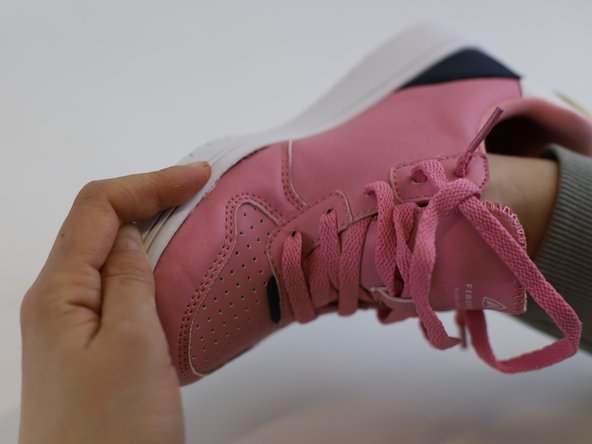
For better pressing later, remove the insole.
-
-
-
Use a rough piece of sandpaper to rub-off the remaining glue residue and to roughen the surface for enhanced glue adhesion.
-
Be careful not to damage the material above the glued sole edge.
-
-
-
-
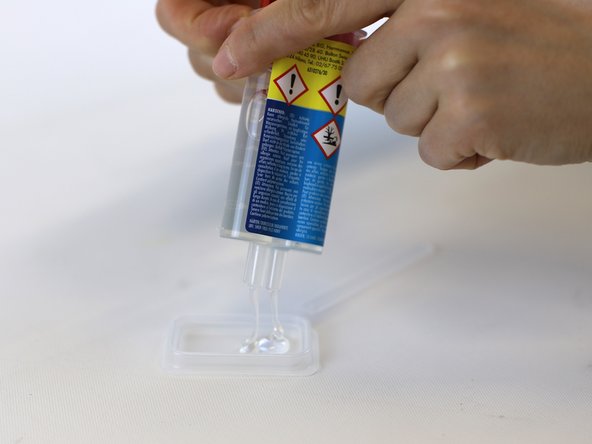
Follow the instructions of the 2-component glue.
-
Push-out both components of the glue into a small tray and mix the mass until it is equally merged.
-
-
-
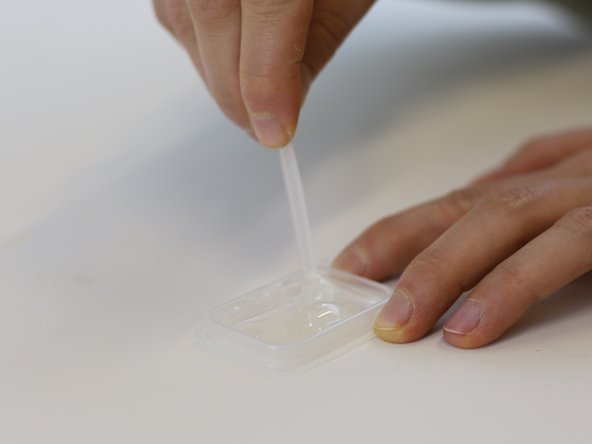
Using a small spatula, coat the prepared upper surface with the glue.
-
Note: We recommend to get support by another person to pull apart the sole from the upper.
-
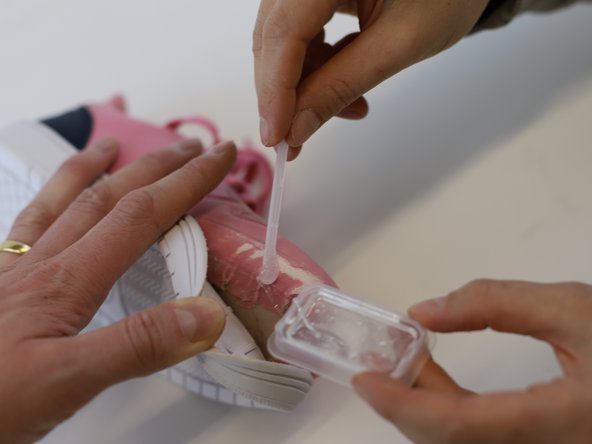
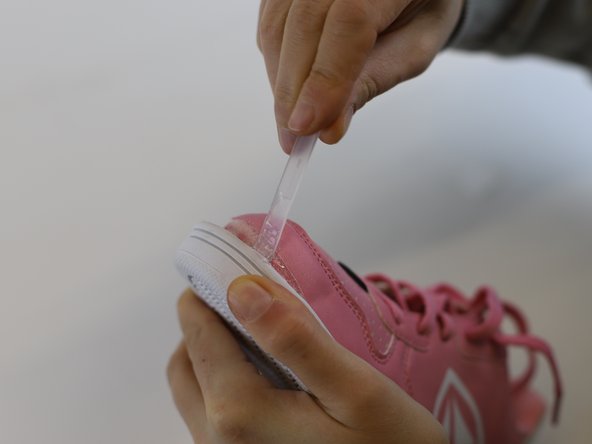
Spread the glue equally onto the roughened area and the inside of the sole edge.
-
-
-
Let the glue dry while putting one hand into the shoe and grasping the sole with the other one.
-
Note: Follow the instructions of the glue used to know the exact drying time. In this example we held the parts together for 3 minutes and then let it dry for 24 hours.
-
-
-
🛠️🏆👏 Congratulations! The repair is complete, and you're ready to go!
-


In need of another repair? Don't worry! Check out our other guides to find quick solutions for your favourite clothing, footwear and equipment!
In need of another repair? Don't worry! Check out our other guides to find quick solutions for your favourite clothing, footwear and equipment!

Team
