Einleitung
The charging port bay contains the USB-C port required to charge your JBL Charge 4. It also includes an AUX port to play music and a USB out port to charge your device. If one or more of these ports is not working this guide will show you how to replace them. This guide requires knowledge of desoldering. Find a guide on soldering and desoldering here.
Was du brauchst
-
-
Flip your speaker over and insert the plastic opening tool into the slit on the grille.
-
Pry away from yourself towards the back of the speaker to release the clip.
-
Repeat this process for the clip on the other side.
-
-
-
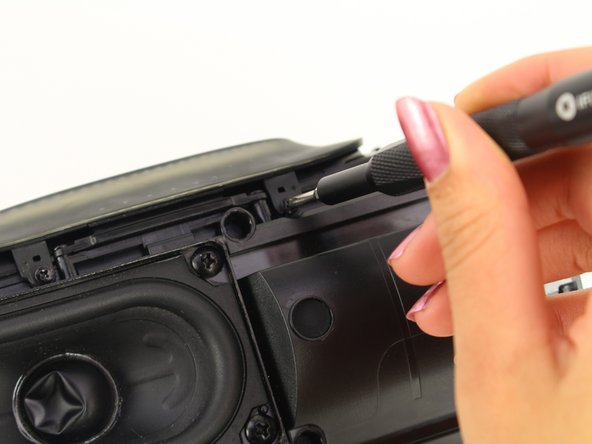
Remove the two 8mm Phillips #0 screws from the other edge of the grille.
You have to remove the 8 mm screws before you try and Prius the other side. They are attached, and will break
-
-
-
Using the plastic opening tool, lift the tab on top of the speaker to release the radiator from the clips.
-
Repeat this process on the other clips around the radiator to release it from the frame.
There is absolutely no reason to remove the passive radiators if you want to replace the speaker only!
Just cut to step 6.
Also the difficulty level is way too high. I found it very easy to disassemble the unit.
-
-
-
-
Remove the two 6mm Phillips #0 screws from either side to remove the port bay cover.
-
-
-
There are two hooks that attach the opposite side of the port bay cover to the device. Slide the cover back and off the hooks.
-
Remove the port bay cover.
-
-
-
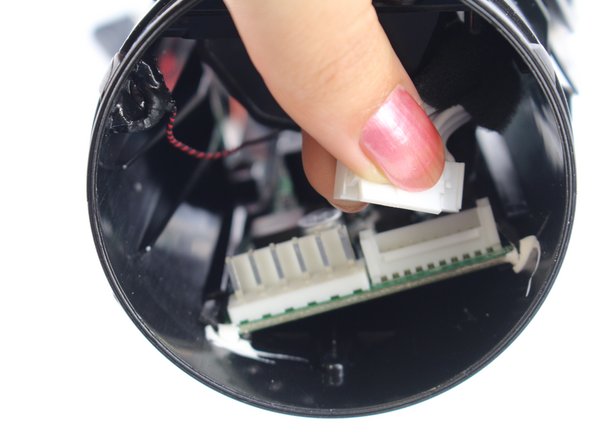
Choose which port you want to replace.
-
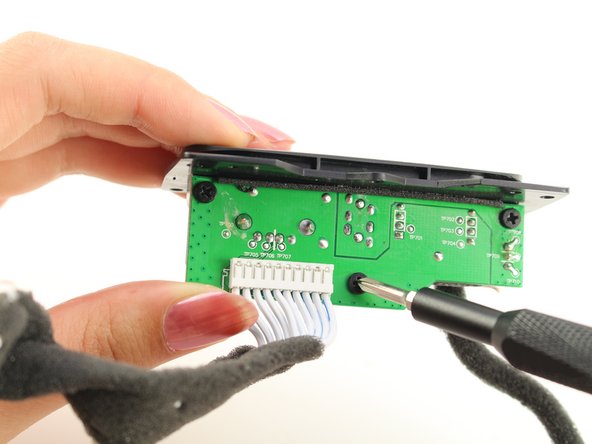
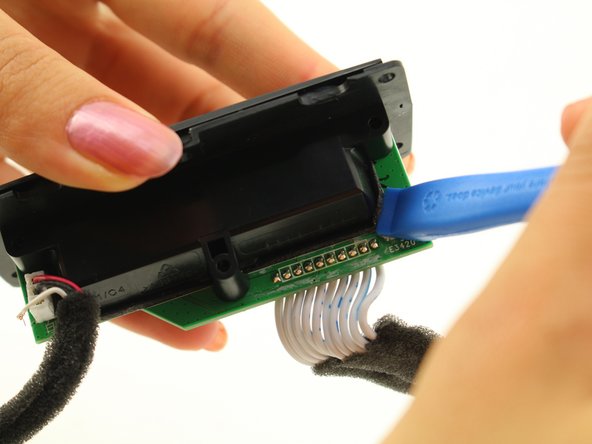
Turn the board around and desolder the connection to remove the chosen port.
-


To reassemble your device, follow these instructions in reverse order.
To reassemble your device, follow these instructions in reverse order.
Rückgängig: Ich habe diese Anleitung nicht absolviert.
12 weitere Nutzer:innen haben diese Anleitung absolviert.
Team

Cal Poly, Team S1-G1, White Winter 2019 Mitglied von Cal Poly, Team S1-G1, White Winter 2019
CPSU-WHITE-W19S1G1
4 Mitglieder
26 Anleitungen geschrieben
9 Kommentare
Does anybody know which exact ports I have to get? There are a ton of different models out there.
You can purchase charging sockets from ebay by searching for "jbl charge 4 usb-c port" (without the quotation marks) or if you don't feel like replacing the charging port yourself, there are mail-in repair services available also.
Simon -
Ersatzteil:
✅ JBL Charge 4 Bluetooth Lautsprecher Micro USB C Buchse Ladebuchse Connector
https://www.ebay.de/itm/164897748374
Falls Sie beim Austausch der Buchse Hilfe benötigen:
✅ REPARATUR Austausch Micro USB C Buchse Ladebuchse Anschluss Port JBL Charge 4
i want to charge the battery straight not through charging port, which wires can i connect with th charger
A thoroughly and well performed guide, thumbs up!
Where to get the ports… eBay link doenst work
You can buy ports from ebay by searching for "jbl charge 4 usb-c port" (without the quotation marks) or if you don't feel like replacing the charging socket yourself, there are mail-in repair services available also.
Simon -
ich schaffe es nur auf der einen seite. Auf der anderen ist die abdeckung viel zu fest dran ? was kann ich machen ?
George Ziakos - Antwort