Einleitung
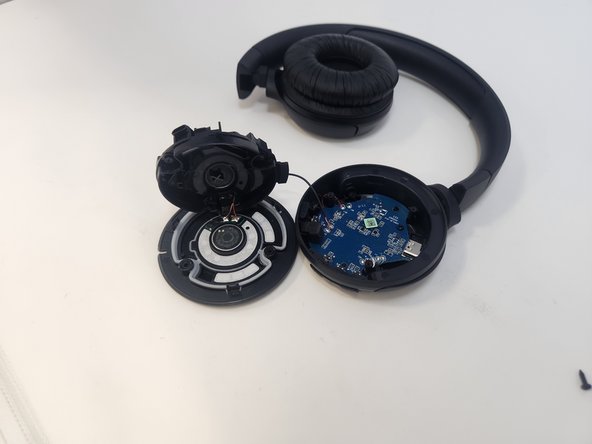
This guide is designed to assist users in replacing the speaker drivers in their JBL Tune 510BT headphones. If you've noticed that your speakers are quiet, producing static noises, or not making any sound at all, this guide will provide step-by-step instructions to help you restore your headphones to optimal condition.
The speaker driver is the most vital component for the operation and use of a headphone. This is what produces the sound. If the driver fails or becomes compromised, it's time to replace the component.
If you begin to notice the speakers worsening or not working at all, it can ruin a listening experience and create frustration. If you begin to experience these failures, first check our troubleshooting guide here for potential solutions. Remember to dispose of the old speaker drivers and other waste properly and responsibly.
Was du brauchst
-
-
Firmly grasp the earmuff and pull away from the center until the lip of the earmuff is disengaged.
-
Pull the earmuff towards the center of the headphones until it is free.
-
-
-
-
Carefully remove the faceplate by lifting it firmly.
-
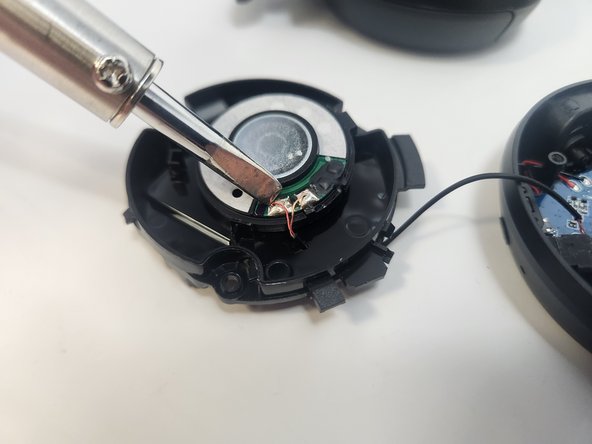
To completely detach the faceplate, desolder the wires from the connections on the motherboard.
-
-
-
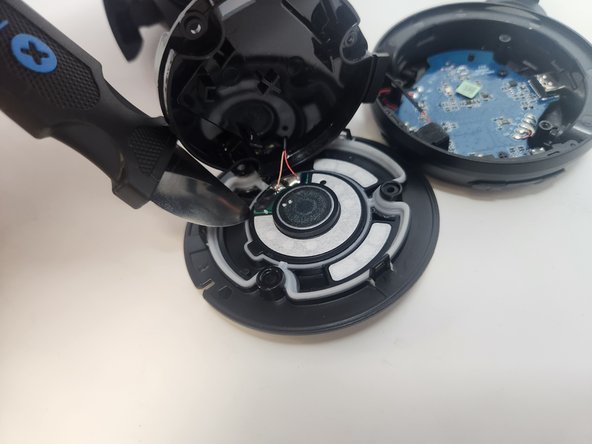
Pull each of the three pull tabs away from the center of the faceplate, disengaging them and exposing the back of the speaker driver.
-
Push a Jimmy or other pry tool gently between the driver and the grey spacer.
-
Lift gently until the driver is loose, being mindful not to damage the wires connecting to the driver.
-


To reassemble your device, follow these instructions in reverse order.
To reassemble your device, follow these instructions in reverse order.
Rückgängig: Ich habe diese Anleitung nicht absolviert.
2 weitere Personen haben diese Anleitung absolviert.

Team

Utah Tech University, Team 1-2, McMurrin Spring 2024 Mitglied von Utah Tech University, Team 1-2, McMurrin Spring 2024
UTAHTECH-MCMURRIN-S24S1G2
2 Mitglieder
6 Anleitungen geschrieben