Einleitung
Screen replacement refers to the process of removing a damaged or malfunctioning display screen from a device and replacing it with a new one. This can be necessary for various electronic devices such as smartphones, tablets, laptops, and even some types of gaming consoles. The need for screen replacement usually arises when the original screen is cracked, scratched, malfunctioning, or otherwise compromised. This guide will show you how to replace the screen for a Kocaso M750B tablet.
Was du brauchst
-
-
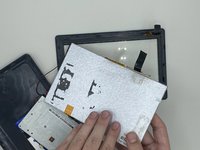
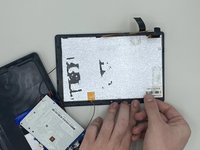
Remove three 1.2 mm screws from the motherboard using a Phillips #000 screwdriver.
-
-


To reassemble your device, follow these instructions in reverse order.
To reassemble your device, follow these instructions in reverse order.
Team

University of North Texas, Team 4-9, Harold Fall 2023 Mitglied von University of North Texas, Team 4-9, Harold Fall 2023
UNT-HAROLD-F23S4G9
4 Mitglieder
6 Anleitungen geschrieben