Diese Version enthält möglicherweise inkorrekte Änderungen. Wechsle zur letzten geprüften Version.
Was du brauchst
-
Dieser Schritt ist noch nicht übersetzt. Hilf mit, ihn zu übersetzen!
-
Using your fingernail, open the battery cover.
-
-
Dieser Schritt ist noch nicht übersetzt. Hilf mit, ihn zu übersetzen!
-
Slide the orange latch sideways to eject the battery.
-
Remove the battery from the battery slot.
-
-
Dieser Schritt ist noch nicht übersetzt. Hilf mit, ihn zu übersetzen!
-
Using a Phillips #00 screwdriver, remove two 5.39 mm screws next to the battery slot.
-
Remove the metal piece holding down the lanyard, then remove the lanyard.
-
-
Dieser Schritt ist noch nicht übersetzt. Hilf mit, ihn zu übersetzen!
-
Using a Phillips #00 screwdriver, remove seven screws located on the outside case of the camera.
-
One 6.25 mm screw is located on the top right corner, right to the "OK" button.
-
Four 4.45 mm screws are on the bottom of the camera.
-
Two 2.95 mm screws are on the left side of the camera, above the USB port.
-
-
Dieser Schritt ist noch nicht übersetzt. Hilf mit, ihn zu übersetzen!
-
Carefully remove the rear camera casing.
-
Carefully remove the front camera casing.
-
-
Dieser Schritt ist noch nicht übersetzt. Hilf mit, ihn zu übersetzen!
-
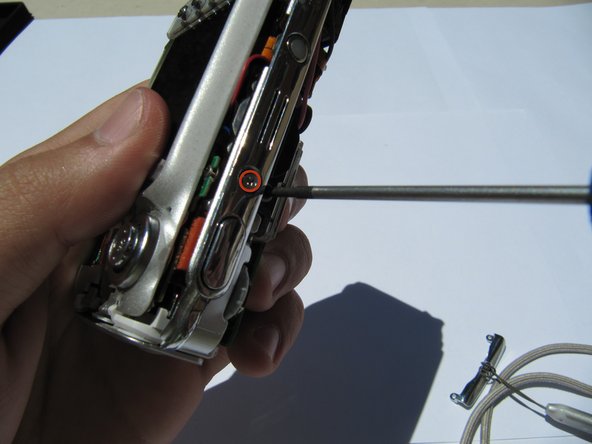
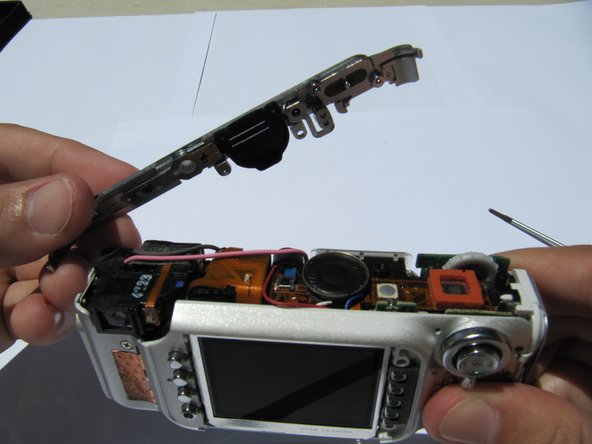
Remove the top panel screw (1x 4.37mm).
-
-
-
Dieser Schritt ist noch nicht übersetzt. Hilf mit, ihn zu übersetzen!
-
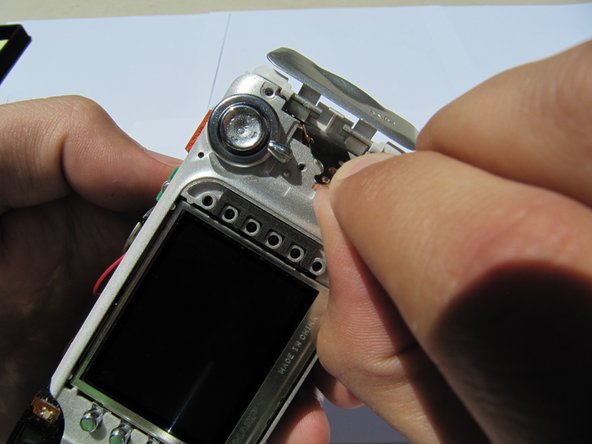
Remove the back panel screws (1x 3.33mm, and 1x 3.40mm).
-
-
Dieser Schritt ist noch nicht übersetzt. Hilf mit, ihn zu übersetzen!
-
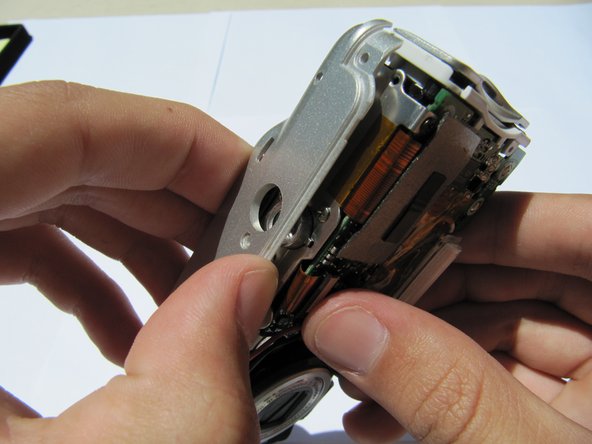
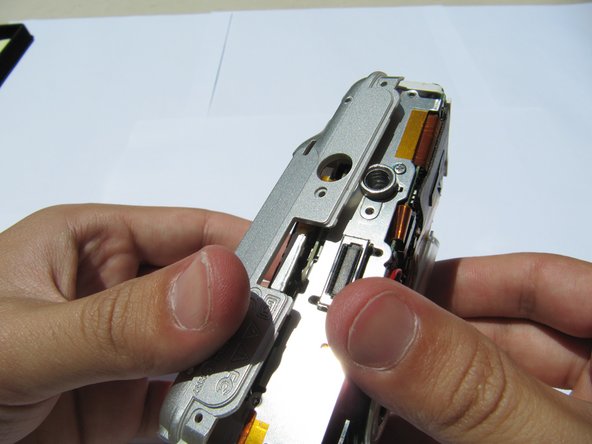
Separate the inner casing from the tripod mount.
-
-
Dieser Schritt ist noch nicht übersetzt. Hilf mit, ihn zu übersetzen!
-
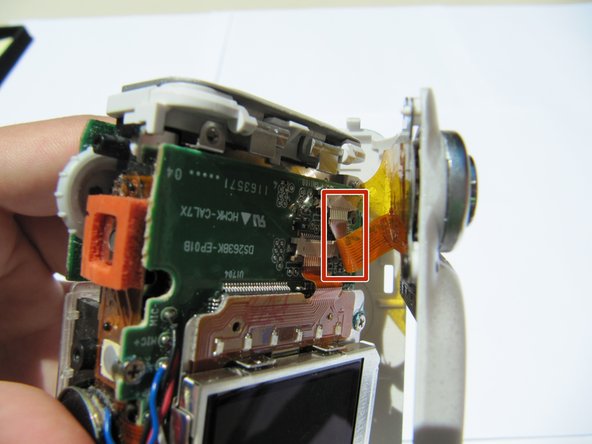
Gently pull the orange tab out of the circuit board.
-
-
Dieser Schritt ist noch nicht übersetzt. Hilf mit, ihn zu übersetzen!
-
Remove the (1x 3.33mm) screw from the menu button panel .
-
-
Dieser Schritt ist noch nicht übersetzt. Hilf mit, ihn zu übersetzen!
-
Pull the second orange tab from the circuit board and remove the buttons.
-
-
Dieser Schritt ist noch nicht übersetzt. Hilf mit, ihn zu übersetzen!
-
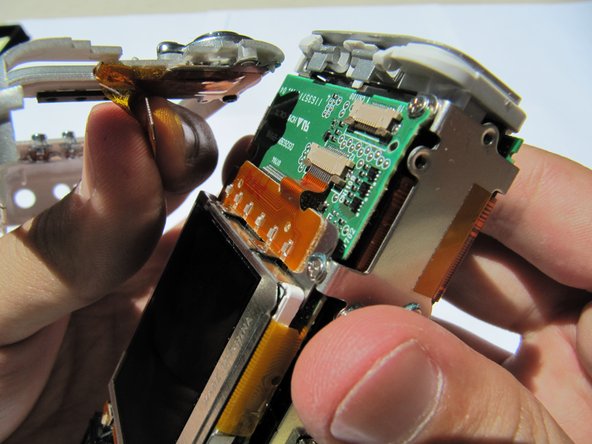
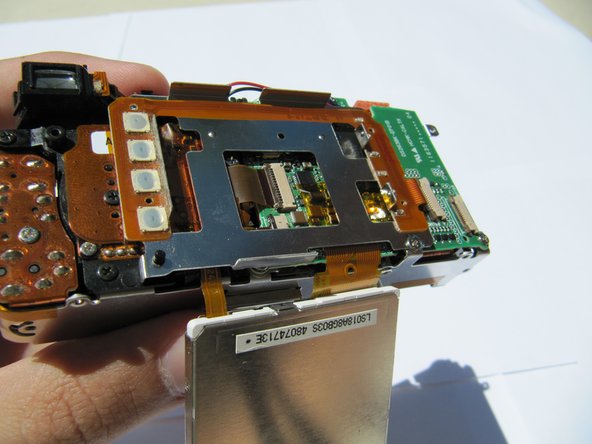
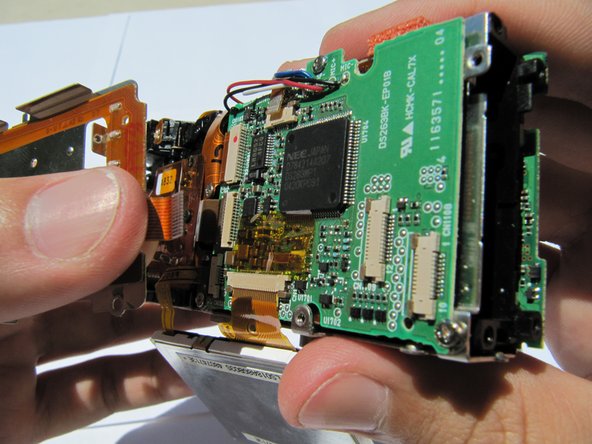
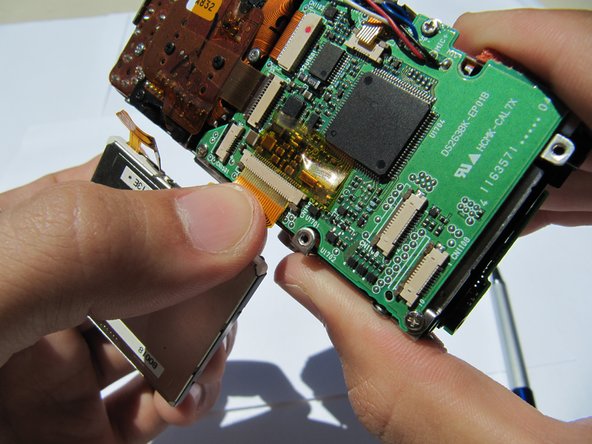
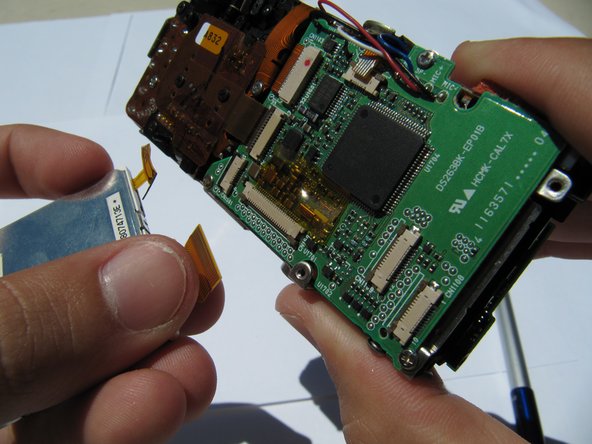
Flip up the LCD screen to reveal the two orange ribbon cables.
-
Disconnect the two ribbons cables from their sockets on the motherboard.
-
-
Dieser Schritt ist noch nicht übersetzt. Hilf mit, ihn zu übersetzen!
-
Locate the microphone on top of the camera.
-
-
Dieser Schritt ist noch nicht übersetzt. Hilf mit, ihn zu übersetzen!
-
Release the microphone from its pin and desolder.
-
Rückgängig: Ich habe diese Anleitung nicht absolviert.
Ein:e weitere:r Nutzer:in hat diese Anleitung absolviert.


