Einleitung
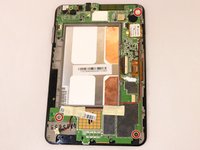
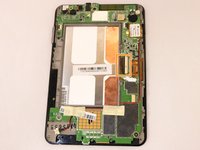
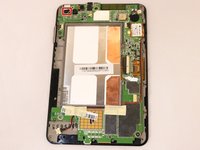
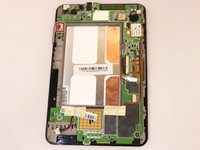
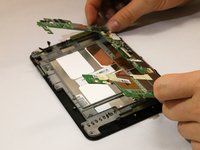
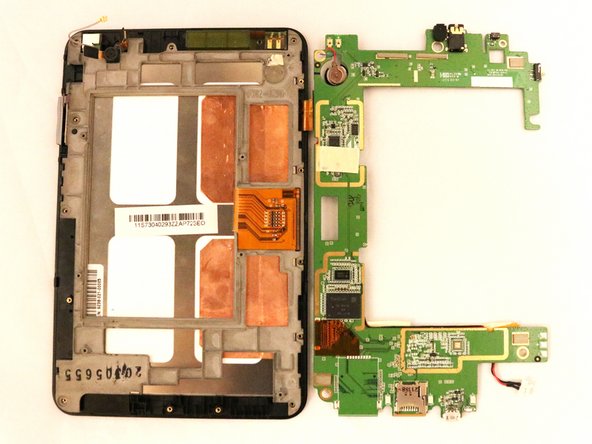
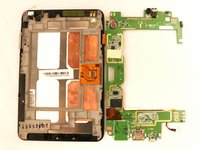
The motherboard of the Lenovo IdeaPad A1-07 may need to be replaced if the tablet has become unresponsive due to a software issue. Over time the motherboard can degrade from constant use or even crack if under a lot of pressure. This guide will walk you through how to carefully take the tablet apart to access and remove the motherboard from the device.
Before you begin the repair, make sure to power off and unplug your laptop from the charger.
Was du brauchst
-
-
With the blue plastic opening tool, use the lock screen switch by the volume button as an access point to gently lift the back cover off.
-
Wedge the opening tool until you start hearing the back cover popping off the body of the device.
-
Slide the opening tool down the length of the device.
-
-
-
Using a Phillips #000 screwdriver, remove all 18 of the 4mm screws.
-
With the blue plastic opening tool, gently wedge the tool between the screen and the gray frame until you feel resistance.
-
Using your opening tool, push in the teeth towards the center of the device, and gently pull off the frame.
-
-
-
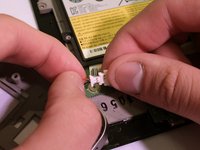
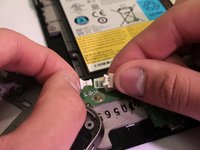
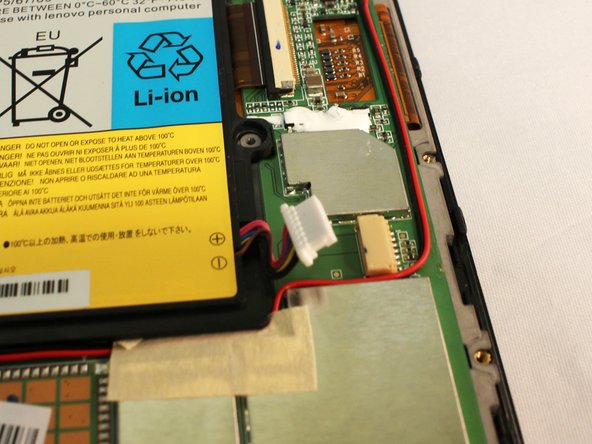
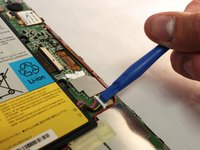
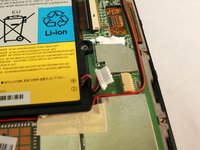
Use a plastic opening tool to push the white battery connector out of its socket on the motherboard.
-
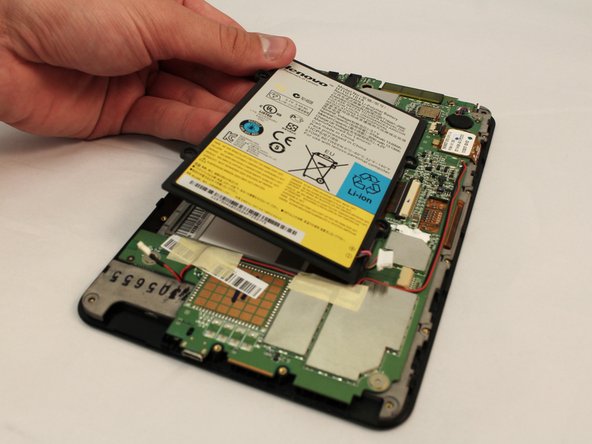
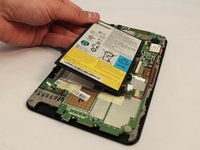
Lift the battery away from the device.
-
-
-
Remove the three 3 mm screws holding the motherboard to the screen using your Phillips #000 Screwdriver.
-
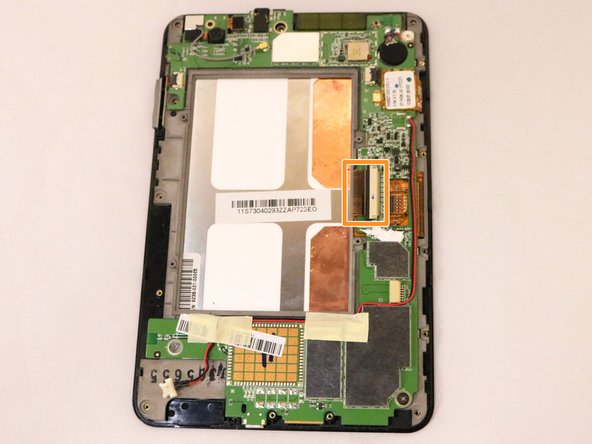
Locate the connector in the center of the motherboard and remove it.
-
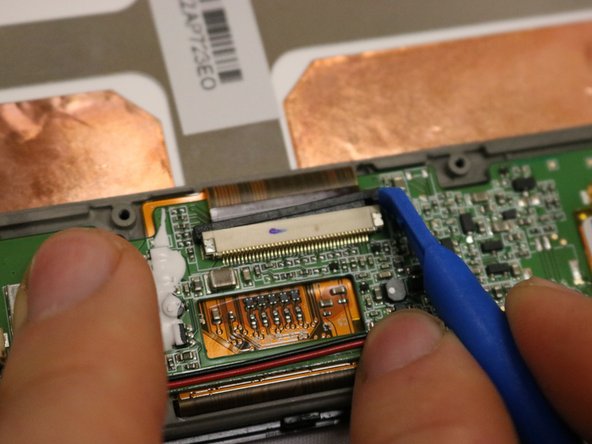
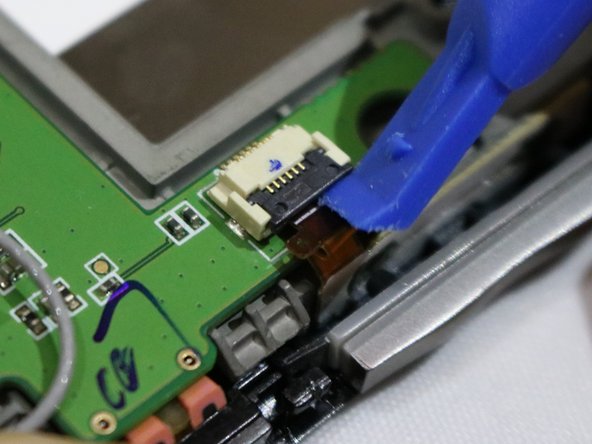
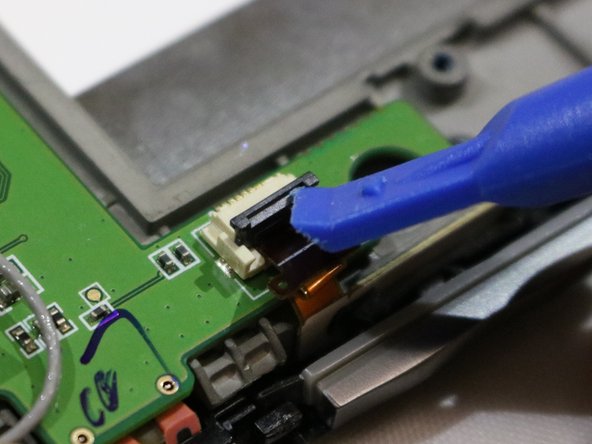
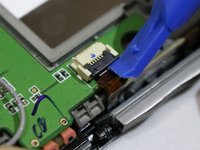
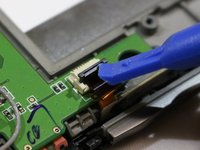
Use the opening tool to slide the small black retainer, relieving pressure on the brown ribbon cable.
-
Pull the brown ribbon cable out of the connector with the edge of your opening tool.
-
-
-
-
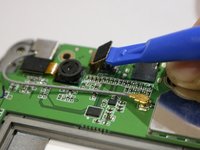
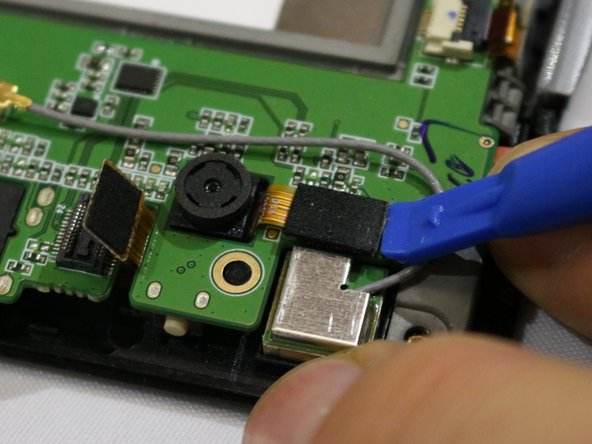
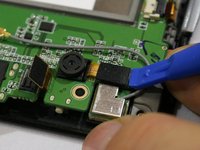
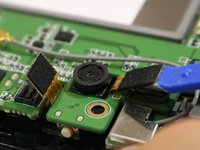
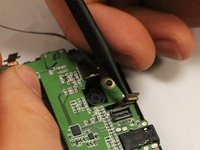
Disconnect the connector to the right of the back camera by using a plastic opening tool to lift and pry it up.
-
-
-
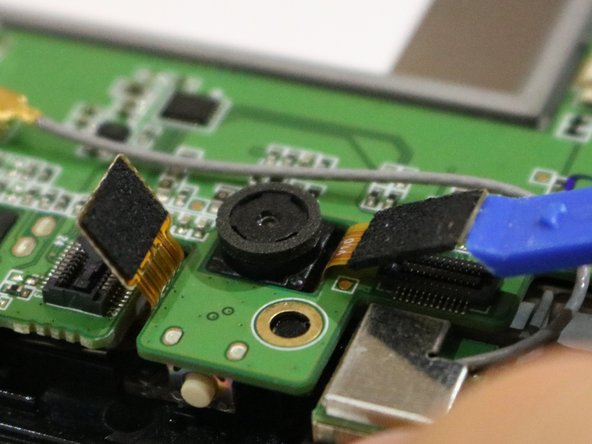
Using the same process as the previous connector, disconnect a similar connector to the left of the back camera.
-
-
-
Use your opening tool to lift up the black lever on the connector.
-
Pull out the brown ribbon underneath it with your opening tool.
-
-
-
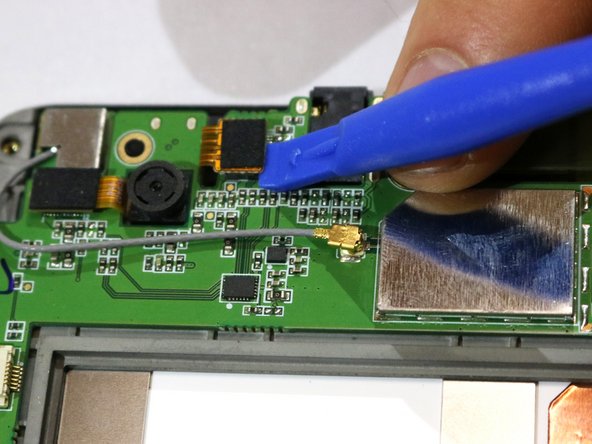
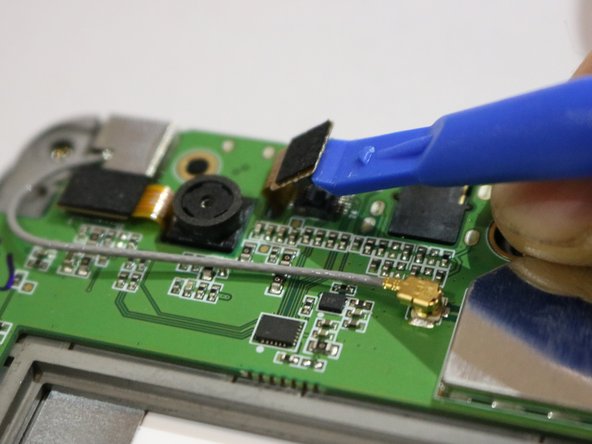
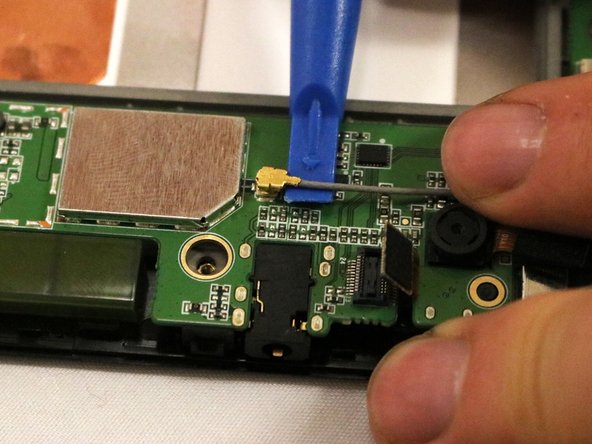
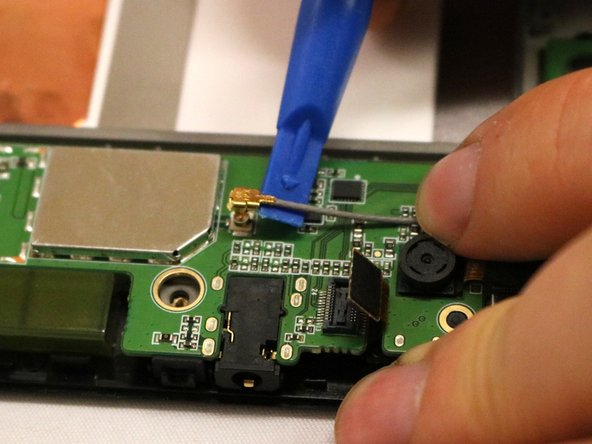
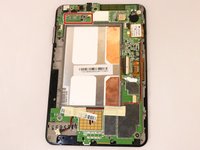
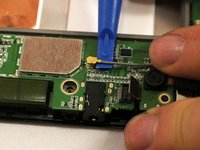
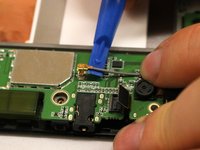
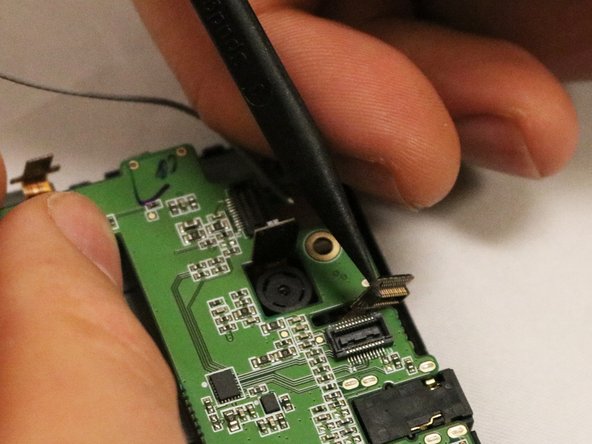
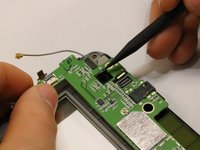
Disconnect the last connector by sliding the opening tool up to the base of the tip.
-
Twist the opening tool to gently lift up the coaxial cable.
-
-
-
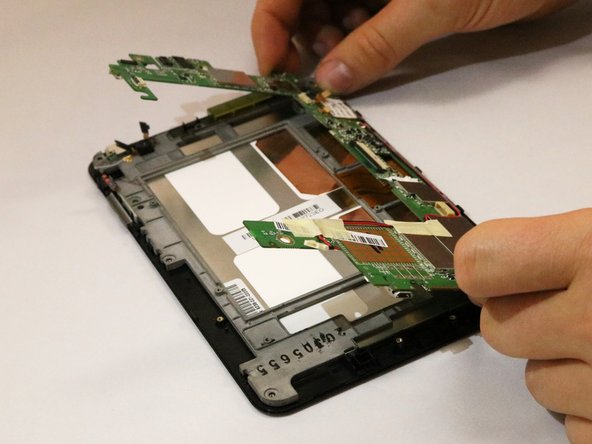
Lift up the motherboard, pushing the connector heads back down through the holes they come through
-
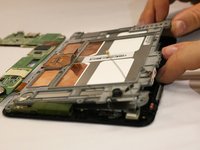
Lift the motherboard on the left side and flip it over to the right, like turning a page.
-
-
-
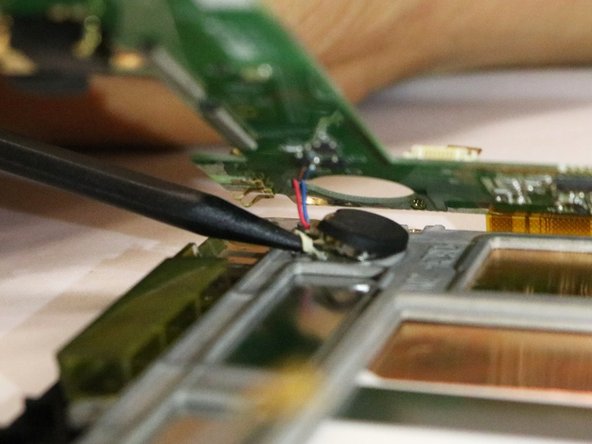
Using the black spudger, gently pry up the connector by pulling at the base of the battery.
-
-
-
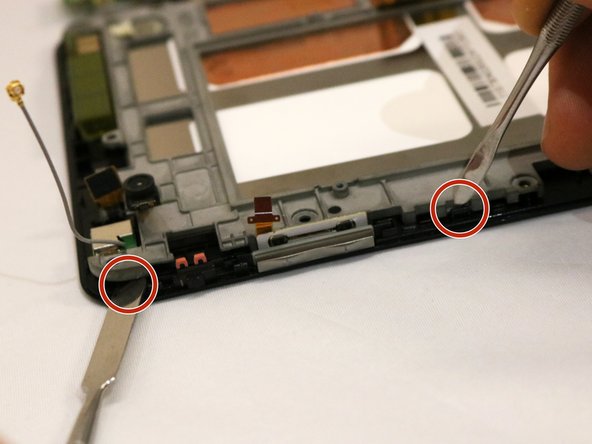
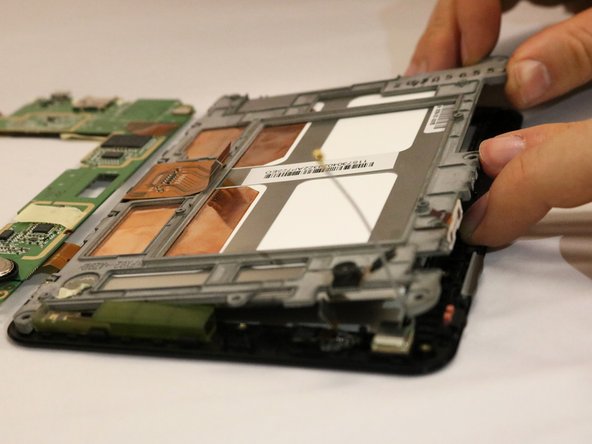
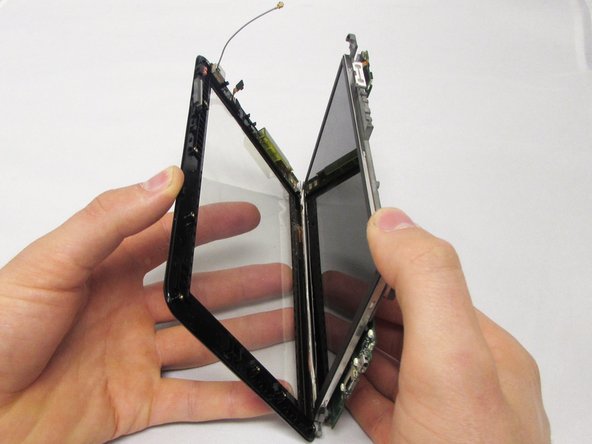
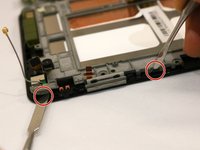
With the device face down, pull up on the top left side of the metal frame while pushing out the plastic tooth using two spudgers.
-
Gently lift until you feel the tension of the adhesive on the right side.
-
Once you feel tension, slide a spudger tool down the length of the right side to remove the adhesive.
-
To reassemble your device, follow these instructions in reverse order. Take your e-waste to an R2 or e-Stewards certified recycler.
To reassemble your device, follow these instructions in reverse order. Take your e-waste to an R2 or e-Stewards certified recycler.
Rückgängig: Ich habe diese Anleitung nicht absolviert.
2 weitere Personen haben diese Anleitung absolviert.


