Diese Version enthält möglicherweise inkorrekte Änderungen. Wechsle zur letzten geprüften Version.
Was du brauchst
-
Dieser Schritt ist noch nicht übersetzt. Hilf mit, ihn zu übersetzen!
-
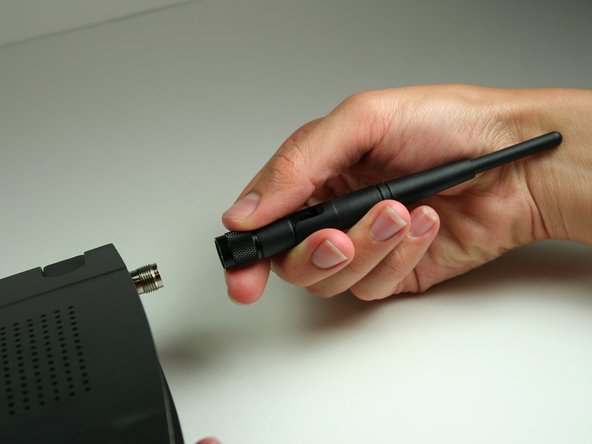
Unfold the antennas straight away from the device.
-
-
Dieser Schritt ist noch nicht übersetzt. Hilf mit, ihn zu übersetzen!
-
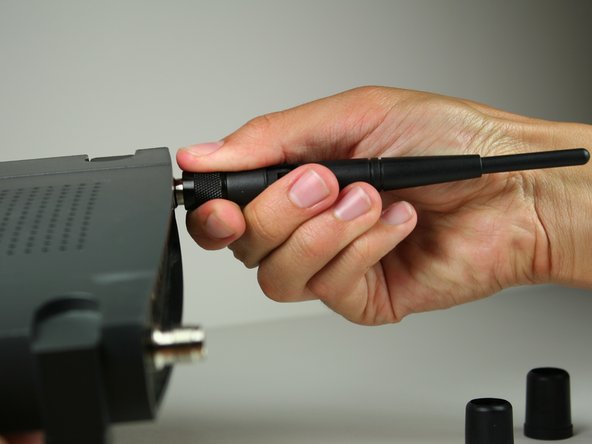
Remove the black caps from the antennas by pulling them away from the device.
-
-
Dieser Schritt ist noch nicht übersetzt. Hilf mit, ihn zu übersetzen!
-
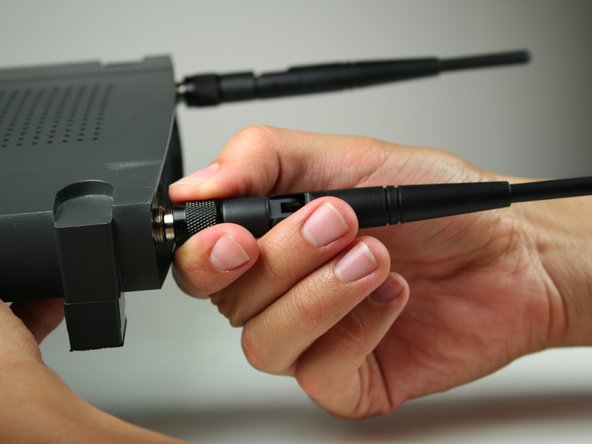
Unscrew each of the antennas from the wireless device.
-
-
Dieser Schritt ist noch nicht übersetzt. Hilf mit, ihn zu übersetzen!
-
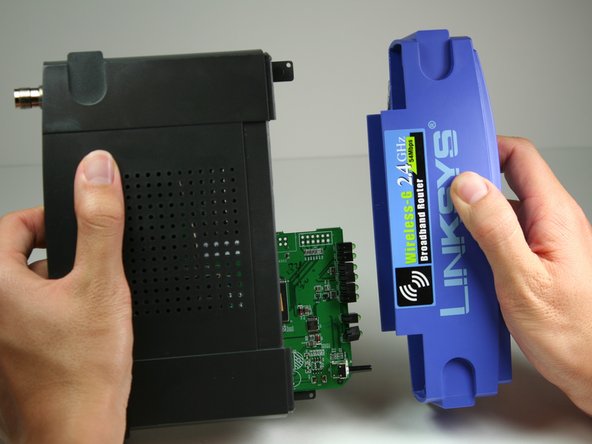
Using a bit of force, remove the blue plastic case.
-
-
-
Dieser Schritt ist noch nicht übersetzt. Hilf mit, ihn zu übersetzen!
-
To remove the black casing that surrounds the green motherboard, slide the top half of the casing backwards. It only moves a very short distance.
-
Pull the top piece upwards and away from the bottom to remove.
-
-
Dieser Schritt ist noch nicht übersetzt. Hilf mit, ihn zu übersetzen!
-
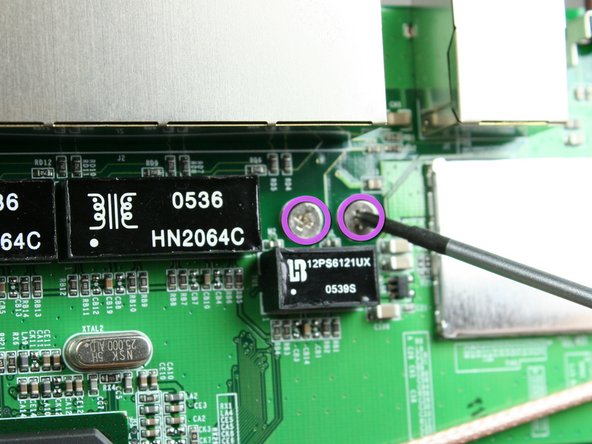
Locate the 2 M2.5x6mm screws that attach the motherboard to the back case.
-
Remove the two screws from the motherboard as indicated with the Phillips head screwdriver.
-
-
Dieser Schritt ist noch nicht übersetzt. Hilf mit, ihn zu übersetzen!
-
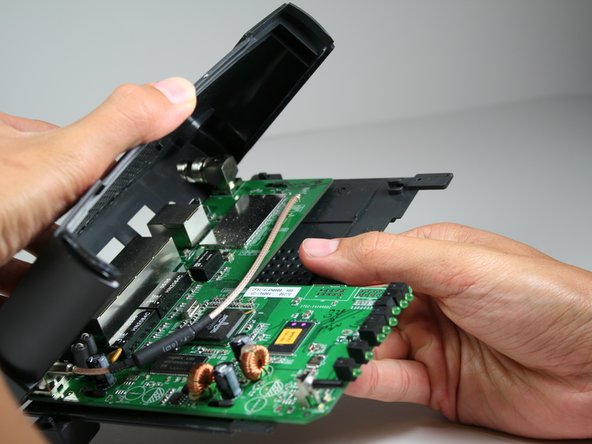
Once screws have been removed, slide the motherboard in the direction of its LED lights.
-
Lift motherboard up and away from the black lower casing.
-
-
Dieser Schritt ist noch nicht übersetzt. Hilf mit, ihn zu übersetzen!
-
Obtain a desoldering wick (Desoldering Braid). Plug in soldering iron and allow to heat. For soldering information, refer to the iFixit soldering guide (Wie man Lötverbindungen herstellt und entlötet).
-
-
Dieser Schritt ist noch nicht übersetzt. Hilf mit, ihn zu übersetzen!
-
Identify the functional component which will be removed.
-
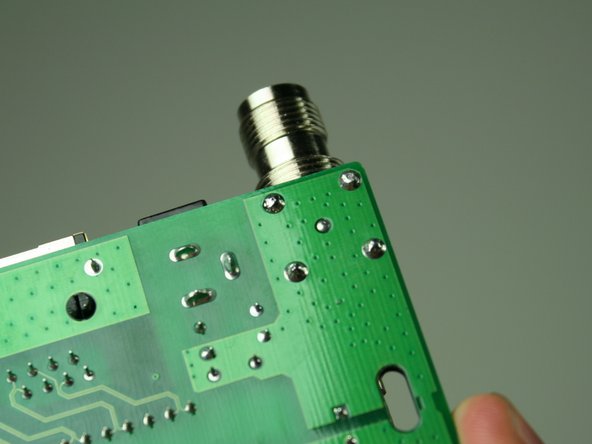
Turn the board over so that the pins holding the component in are exposed.
-
-
Dieser Schritt ist noch nicht übersetzt. Hilf mit, ihn zu übersetzen!
-
Desolder each pin using the iFixit Soldering Guide (Wie man Lötverbindungen herstellt und entlötet). Gently remove functional component for replacement.
-
Rückgängig: Ich habe diese Anleitung nicht absolviert.
Ein:e weitere:r Nutzer:in hat diese Anleitung absolviert.


