Was du brauchst
-
-
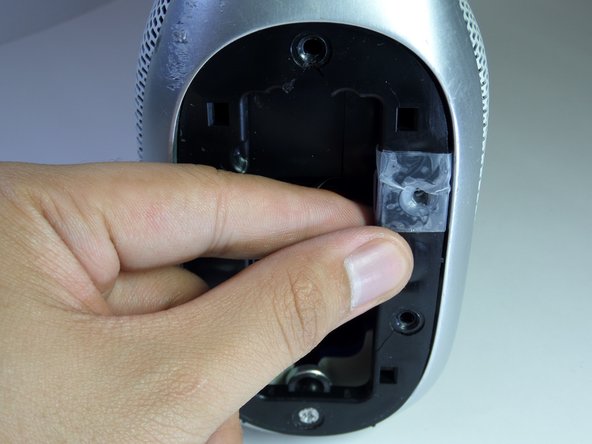
Use a metal spudger to pry open the power button cover.
-
Once the power button cover is slightly opened, use your fingers to remove the power button cover.
-
-
-
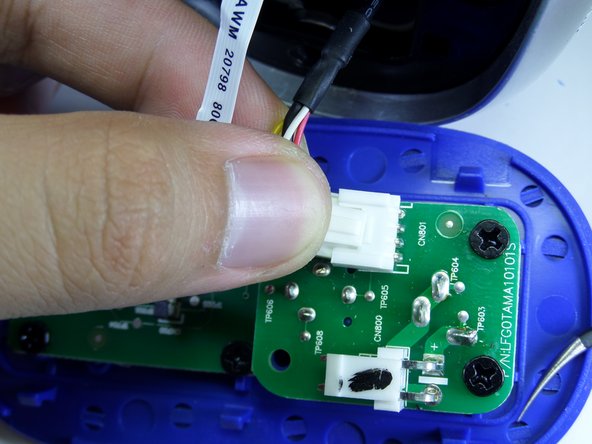
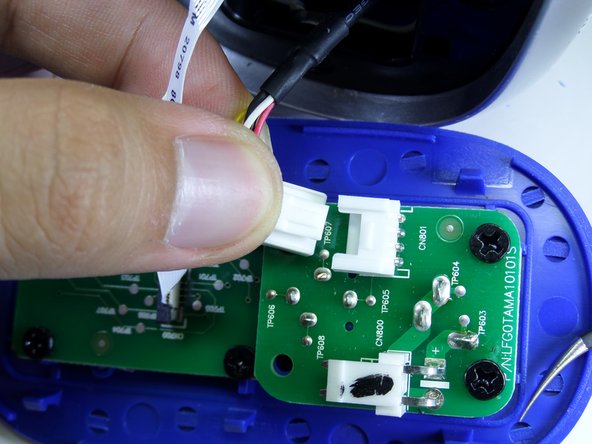
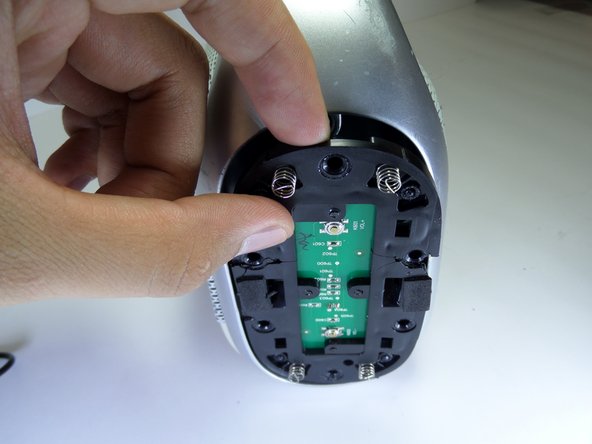
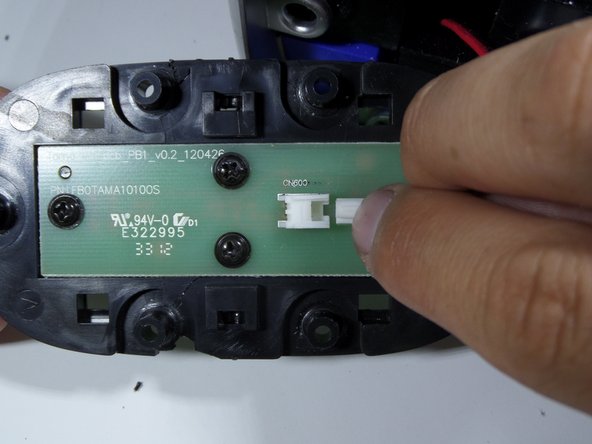
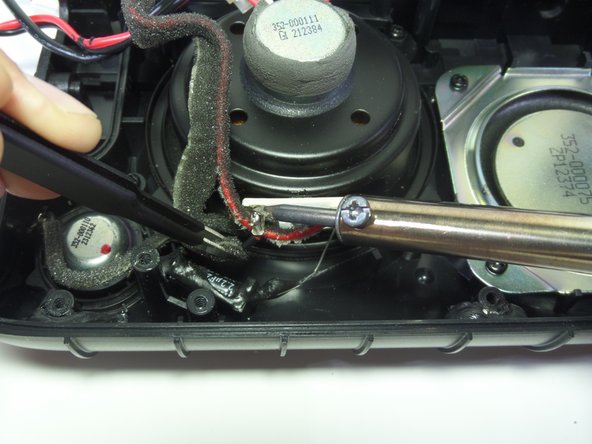
Press firmly on the end of the latch and pull the two-wire connector away from the base to separate.
-
-
-
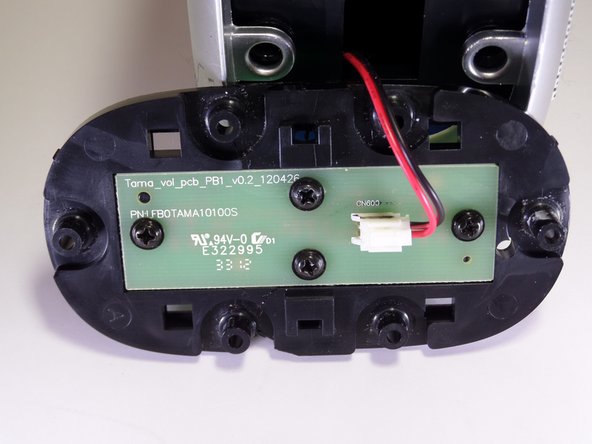
Firmly press on the end of the latch and pull the four-wire connector away from the base to separate.
-
-
-
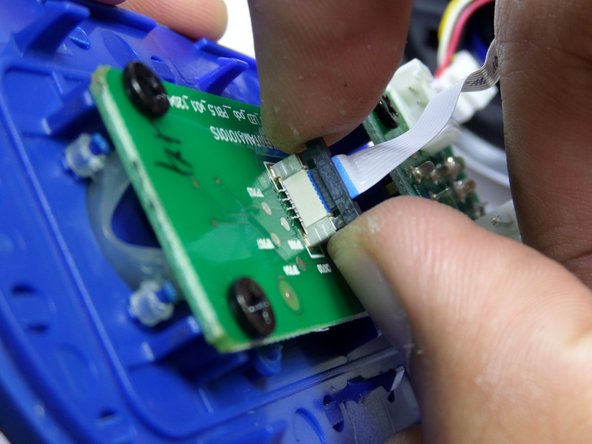
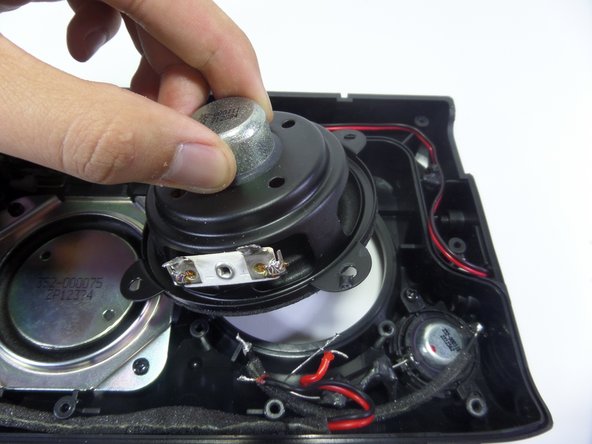
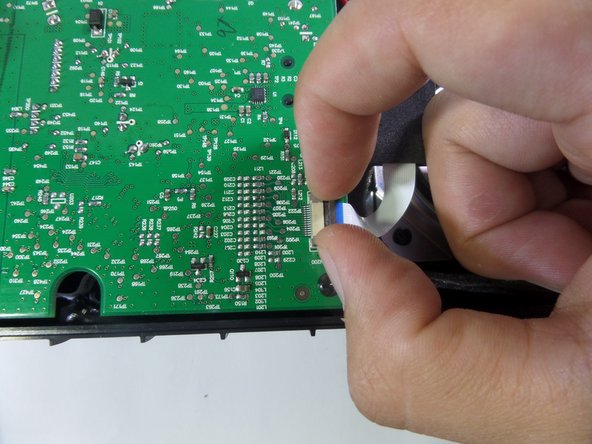
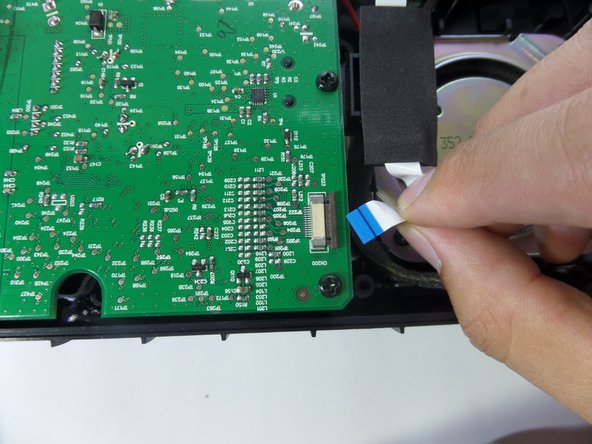
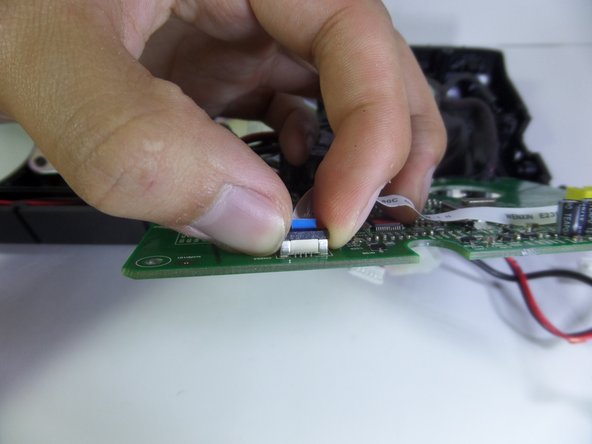
Lightly, pry up on each side of the black band connector lock using your fingertips.
-
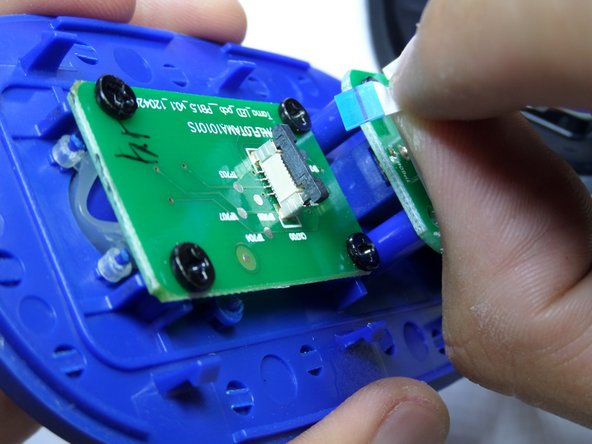
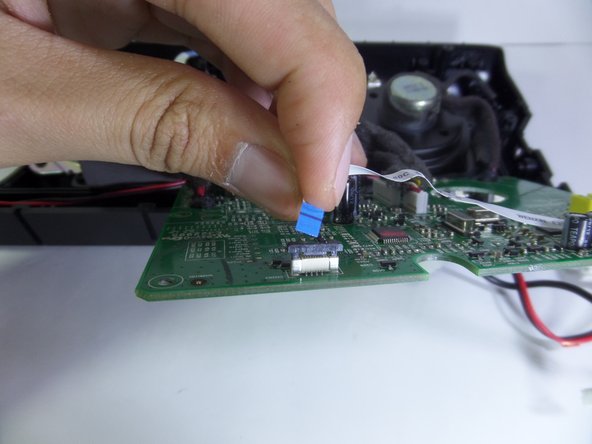
Once unlocked, pull straight up on the connector to remove.
-
-
-
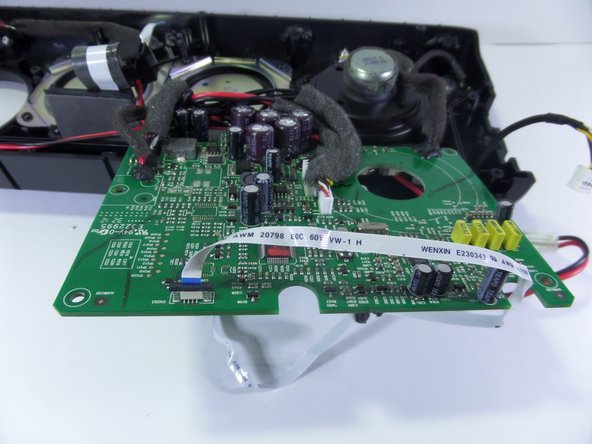
Remove the five black 14mm Phillips #2 screws from the black plastic side panel.
-
Remove the one silver 16mm Phillips #2 screws from the black plastic side panel.
-
Remove the black plastic screw panel from the boombox.
-
-
-
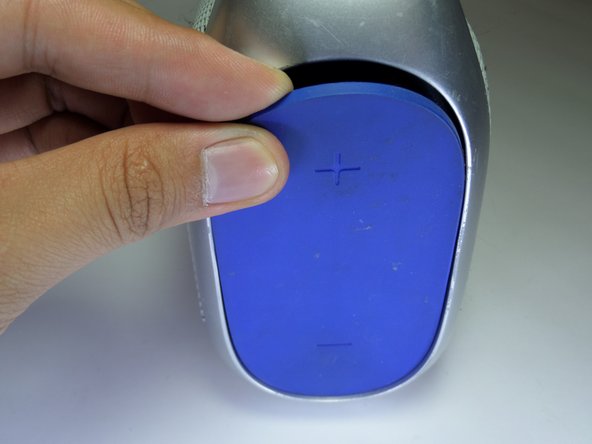
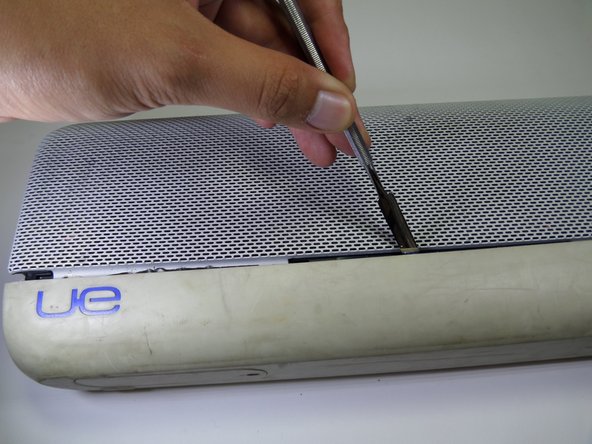
On the opposite side of the device, pry open the volume rocker with a metal spudger.
-
Remove the panel with your fingers once the volume rocker is slightly opened.
-
-
-
Remove the five black 14mm Phillips #2 screws from the black plastic side panel.
-
Remove the one silver16 mm Phillips #2 screw from the black plastic side panel.
-
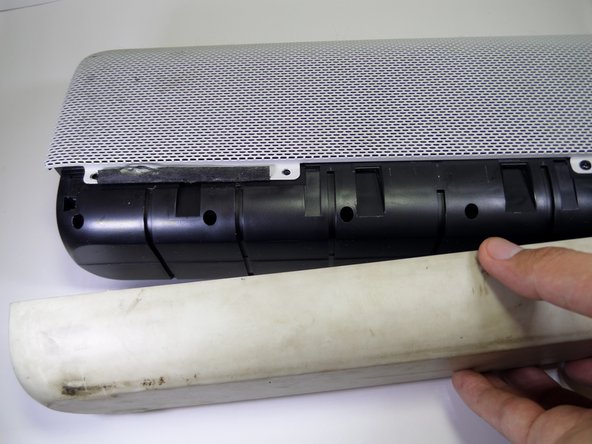
Once all screws are removed, take the screw panel out of the device to gain access to the back of the panel.
-
-
-
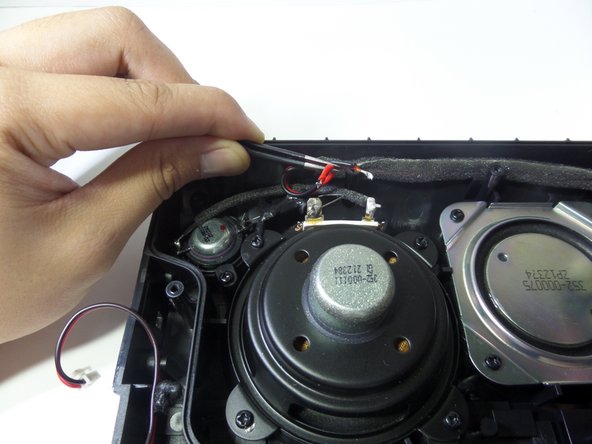
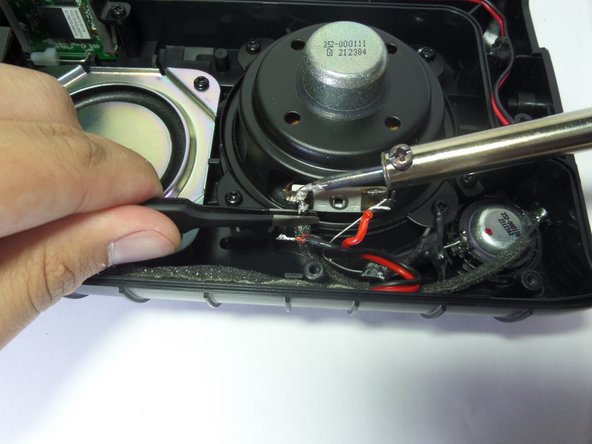
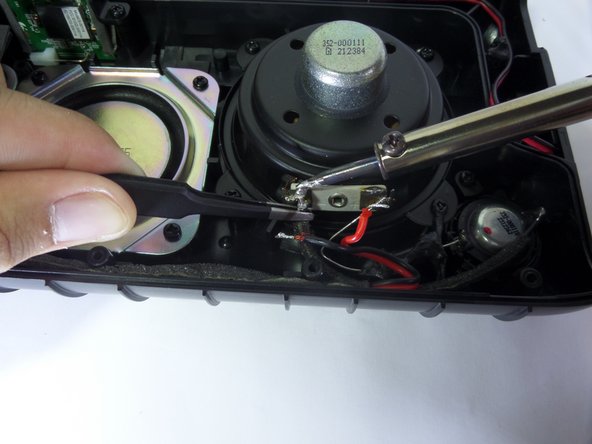
Firmly press on the end of the latch and pull the two-wire connector away from the base.
-
-
-
-
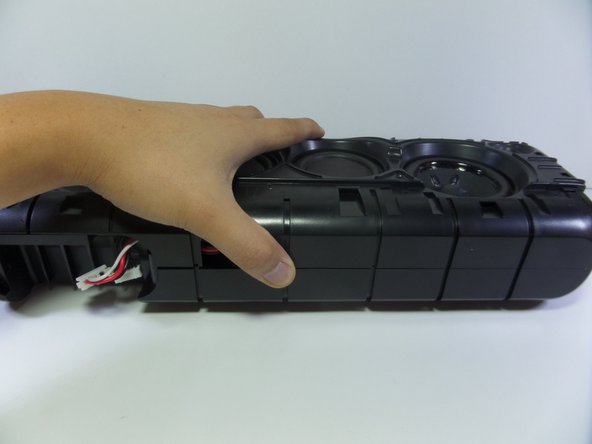
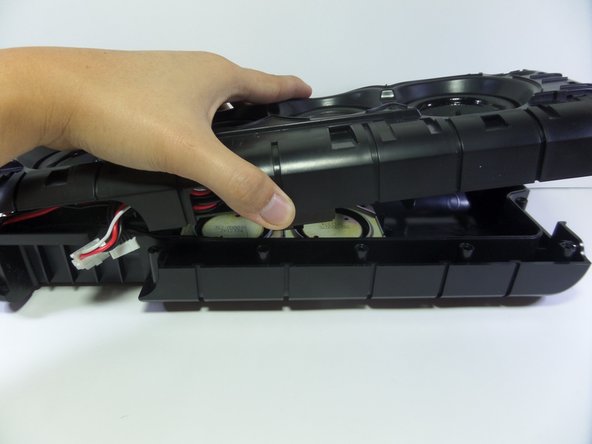
Remove the fifteen 13.0 mm screws with a #0 Phillips from the side of the device containing two speakers.
-
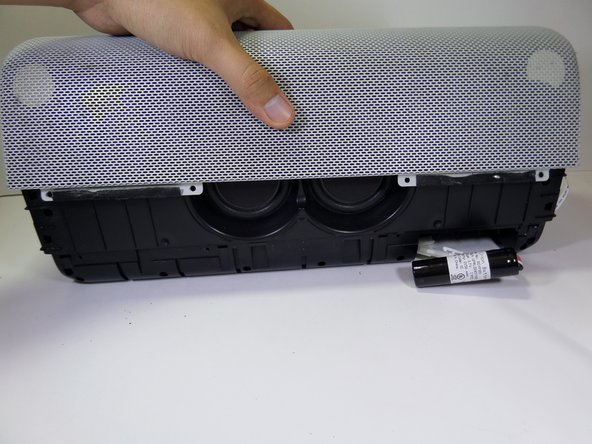
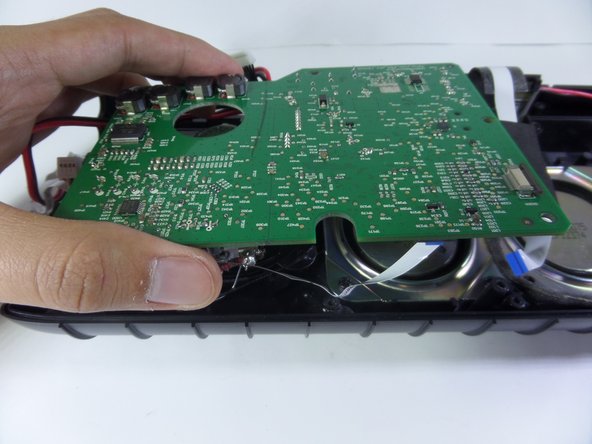
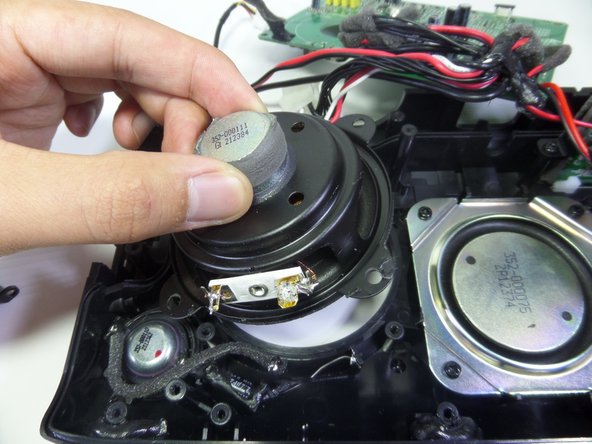
Separate the two halves by gently pulling them apart.
-


To reassemble your device, follow these instructions in reverse order.
To reassemble your device, follow these instructions in reverse order.
Rückgängig: Ich habe diese Anleitung nicht absolviert.
3 weitere Personen haben diese Anleitung absolviert.
Team

CSU Fullerton, Team 1-1, Bruce Fall 2016 Mitglied von CSU Fullerton, Team 1-1, Bruce Fall 2016
CSUF-BRUCE-F16S1G1
4 Mitglieder
5 Anleitungen geschrieben
Ein Kommentar
Could you recommend anywhere to find the correct replacement tweeters & drivers?