Diese Übersetzung enthält möglicherweise noch nicht die neuesten Änderungen der Original-Anleitung. Hilf mit, die Übersetzung zu aktualisieren oder sieh dir die Original-Anleitung an.
Einleitung
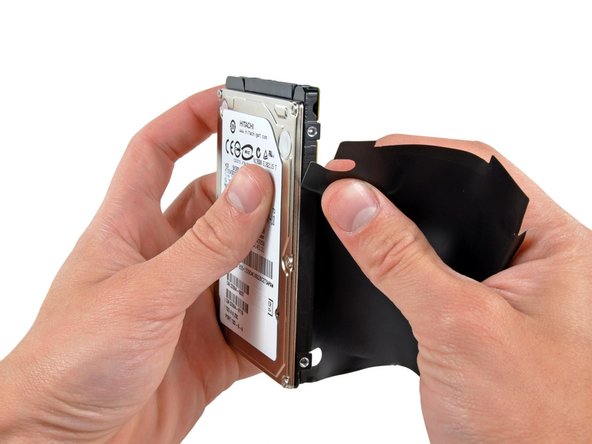
适用本指南来更换硬盘。
Was du brauchst
-
-
-
卸下下列固定天线板的螺丝。
-
两颗6.6 mm T8 Torx 螺丝。
-
两颗5.0 mm T8 Torx螺丝或者2.0 mm Hex screws 任意一把螺丝刀都会起作用。
-
当装回的时候:
-
-
-
移除下列三颗螺丝。
-
一颗5.0 mm T8 Torx 或者 2.0 mm Hex screw
-
一颗16.2 mm T6 Torx screw
-
一颗26 mm T6 Torx 螺丝
-
-
-
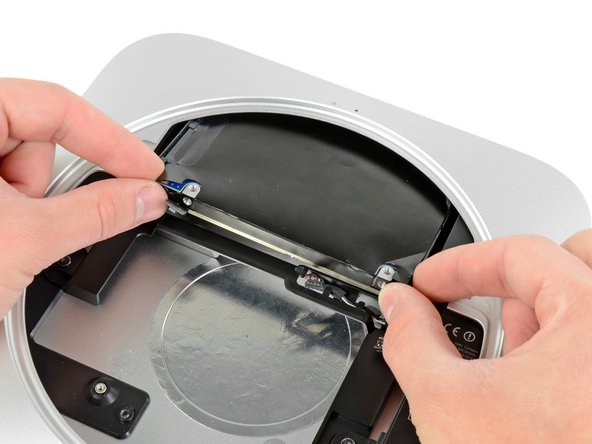
将逻辑板拆卸工具插入标红的两个孔中。再继续进行下一步时请 确保,工具与逻辑板下的外壳顶部接触。
-
小心的将工具拉向I/O板。 此时逻辑板和I/O板组件应该稍微滑出外壳。
-
移除逻辑板拆卸工具。
-


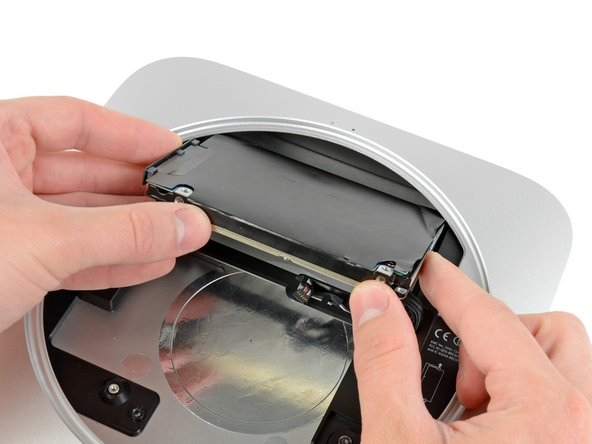

要重新组装您的设备,请按照本指南的相反顺序进行操作。
要重新组装您的设备,请按照本指南的相反顺序进行操作。
Rückgängig: Ich habe diese Anleitung nicht absolviert.
374 weitere Nutzer:innen haben diese Anleitung absolviert.
Besonderer Dank geht an diese Übersetzer:innen:
50%

Diese Übersetzer:innen helfen uns, die Welt zu reparieren! Wie kann ich mithelfen?
Hier starten ›

56 Kommentare
That's right, steps 10-11 and 13-16 are not necessary.
It suffices to rotate the antenna plate out of the way without detaching its cable.
And after disconnecting the hard drive you can wiggle it out of the enclosure
without dealing with the logic board. Muc less hassle, and much less intimidating.
This is great advice! It worked fine for me, thanks!
This also worked for me. Follow machobbes advice - whole process took about 10 minutes. Easy peasy.
The one difficulty I had was getting the new SSD (or HDD) to lock back into the fixings inside of the casing. Best solution if you are having this problem is to turn the Mini upside down, ensuring that the antenna cable isn't stretched too far, and aided by the wonderful powers of gravity, get the new HDD unit fixed into place properly.
Good advice. I too just moved the antenna plate to the side and the drive was easily accessible.