Einleitung
This guide will help you replace the motherboard on your device with another one.
First, you will learn how to take out the motherboard. After these steps are completed, then follow the instructions on how to insert a separate motherboard.
This guide is easy to follow if your electronic accidentally got wet or some other anomaly caused your motherboard to stop working.
Was du brauchst
-
-
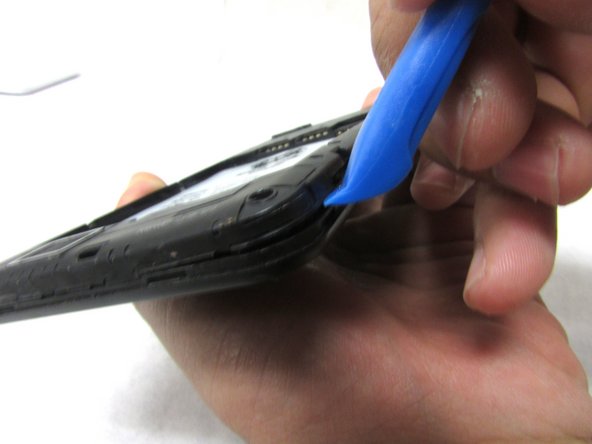
Remove the back cover by inserting the plastic opening tool at the bottom left corner of the device.
-
-
-
Lift the plastic opening tool up at the bottom left corner to create the gap.
-
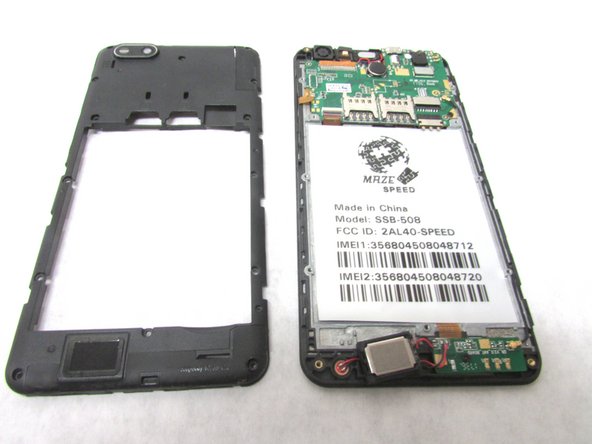
Repeat this through all corners to remove the internal casing.
-
-
-
-
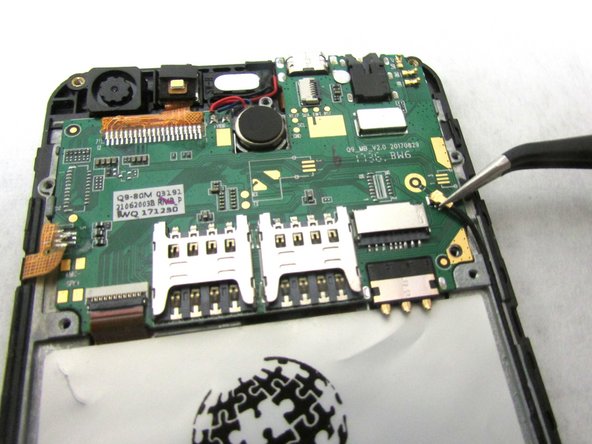
Unscrew the 2mm screw at the bottom right of the motherboard.
-
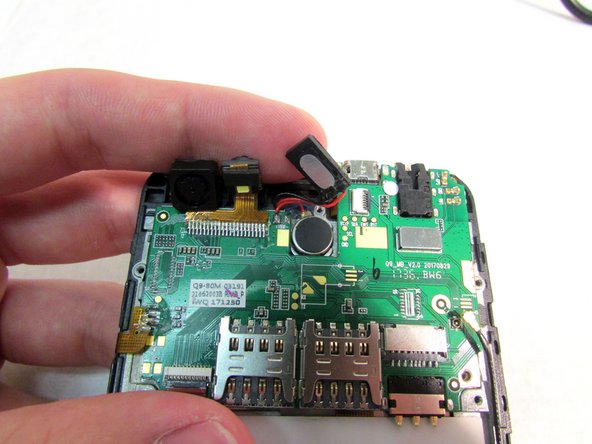
Remove the internal antenna casing from the motherboard.
-
-
-
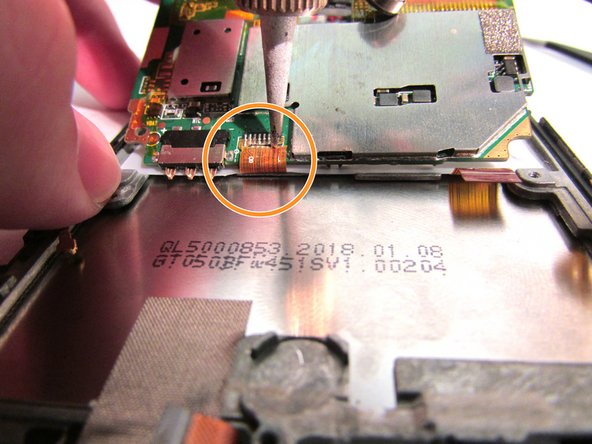
Desolder the gold ribbon that is connected to the motherboard at the bottom left corner.
-
-
-
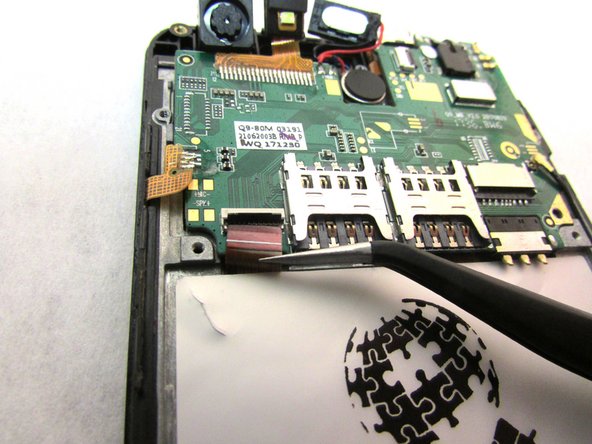
Use tweezers to remove cable from the ZIF connectors located at the bottom left of the motherboard.
-
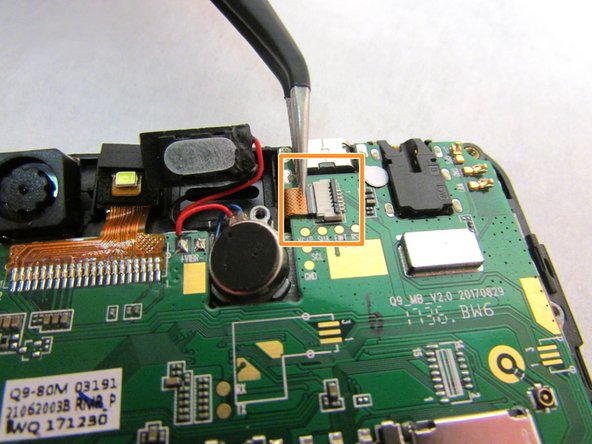
Use the tweezers to remove the second cable from ZIF connector located to the right of the speaker that you unplugged in step five.
-
-
-
Use the tweezers to dislodge the speaker.
-
After the speaker is dislodged, flip the motherboard up so that you can see the cable.
-
Using a soldering tool, desolder the cable from the back of the motherboard.
-


You have now successfully taken out the old motherboard and replaced it with a working one. To reassemble your device, follow these instructions in reverse order.
You have now successfully taken out the old motherboard and replaced it with a working one. To reassemble your device, follow these instructions in reverse order.
Team

Embry-Riddle Aeronautical University, Team S3-G3, Watkins Summer 2019 Mitglied von Embry-Riddle Aeronautical University, Team S3-G3, Watkins Summer 2019
ERAU-WATKINS-SU19S3G3
4 Mitglieder
5 Anleitungen geschrieben