Einleitung
Click here for an updated version of this guide. The version you are viewing is retained for historical purposes.
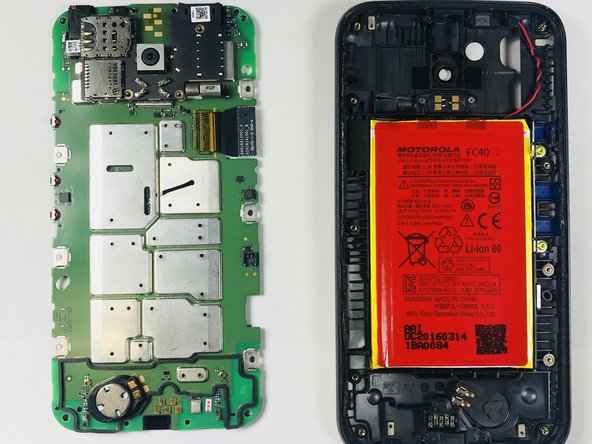
In this replacement guide, we will walk through removing the rear camera of the Motorola Moto G3 so that it can be replaced.
Was du brauchst
-
-
Use the plastic opening tool to open the back cover as shown in the photo.
-
-
-
Heat an iOpener in the microwave for 30 seconds.
-
Place the heated iOpener on all four edges of the screen for approximately 2 minutes.
-
-
-
Apply the plastic opening tool on the edge of the screen near the front camera.
-
After creating enough space, allow the opening tool to be inserted on the side of the phone.
-
Create another space on the other side of the screen.
-
Leave the opening tool inserted.
-
Carefully apply the larger plastic opening tool by sliding it through the longer edge of the screen.
-
-
-
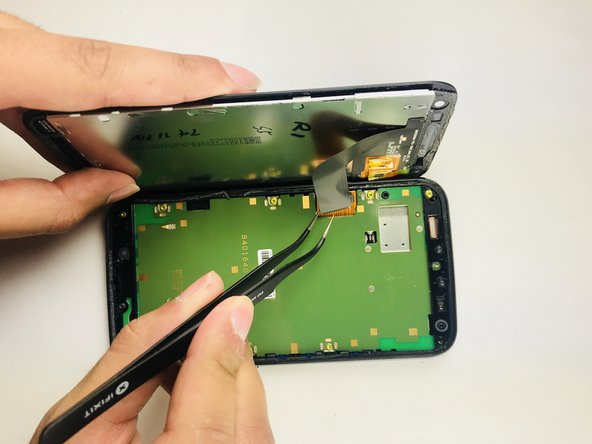
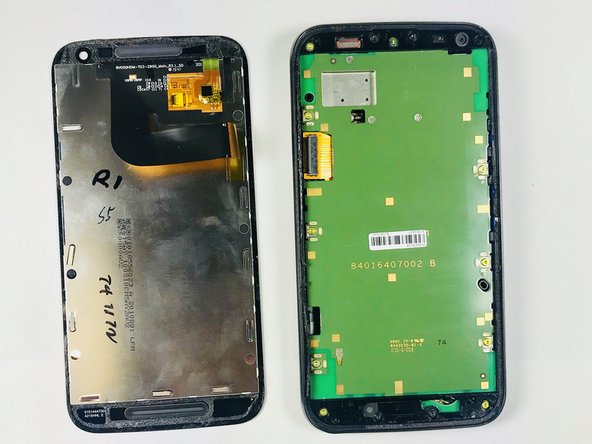
A strip will be attached to the motherboard as shown.
-
Using tweezers, carefully detach the strip from the motherboard.
-
-
-
-
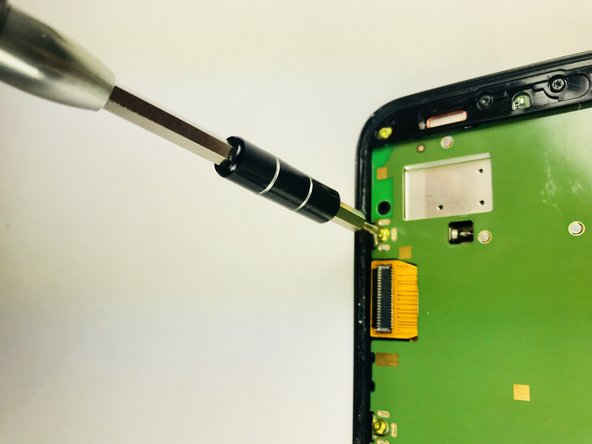
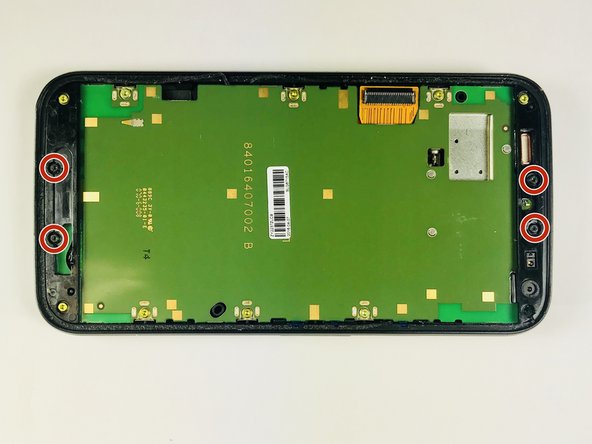
With a T4 screwdriver, remove the10 "yellow" 2mm screws and 4 "black" 2mm screws.
-
-
-
Use the metal spudger and lift the back cover on the bottom side of the phone (this is attached to the motherboard).
-
-
-
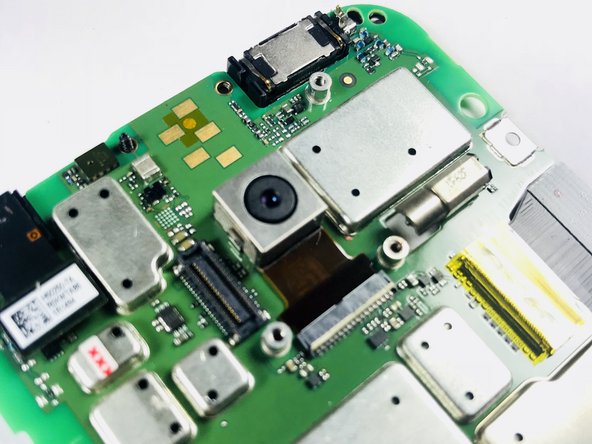
Using the tweezers remove the black rear camera cover.
-
-
-
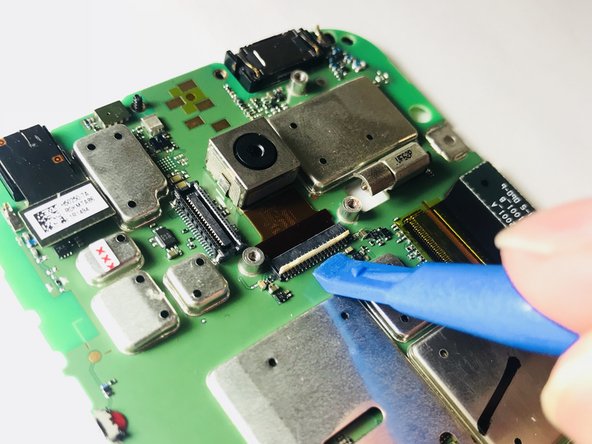
Using the small opening tool, carefully flip the camera flex connector in a upright position. You should hear a click allowing you to know the camera flex connector has been released.
-


To reassemble your device, follow these instructions in reverse order.
To reassemble your device, follow these instructions in reverse order.

Team

Baylor, Team S5-G3, Williams Spring 2018 Mitglied von Baylor, Team S5-G3, Williams Spring 2018
BU-WILLIAMS-S18S5G3
3 Mitglieder
9 Anleitungen geschrieben