Diese Version enthält möglicherweise inkorrekte Änderungen. Wechsle zur letzten geprüften Version.
Was du brauchst
-
Dieser Schritt ist noch nicht übersetzt. Hilf mit, ihn zu übersetzen!
-
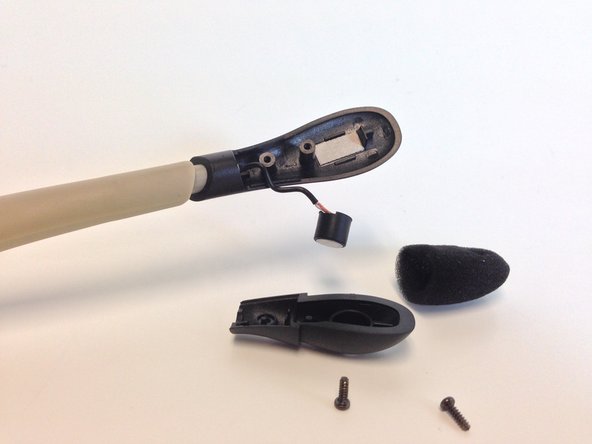
Remove star head screw from above base of the microphone with T6 Torx Screwdriver.
-
To prevent stripping, use an appropriate bit and ensure screwdriver is oriented perpendicular to the face of the screw.
-
-
Dieser Schritt ist noch nicht übersetzt. Hilf mit, ihn zu übersetzen!
-
To expose the next screw, peel foam cover from the base toward the end of microphone.
-
Remove screw with screwdriver and place in a safe location.
-
-
-
Dieser Schritt ist noch nicht übersetzt. Hilf mit, ihn zu übersetzen!
-
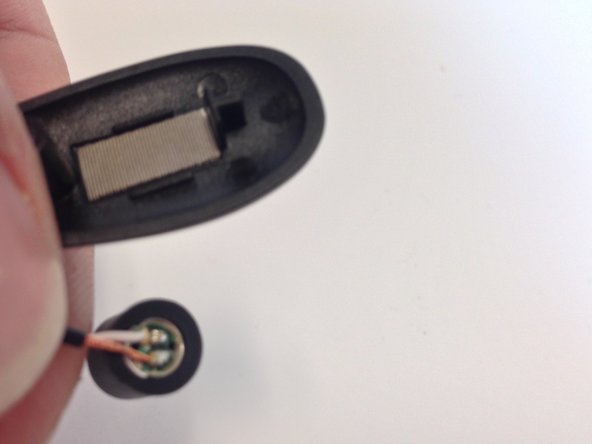
With Screws removed, remove the microphone from foam and plastic cover to be inspected.
-
If the microphone is corroded or wires are frayed, it must be replaced.
-
-
Dieser Schritt ist noch nicht übersetzt. Hilf mit, ihn zu übersetzen!
-
Clip both wires to remove defective microphone.
-
Be sure to clip as close to the base of the microphone as possible in order to have enough wire for the new microphone.
-
Align wires with corresponding pads on new microphone and solder in place.
-
For soldering, see the Ifixit soldering guide: Wie man Lötverbindungen herstellt und entlötet
-


Rückgängig: Ich habe diese Anleitung nicht absolviert.
Ein:e weitere:r Nutzer:in hat diese Anleitung absolviert.
Team

Michigan Tech, Team 5-1, Lauer Spring 2014 Mitglied von Michigan Tech, Team 5-1, Lauer Spring 2014
MTU-LAUER-S14S5G1
2 Mitglieder
3 Anleitungen geschrieben