Einleitung
Wieder mal ein tolles aus Japan importiertes GameCube Spiel gekauft, aber deine Konsole kann nur amerikanische Importe abspielen? Dann ist heute dein Glückstag! Hier ist eine simple Anpassung, mit der du zwischen NTSC-U und NTSC-J hin und her schalten kannst.
Was du brauchst
Einführungsvideo
-
-
Drehe den GameCube um, so dass die Unterseite des Gerätes nach oben zeigt.
-
Entferne alle vier Schrauben mit einem 4,5 mm Gamebit Schraubendreher.
-
-
-
Wenn alle vier Schrauben entfernt wurden - das Gerät liegt weiterhin mit der Unterseite nach oben - kann man das Geräteunterteil vorsichtig nach oben ziehen und vom oberen Gehäuseteil trennen. Das Unterteil wird nun mit dem Bauteilinneren nach oben auf einer Unterlage abgelegt.
-
Lege das Unterteil mit der Innenseite nach oben.
This can also be done whilst being in the normal upright position after all 4 of the 4.5mm Gamebit screws have been removed. Pull the top of the shell directly upwards and it should slide off easily.
Less chance of snagging any wires or parts.
-
-
-
Drücke leicht auf die Klammern an den Seiten der Gehäuserückwand.
-
Entferne die Rückwand vorsichtig vom Gehäuse des GameCube.
A second picture clearly showing which direction to pull the back panel away from the unit would be nice.
-
-
-
Bei abgenommener Rückwand können nun vorsichtig die Controller-Ports auf der Vorderseite des Geräts abgesteckt werden.
well... what happens if accidentally i disconnected it?
presumably nothing major. The CMOS battery is attached to the controller ports, so the most i'd expect is that the gamecube loses it's date/time setting. As long as you reset that before jumping into animal crossing or something, you should be fine. I'm currently doing a teardown of my gamecube, and if something does prove to have gone wrong, i'll report back.
sigoshi -
okay, i finished putting it back together. gamecube works fine and surprisingly still remembers what year it is. boots into smash bros and shows memory card contents fine.
sigoshi -
-
-
-
Entferne die zwei PH2-Kreuzschlitzschrauben auf der Rückseite des Steueranschlusses.
-
Trenne nun vorsichtig die graue Gehäuseverkleidung des Steueranschlusses von der Platine.
must do this?
That step is not needed for the laser replacement.
Love ur labeling and legends. Good on ya
Not a necessary step
-
-
-
Auf der linken Seite der Einheit befindet sich der Lüfter inkl. Gehäuse.
-
Entferne nun vorsichtig die zwei Schrauben, die das Lüftergehäuse mit der Einheit verbinden.
Why can't the fan wire be detached?
It can, but you might not want to
-
-
-
-
Entferne die vier Kreuzschlitzschrauben #1, mit denen die Erdungsfedern befestigt sind.
-
Nimm nun vorsichtig die Erdungsfedern heraus.
-
-
-
Das optische Laufwerk ist auf einer Metallplatte befestigt.
-
Entferne nun die zwölf Schrauben, die rund um das optische Laufwerk angebracht sind.
Are these 12 screws the exact same kind like the 2 that were on the fan?
Yes! As far as I can tell anyway. Makes sense, too since opposite the fan you have five of the same holes as well.
-
-
-
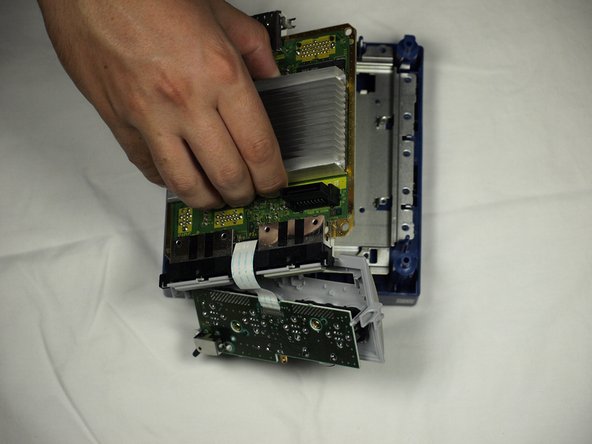
Trenne nun vorsichtig die Laufwerks-Baugruppe von der GameCube Einheit.
-
Die Laufwerks-Baugruppe ist durch eine Nut an der darunterliegenden Hauptplatine befestigt. Möglicherweise braucht man etwas Kraft, um die Baugruppe vorsichtig zu lösen.
-
Die Metallplatte und das eigentliche optische Laufwerk bleiben miteinander verbunden.
-
-
-
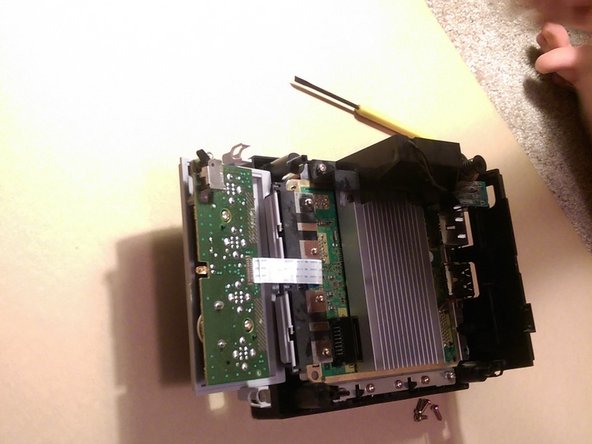
Ohne das optische Laufwerk sollte dein GameCube so aussehen.
-
Entferne die sechs orange markierten Schrauben am Kühlkörper mit einem Kreuzschlitzschraubendreher #1.
-
-
-
Hebe nun vorsichtig das Motherboard, wie im Bild zu sehen, vom Gehäuseboden ab.
-
-
-
Ziehe nun vorsichtig das weiße Flachbandkabel heraus, dass das Motherboard mit der Vorderseite des Gehäuses verbindet.
-
-
-
Finde die R5 und R6 Pads
-
Sie befinden sich rechts der Schraube, welche mittig hinten den Kühlkörper hielt. Bei einem amerikanischen Gerät ist das R5 Pad leer (wie abgebildet), bei einer japanischen Konsole ist das R6 Pad leer.
-
-
-
Löte die Kabel an eine der beiden Seiten des leeren Pad (R5 bei amerikanischen und R6 bei japanischen Konsolen).
-
-
This step is extremely hard. Take your time, and get a super thin tip soldering iron. Do this slow, or you might ruin something.
-
-
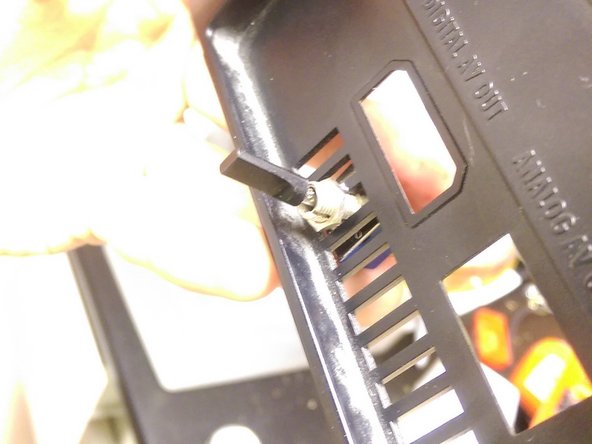
Bringe den Schalter an. In diesem Beispiel wurde eine Rippe der Lüftungsöffnung entfernt, um einen größeren Schalter Platz zu bieten. Stelle sicher, dass der Schalter fest sitzt und Platz im Gehäuse hat.
-
-
-
Löte nun die beiden Seiten des R Pads an den Schalter. Bringe eine Seite an einem der mittleren Pole an und den die andere Seite an den Pol darüber oder darunter.
-
-
-
Baue die Konsole wieder zusammen. Achte darauf, dass die neuen Kabel nicht gequetscht, gelockert oder sogar herausgezogen werden.
-


Um dein Gerät wieder zusammenzubauen, folge der Anleitung in umgekehrter Reihenfolge.
Um dein Gerät wieder zusammenzubauen, folge der Anleitung in umgekehrter Reihenfolge.
Rückgängig: Ich habe diese Anleitung nicht absolviert.
8 weitere Nutzer:innen haben diese Anleitung absolviert.
Besonderer Dank geht an diese Übersetzer:innen:
100%

Diese Übersetzer:innen helfen uns, die Welt zu reparieren! Wie kann ich mithelfen?
Hier starten ›
12 Kommentare
great instructions, it really works but now how do i translate the japanese game (Muscle Champion KINNIKUZIMA NO Kessen
There is no way to translate the game itself unless there’s an English option in the game somewhere.
Hello, is there any way to switch my gamecube's region from Japan to US without Soldering? I want to keep my Gamecube in US mode and have no intention of switching between the two.
Without soldering? Not really, but you don’t need to install a switch to make a permanent jump to NTSC-U (US mode). See the red text note on step 15 about how to avoid making a permanent connection. Hope this helps!
On further inspection it looks to be some sort of thick thermal adhesive, very thick. The gap between the cpu and the heatsink is quite substantial, and cant be made smaller cause of how tall the screw wells are. Replacing with thermal paste seems risky, I don't know how youd get enough without it seeping out over time.
Unless this is actually a thermal pad? Is it possible to re-use?
gatchi -
Would 22 gauge wire and a single pole throw switch work as well?
I used a slider switch for this mod that fits perfectly through the back and vent holes without any modification to the shell. I just glued it in and it works like a charm. Easily accessible and discrete. Here's a link to the specific switch I used. https://www.amazon.com/dp/B07PDHSCDN
ich muss von Europa zur USA wechseln wie geht das??
hi my name is spacer sub to me on youtube at spacer :)
Is there a way to convert to Europe meanign PAL format ? pls help