Einleitung
If your tablet microphone is not working at its best, you can replace it easily using this guide. To do so, you will need to disassemble your tablet and use soldering tools.
Was du brauchst
-
-
Look towards the topside of the tablet, where the power button is located.
-
Insert a plastic opening tool in the crack between the two parts of the case.
-
Move it gently back and forth to open the case.
-
-
-
With the plastic opening tool in the opening between the two sides of the case, slide the tool along the tablet's border to separate the two sides completely.
-
-
-
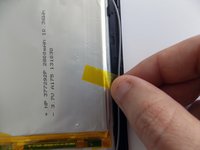
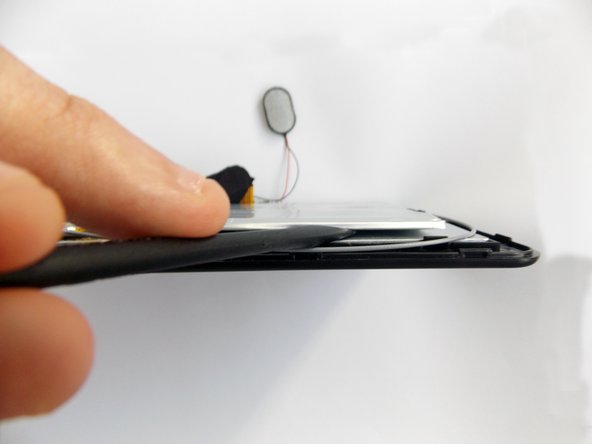
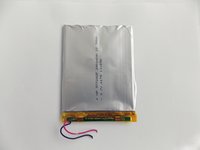
Insert the flat end of the spudger tool in the crack beneath the battery.
-
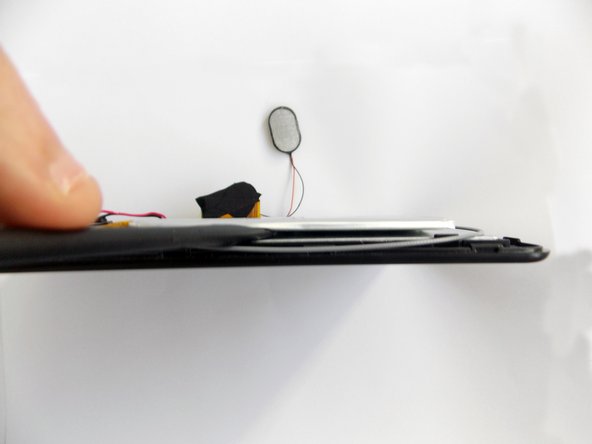
Move the spudger tool carefully side to side to remove the glue that is holding the battery in place.
-
-
-
-
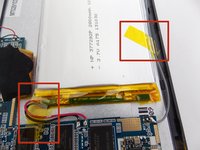
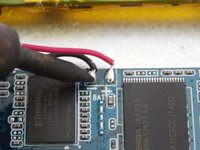
After the battery is unglued, locate the cables that connect it to the motherboard.
-
-
-
Desolder the cables with a soldering iron and use a desoldering braid to remove the solder.
-
-
-
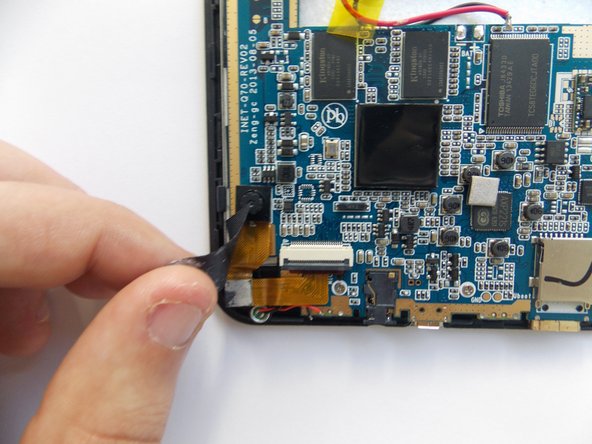
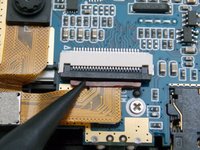
Use the spudger tool to pry upwards the ZIF connector and release the power cable.
-
-
In diesem Schritt verwendetes Werkzeug:Tweezers$4.99
-
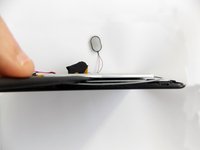
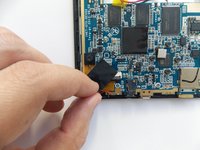
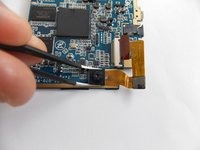
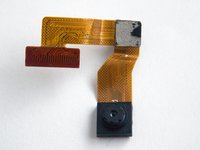
Using tweezers, carefully grab the front camera and twist slowly.
-
-
-
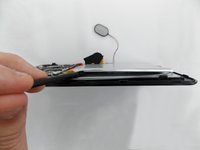
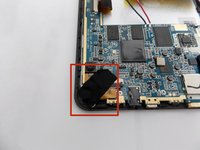
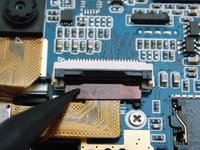
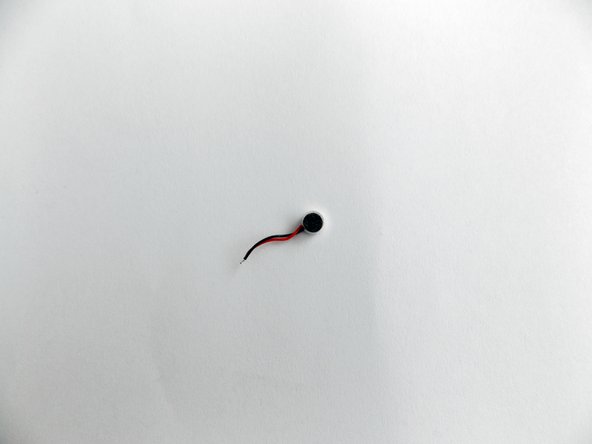
Locate the microphone's cables in front of the cameras' ZIF connector.
-
-
-
Desolder the cables with a soldering iron and use a desoldering braid to remove the solder.
-
-
In diesem Schritt verwendetes Werkzeug:Tweezers$4.99
-
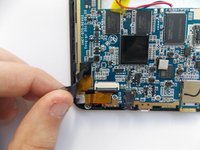
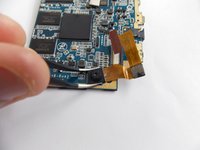
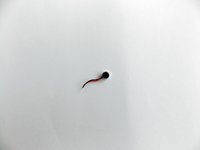
Use the pointy end of the tweezers to retrieve the microphone from its socket.
-


To reassemble your device, follow these instructions in reverse order.
To reassemble your device, follow these instructions in reverse order.
Team

USF Tampa, Team 5-5, Brown Winter 2015 Mitglied von USF Tampa, Team 5-5, Brown Winter 2015
USFT-BROWN-W15S5G5
3 Mitglieder
10 Anleitungen geschrieben