Einleitung
Is your LCD Screen cracked or unresponsive? Use this guide to replace it and get back to taking awesome photos.
We highly suggest you use a magnetic project mat or an organization tray. This camera has many different types of screws and keeping them organized is key to proper reassembly.
Was du brauchst
-
-
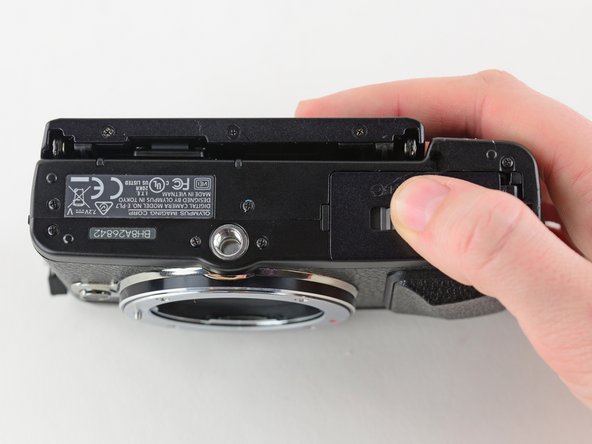
Turn the camera upside down.
-
Push the grey tab to the right to open the battery compartment.
-
Pull out the battery.
-
-
-
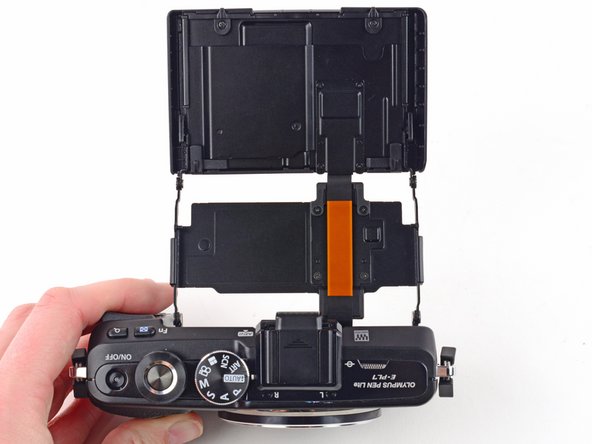
Use a Phillips #00 screwdriver to remove the three 2.3 mm screws from the base of the LCD screen.
-
-
-
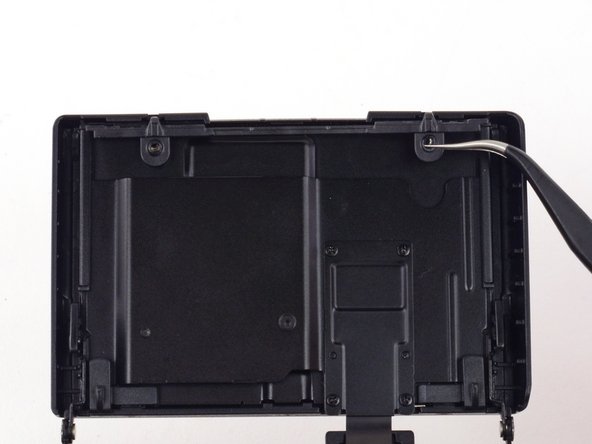
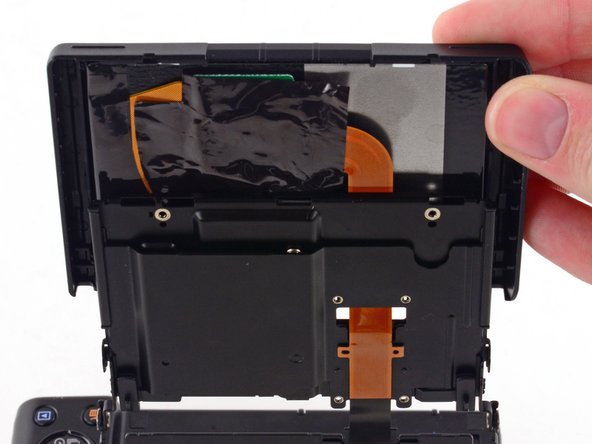
Remove the two 2.2 mm Phillips screws located on the back of the LCD screen.
-
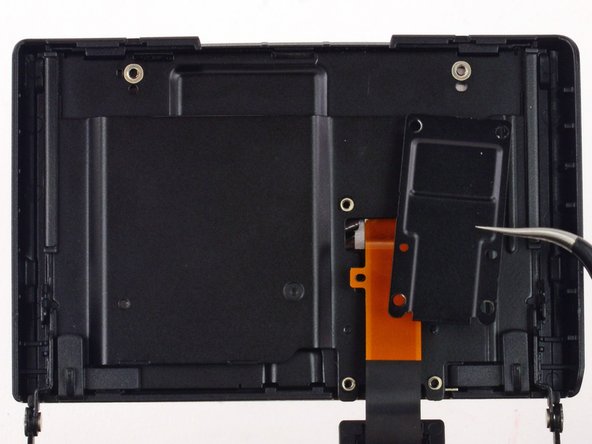
Use tweezers to remove the top LCD bracket.
-
-
-
-
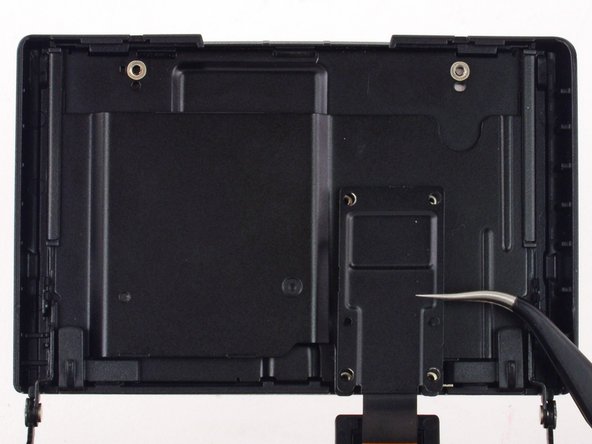
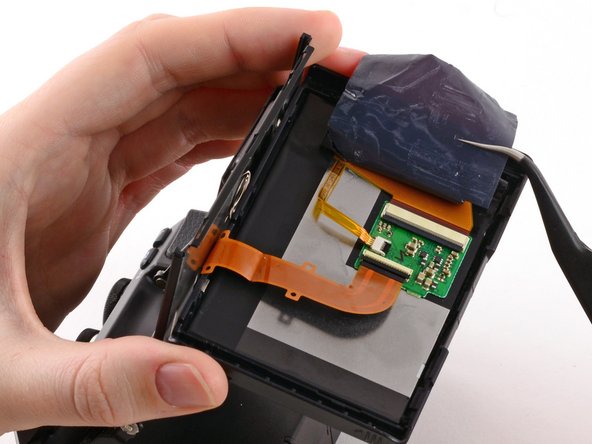
Use a Phillips #00 screwdriver to remove the four 1.4 mm screws from the back of the LCD screen.
-
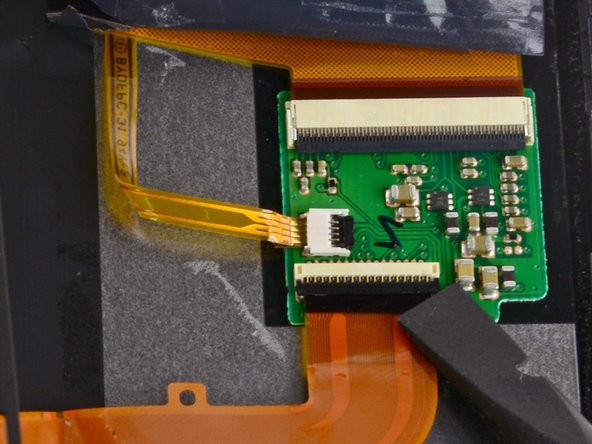
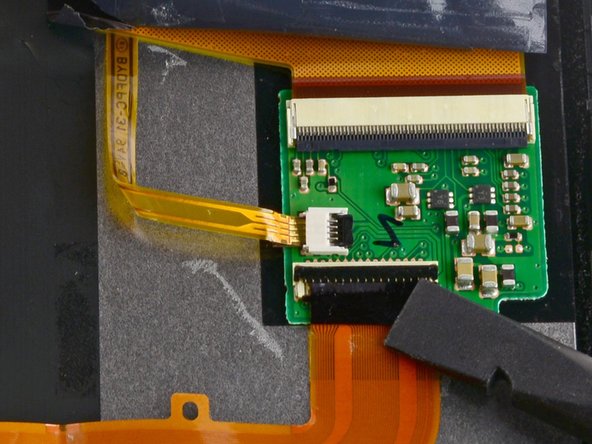
Remove the LCD ribbon cable with a pair of tweezers.
-
To reassemble your device, follow these instructions in reverse order.
To reassemble your device, follow these instructions in reverse order.
Rückgängig: Ich habe diese Anleitung nicht absolviert.
6 weitere Personen haben diese Anleitung absolviert.
7 Kommentare
Magnifico
Great Work!!
Where can I buy a replacement LCD screen?
@josollis: Thanks for the hint! I got the missing info from the E-P5 LCD exchange instructions (on ifixit).
