Einleitung
If your OneLink Safe and Sound won't connect to your phone via Bluetooth it could be due to a malfunctioning Bluetooth module. This guide will walk you through opening the device and removing/replacing the Bluetooth module. The only knowledge needed is identifying the different cables used to connect the top half to the bottom half. Before replacing the Bluetooth module, please refer to the OneLink Safe and Sound Troubleshooting page for other fixes to this problem. Also before removing the OneLink from the ceiling, make sure to turn off power at your buildings junction box. With the right tools you can expect to completely replace the Bluetooth module and restore it to working order.
Was du brauchst
-
-
Run the metal spudger under the plastic rim and around the perimeter, on the top of the device to loosen the adhesive.
-
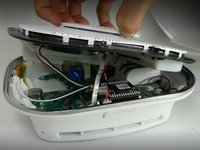
Remove plastic rim.
-
-
-
Use a Phillips #0 screwdriver to remove nine screws from the top of the device.
-
-
In diesem Schritt verwendetes Werkzeug:Tweezers$4.99
-
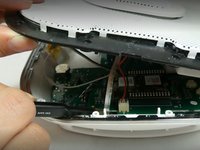
Use tweezers or a spudger to disconnect the ribbon from the motherboard.
-
-
-
Use the plastic opening tool to remove the microphone connection from the motherboard.
-
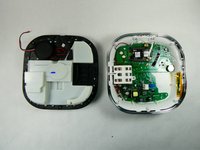
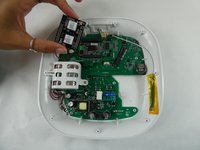
Remove the top of the device.
-
-
-
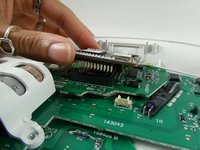
Use the opening tool to disconnect the Wi-Fi cable from the Bluetooth module.
-


To reassemble your device, follow these instructions in reverse order.
Team

UMass Dartmouth, Team 2-2, Petersen Fall 2022 Mitglied von UMass Dartmouth, Team 2-2, Petersen Fall 2022
UMASSD-PETERSEN-F22S2G2
3 Mitglieder
6 Anleitungen geschrieben