Zum Hauptinhalt wechseln

Optical Drive Enclosure Faceplate

Grundständige Anleitung
Dies ist eine grundständige Anleitung, die nur als Teil einer anderen Anleitung verwendet werden sollte.

Was du brauchst

  1. Optical Drive Enclosure Faceplate, Optical Drive Enclosure Faceplate: Schritt 1, Bild 1 von 1
    • Remove the three 3.0 mm Phillips screws from the optical bay enclosure.

  2. Optical Drive Enclosure Faceplate: Schritt 2, Bild 1 von 3 Optical Drive Enclosure Faceplate: Schritt 2, Bild 2 von 3 Optical Drive Enclosure Faceplate: Schritt 2, Bild 3 von 3
    • Starting from the left edge, gently pull open the optical bay enclosure.

    • Continue to pull open the two halves of the enclosure until they separate.

  3. Optical Drive Enclosure Faceplate: Schritt 3, Bild 1 von 1
    • Remove the two 3.0 mm Phillips screws securing the faceplate to the optical bay enclosure.

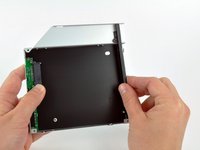
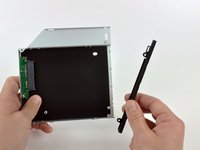
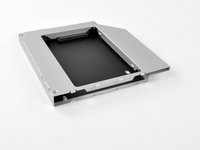
  4. Optical Drive Enclosure Faceplate: Schritt 4, Bild 1 von 3 Optical Drive Enclosure Faceplate: Schritt 4, Bild 2 von 3 Optical Drive Enclosure Faceplate: Schritt 4, Bild 3 von 3
    • Lift the black plastic faceplate out of the optical bay enclosure.

    • You will no longer need the faceplate or the two Phillips screws that held it in place. Set those parts aside if you ever wish to put the faceplate back into the enclosure.

    • Reassemble the optical bay enclosure without the faceplate, reusing the original three 3.0 mm Phillips screws to keep it intact.

Abschluss

To reassemble your device, follow these instructions in reverse order.

Brittany McCrigler

Mitglied seit: 03/05/12

89.011 Reputation

131 Anleitungen geschrieben

Team

iFixit Mitglied von iFixit

Staff

135 Mitglieder

16.732 Anleitungen geschrieben

0 Kommentare

Kommentar hinzufügen

Seitenaufrufe:

Letzte 24 Stunden: 0

Letzte 7 Tage: 0

Letzte 30 Tage: 0

Insgesamt: 724