Was du brauchst
-
-
-
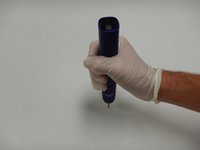
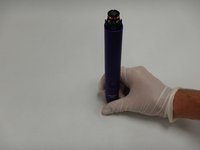
Drehe die Zahnbürste herum und drücke fest auf die Metallspitze, bis das Innere aus dem Gehäuse herauskommt.
-
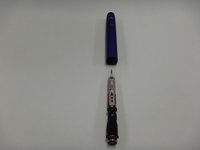
Entferne das Innenteil vom Gerät.
-
-
-
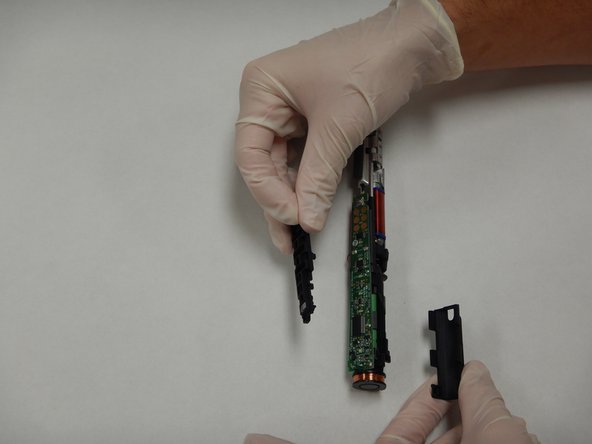
Löse vorsichtig die Kunststoffnasen, mit denen die Platine im oberen Teil befestigt ist.
-
-
-
Nimm einen Lötkolben und entlöte die mit F1, C5, R7, R6 und JP1 markierten Lötstellen.
-
Entferne die Platine.
-


Um dein Gerät wieder zusammenzubauen, folge den Schritten in umgekehrter Reihenfolge.
Um dein Gerät wieder zusammenzubauen, folge den Schritten in umgekehrter Reihenfolge.
Besonderer Dank geht an diese Übersetzer:innen:
100%
VauWeh hilft uns, die Welt in Ordnung zu bringen! Wie kann ich mithelfen?
Hier starten ›

Team

The Citadel Military College of South Carolina, Team S1-G4, Eggleston Fall 2020 Mitglied von The Citadel Military College of South Carolina, Team S1-G4, Eggleston Fall 2020
CMCSC-EGGLESTON-F20S1G4
3 Mitglieder
9 Anleitungen geschrieben