Diese Version enthält möglicherweise inkorrekte Änderungen. Wechsle zur letzten geprüften Version.
Was du brauchst
-
Dieser Schritt ist noch nicht übersetzt. Hilf mit, ihn zu übersetzen!
-
Flip the speaker upside down with the back panel of plugs pointed away from you.
-
-
Dieser Schritt ist noch nicht übersetzt. Hilf mit, ihn zu übersetzen!
-
Use the metal spudger to pry off the rubber bottom cover. It will be glued onto the bottom of the speaker.
-
Work the rubber cover off by slowly going all the way around with the metal spudger, applying as much force as needed.
-
-
Dieser Schritt ist noch nicht übersetzt. Hilf mit, ihn zu übersetzen!
-
Scrape most of the glue away to reveal the five flathead screws - four around the outside, and one in the middle.
-
-
Dieser Schritt ist noch nicht übersetzt. Hilf mit, ihn zu übersetzen!
-
Remove the five 6 mm screws with a Phillips #2 screwdriver.
-
-
-
Dieser Schritt ist noch nicht übersetzt. Hilf mit, ihn zu übersetzen!
-
Lift off the metal plate. It will be surprisingly heavy and it is approximately 1cm thick.
-
-
Dieser Schritt ist noch nicht übersetzt. Hilf mit, ihn zu übersetzen!
-
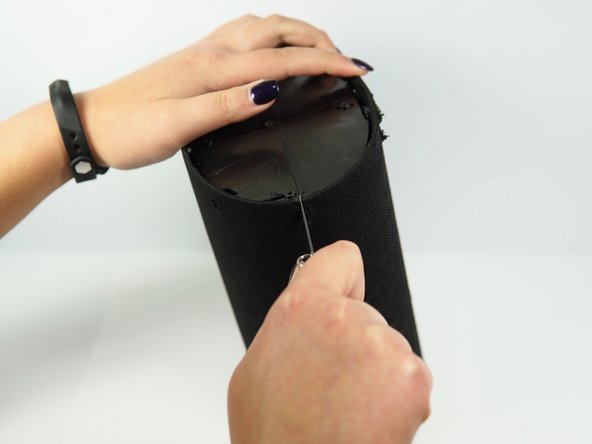
Turn the speaker counter-clockwise 90 degrees.
-
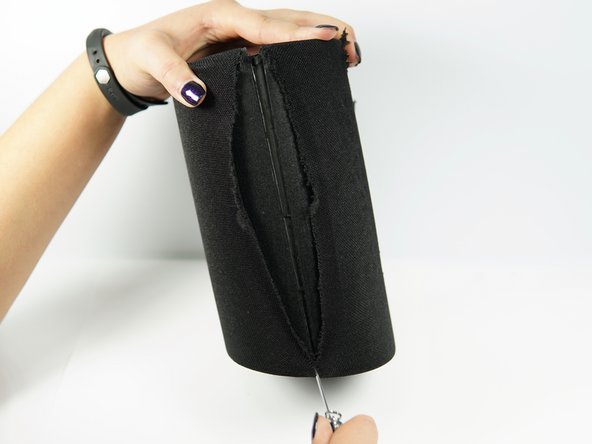
Use a knife to cut along the left seam all the way down the length of the device.
-
-
Dieser Schritt ist noch nicht übersetzt. Hilf mit, ihn zu übersetzen!
-
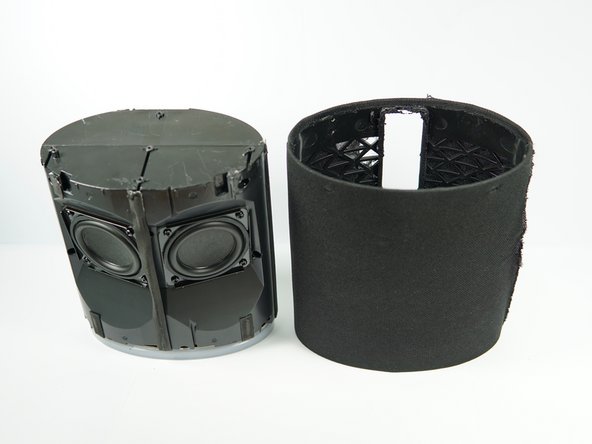
The casing should be easily removed by prying and lifting it off.
-
-
Dieser Schritt ist noch nicht übersetzt. Hilf mit, ihn zu übersetzen!
-
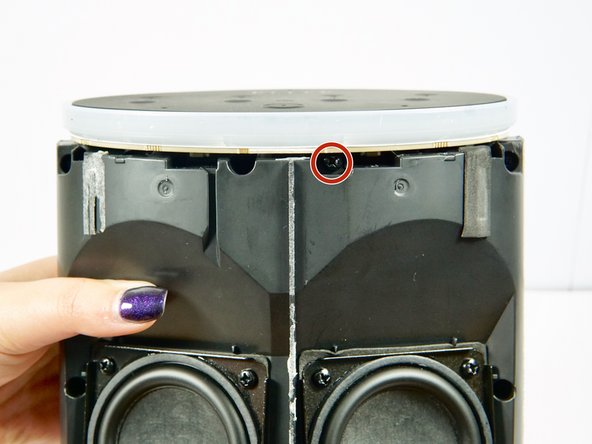
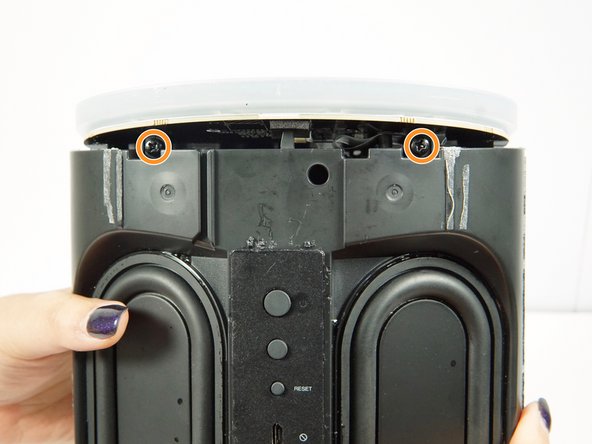
Flip device 180 degrees so the light ring/button panel is on top with the 'Elite' facing you.
-
Remove one 6 mm screw with a Phillips #2 screwdriver.
-
Spin the device so the opposite side is facing you.
-
Remove the two 6 mm screws with a Phillips #2 screwdriver.
-
-
Dieser Schritt ist noch nicht übersetzt. Hilf mit, ihn zu übersetzen!
-
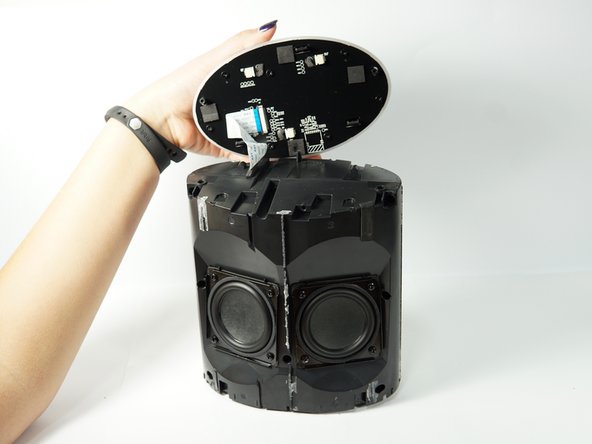
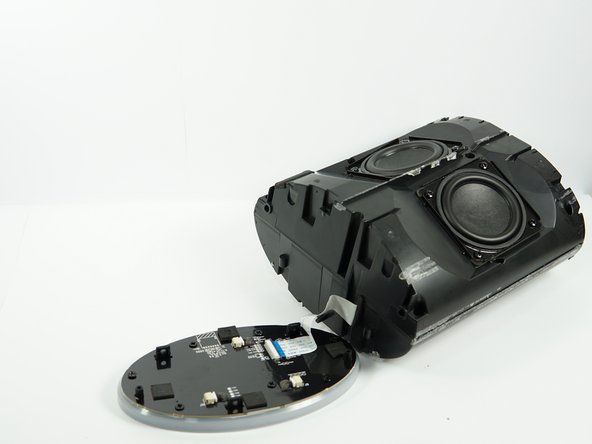
Carefully remove the top panel, light ring, button panel, and the corresponding board.
-
-
Dieser Schritt ist noch nicht übersetzt. Hilf mit, ihn zu übersetzen!
-
Lay the speaker down flat to make it easier to work on.
-
Remove the seven 4 mm screws with a Phillips #2 screwdriver.
-
-
Dieser Schritt ist noch nicht übersetzt. Hilf mit, ihn zu übersetzen!
-
Lift up the panel and remove it from the device.
-
-
Dieser Schritt ist noch nicht übersetzt. Hilf mit, ihn zu übersetzen!
-
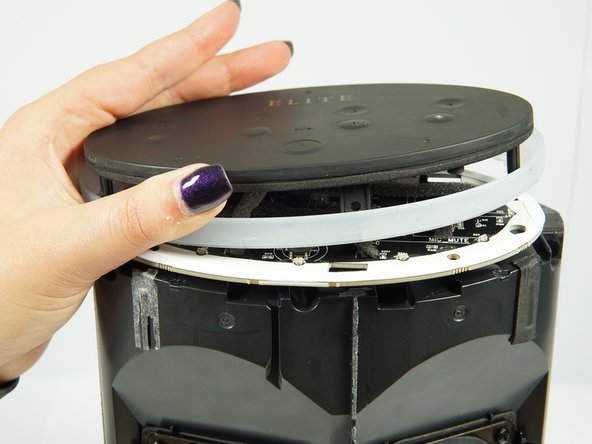
Gently pry the plastic light ring from the circuit board and button panel.
-


Team

Cal Poly, Team S24-G10, Maness Spring 2018 Mitglied von Cal Poly, Team S24-G10, Maness Spring 2018
CPSU-MANESS-S18S24G10
3 Mitglieder
5 Anleitungen geschrieben