Zum Hauptinhalt wechseln
Gemeinsam reparieren - Jetzt registrieren

PowerA Spectra Infinity Enhanced Faceplate Replacement

Was du brauchst

  1. PowerA Spectra Infinity Enhanced Faceplate Replacement, Motherboard: Schritt 1, Bild 1 von 2 PowerA Spectra Infinity Enhanced Faceplate Replacement, Motherboard: Schritt 1, Bild 2 von 2
    • Flip the controller so the back is facing up.

    Frag FixBot
  2. PowerA Spectra Infinity Enhanced Faceplate Replacement: Schritt 2, Bild 1 von 1
    • Remove the eight 10 mm screws from the back of the controller using a Phillips #0 screwdriver.

    Frag FixBot
  3. PowerA Spectra Infinity Enhanced Faceplate Replacement: Schritt 3, Bild 1 von 2 PowerA Spectra Infinity Enhanced Faceplate Replacement: Schritt 3, Bild 2 von 2
    • Unlock the trigger locks before removing the backplate.

    • This will make taking the plate off easier.

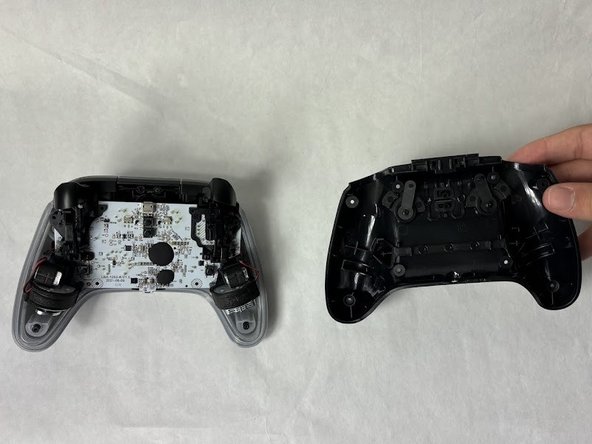
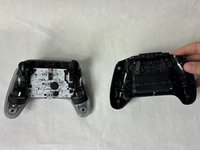
    • Use your fingers and carefully remove the backplate.

    Frag FixBot
  4. PowerA Spectra Infinity Enhanced Faceplate Replacement: Schritt 4, Bild 1 von 1
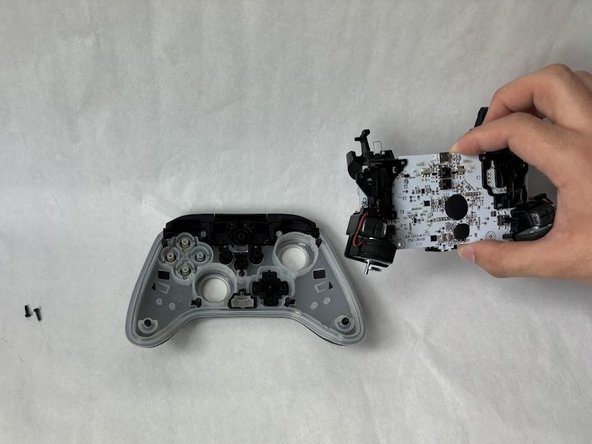
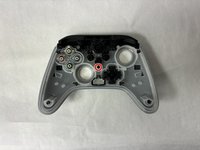
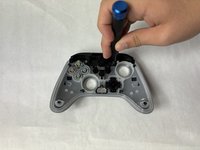
    • Remove the two 10 mm screws connecting the motherboard to the faceplate using a Phillips #0 screwdriver.

    Frag FixBot
  5. PowerA Spectra Infinity Enhanced Faceplate Replacement: Schritt 5, Bild 1 von 2 PowerA Spectra Infinity Enhanced Faceplate Replacement: Schritt 5, Bild 2 von 2
    • Use your hand to separate the motherboard from the face plate.

    Frag FixBot
  6. PowerA Spectra Infinity Enhanced Faceplate Replacement, Faceplate: Schritt 6, Bild 1 von 1
    • Remove the buttons from the face plate (d-pad, action buttons, start/select, etc).

    Frag FixBot
  7. PowerA Spectra Infinity Enhanced Faceplate Replacement: Schritt 7, Bild 1 von 1
    • Remove two 10 mm screws holding the bumper to the faceplate using a Phillips #0 screwdriver.

    Frag FixBot
  8. PowerA Spectra Infinity Enhanced Faceplate Replacement: Schritt 8, Bild 1 von 2 PowerA Spectra Infinity Enhanced Faceplate Replacement: Schritt 8, Bild 2 von 2
    • Remove the single 7.9 mm screw holding the bumpers to the faceplate using a Phillips #0 screwdriver.

    Frag FixBot
  9. PowerA Spectra Infinity Enhanced Faceplate Replacement: Schritt 9, Bild 1 von 1
    • Use your hand to separate the faceplate from the bumpers.

    Frag FixBot
Abschluss

To reassemble your device, follow these instructions in reverse order.

Team

UMass Dartmouth, Team 6-5, Botvin Spring 2024 Mitglied von UMass Dartmouth, Team 6-5, Botvin Spring 2024

UMASSD-BOTVIN-S24S6G5

3 Mitglieder

6 Anleitungen geschrieben

0 Kommentare zur Anleitung

Kommentar hinzufügen

Seitenaufrufe:

Letzte 24 Stunden: 2

Letzte 7 Tage: 6

Letzte 30 Tage: 36

Insgesamt: 602