Einleitung
The motherboard is one of the most important components of the Razer Blade Stealth 2016 (Part # RZ09-01682E20). The motherboard has connectors in which the other circuit boards will be slotted. Essentially, all components lead back to the motherboard. If the motherboard fails, then so can almost every other component in your Razer Blade Stealth 2016. This guide will show you how to remove and replace the motherboard.
Was du brauchst
-
-
Use a Torx (T5) screwdriver to remove the eight 3 mm screws on the back case.
-
Remove the rear cover by prying up lightly starting in one of the corners.
-
-
-
Unplug the battery connector from the motherboard.
-
Remove the battery from the device.
-
-
-
-
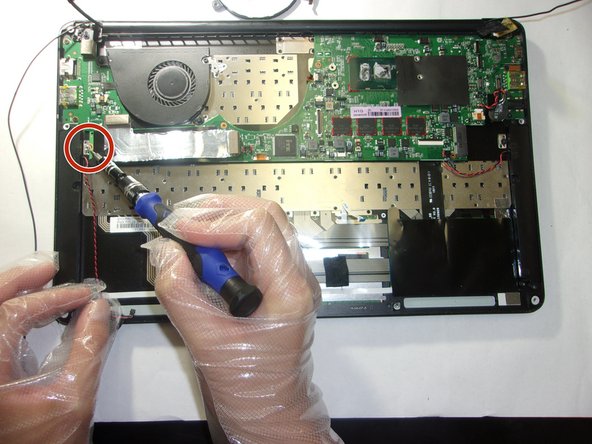
Remove the red and black cables that are attached to the motherboard.
-
-
-
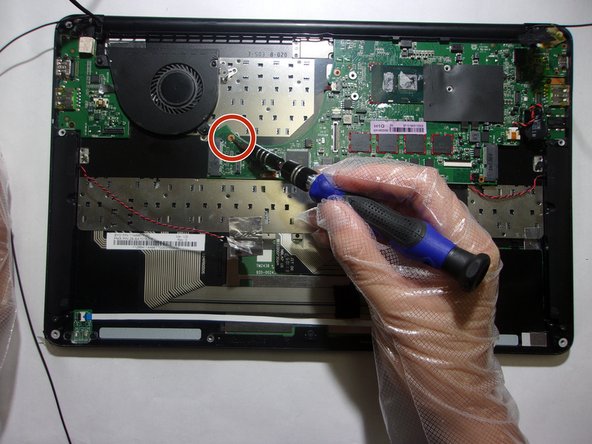
Remove the four 3.4 mm screws around the black square using a T4 Torx screwdriver.
-
Remove the heatsink.
-
-
-
Remove the 3.4 mm screws to the cooling fans using a T4 Torx screwdriver.
-
Remove the cooling fans.
-
-
-
Remove the 3.4 mm screws on the perimeter of the motherboard using a T4 Torx screwdriver.
-


To reassemble your device, follow these instructions in reverse order.
To reassemble your device, follow these instructions in reverse order.
Rückgängig: Ich habe diese Anleitung nicht absolviert.
Eine weitere Person hat diese Anleitung absolviert.
Team

The Citadel Military College of South Carolina, Team 3-19, Eggleston Fall 2021 Mitglied von The Citadel Military College of South Carolina, Team 3-19, Eggleston Fall 2021
CMCSC-EGGLESTON-F21S3G19
3 Mitglieder
3 Anleitungen geschrieben
2 Kommentare
Hi Sadie. It's complicated for me with the battery disconnector, I can't remove it. would you help me with that?
Hi @matiasurani. It looks like the connector is covered by tape so you might have to remove the tape first. The battery is connected to the motherboard by a press connector. Take a look at this guide for how to disconnect it safely. Thanks!