Einleitung
This guide is to help users replace their faulty battery port for the Ridgid GEN5X R8642 saw. For this guide you will need: a soldering iron, a spudger, a T20 Torx Screwdriver, Battery Port for Ridgid GEN5X R8642, and a good attitude.
Was du brauchst
-
-
Remove the plastic tab holding the handle cover in place by prying upward with the spudger until the tab pops off.
-
-
-
-
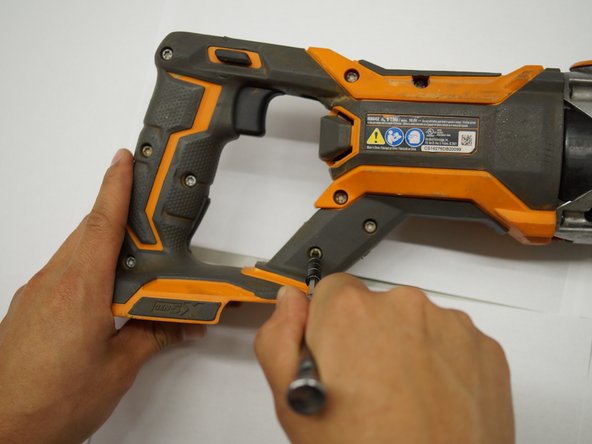
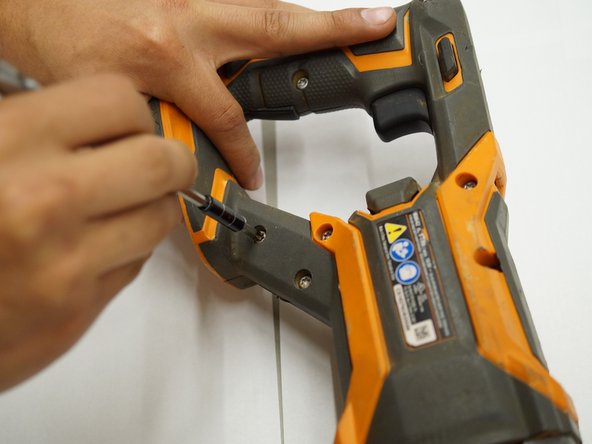
Use a T20 Torx screwdriver to remove the nine M4 X 16mm screws from the plastic housing.
-
-
-
Use a JIS #1 screwdriver to remove the two M4 x 25mm screws on both sides of the metal housing.
-
-
-
Remove one half of the plastic housing using a spudger so that the internal system is exposed.
-
-
-
Remove the plastic wire covers to the red and black connections on the switch assembly.
-
Desolder the connections on both the red and black wire using a soldering iron.
-
Once the solder is removed, pull out the wires with the battery port attached to the wires.
-
To reassemble your device, follow these instructions in reverse order.
To reassemble your device, follow these instructions in reverse order.


