Einleitung
The motor helps run all the functions on the device and so if it is not working properly please view this replacement guide to learn how to replace the motor.
Was du brauchst
-
-
Pull the battery out of the case by hand before opening the device.
-
Using a Torx T10 screwdriver, remove the nine 6mm screws on the drill cover.
-
Lift off the outer casing.
-
-
-
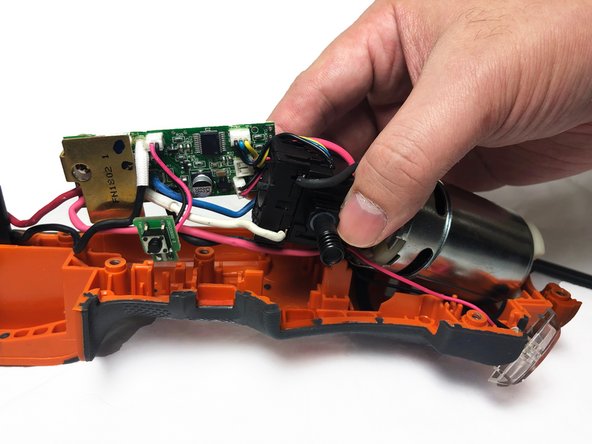
Using a spudger or your fingers, remove the LED light from the groove in the handle.
-
-
-
-
Find the black and red wires from the motor.
-
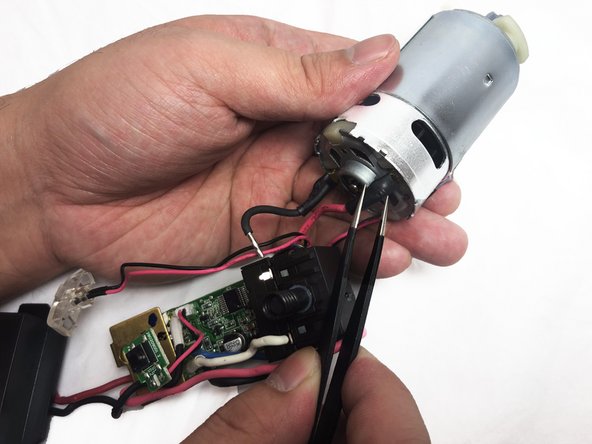
Remove the electrical tape using tweezers.
-
Using a soldering iron, desolder the black and red wires from the motor.
-


To reassemble your device, follow these instructions in reverse order.
To reassemble your device, follow these instructions in reverse order.

Team

UC Davis, Team S20-G1, Lore Winter 2019 Mitglied von UC Davis, Team S20-G1, Lore Winter 2019
UCD-LORE-W19S20G1
3 Mitglieder
8 Anleitungen geschrieben