Einleitung
Soldering is required for some of the steps in this guide. Refer to the iFixit guide on Soldering if you need help learning how to solder. This replacement guide requires dealing with grease, make sure that you are wearing clothes that can get dirty and you are working on a surface that can get dirty.
Was du brauchst
-
-
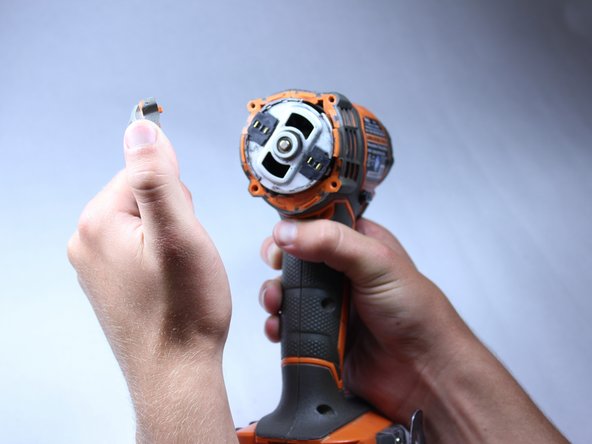
Use the flat side of a metal spudger to peel the black rubber cover off of the casing.
-
-
-
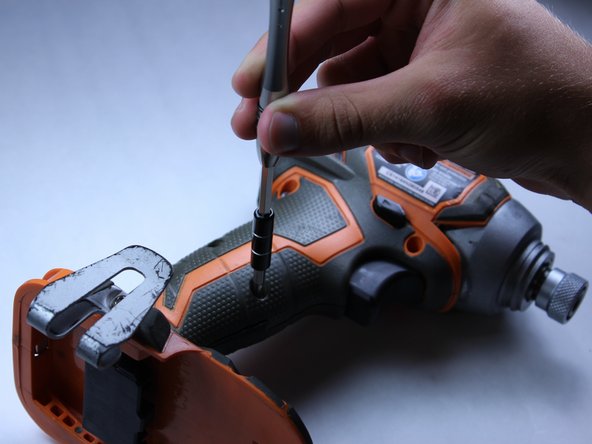
Unscrew the four 16 mm long screws from the back panel with a T10 Torx Screwdriver.
-
Use a firm grip to peel off the back panel. It is sealed tight and requires a good amount of force to remove.
-
-
-
-
Pry apart the two halves of the housing at the back side of the driver using the metal spudger.
-
-
-
Pull out all electrical components from housing by hand.
-
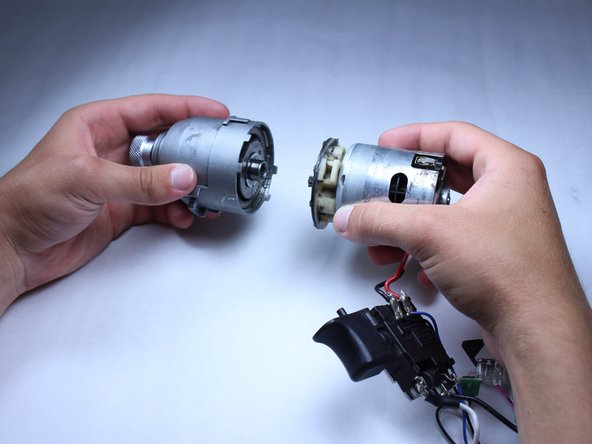
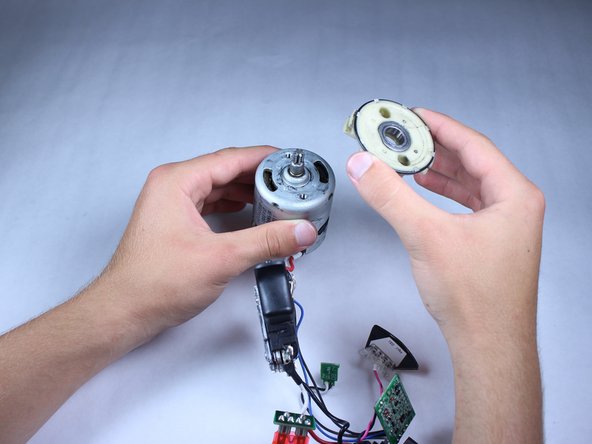
Lift out the motor.
-
Follow the wires.
-
-
-
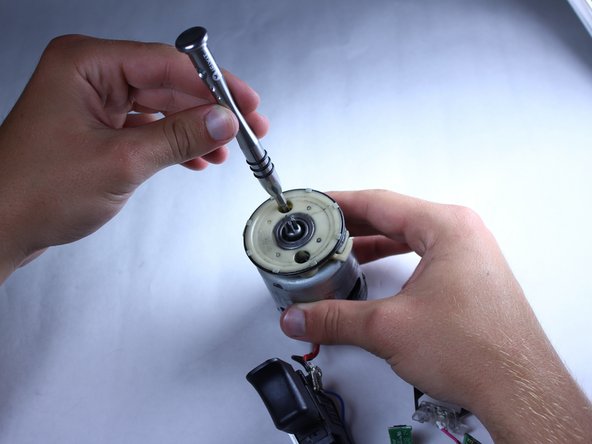
Remove the two 14 mm long PH1 screws that connect the plastic object to the motor assembly.
-
-
-
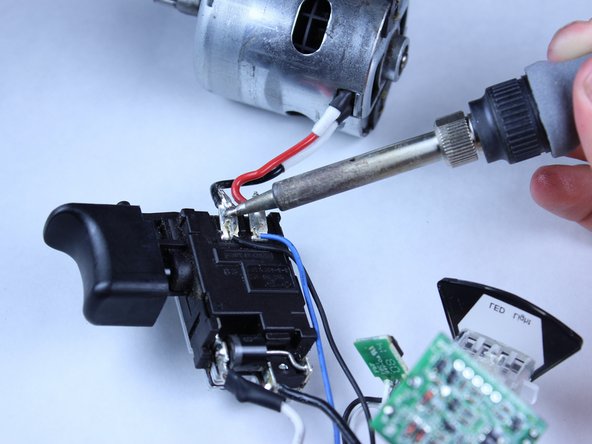
Desolder and remove the red and black wires connecting the trigger assembly and the motor.
-


To reassemble your device, follow these instructions in reverse order.
To reassemble your device, follow these instructions in reverse order.
Rückgängig: Ich habe diese Anleitung nicht absolviert.
2 weitere Personen haben diese Anleitung absolviert.

Team

Cal Poly, Team 15-5, Amido Spring 2015 Mitglied von Cal Poly, Team 15-5, Amido Spring 2015
CPSU-AMIDO-S15S15G5
4 Mitglieder
12 Anleitungen geschrieben