Diese Version enthält möglicherweise inkorrekte Änderungen. Wechsle zur letzten geprüften Version.
Was du brauchst
-
Dieser Schritt ist noch nicht übersetzt. Hilf mit, ihn zu übersetzen!
-
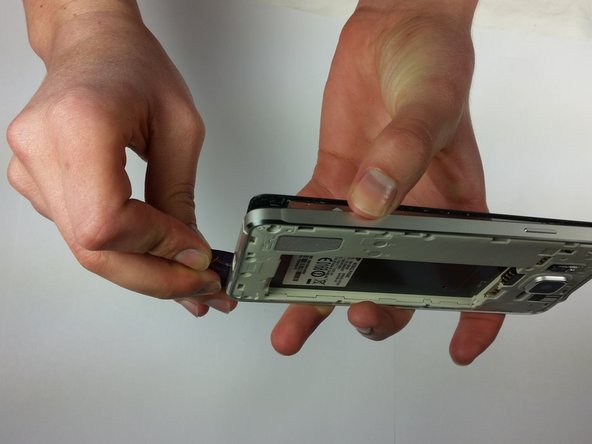
On the back panel of the phone, find the slot that is on the top left side next to the flashlight.
-
Insert your fingernail or prying tool into the slot and lift up to slightly open the top left corner of the back panel.
-
Slide your fingernail or prying tool around the outer edge of the back panel to fully release it from the phone.
-
-
Dieser Schritt ist noch nicht übersetzt. Hilf mit, ihn zu übersetzen!
-
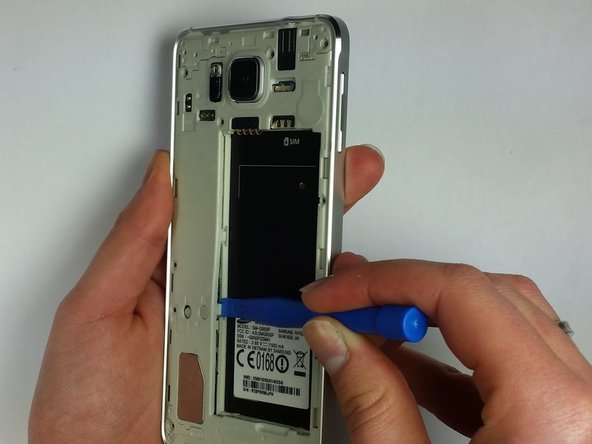
Locate the slot at the base of the battery and insert your thumb.
-
Push slightly toward the battery and out, away from the phone to free the battery.
-
-
Dieser Schritt ist noch nicht übersetzt. Hilf mit, ihn zu übersetzen!
-
To remove the back panel of the device, first find the slot next to the flashlight. Then insert your fingernail or prying tool into the slot and lift gently, around the perimeter, to fully remove the panel.
-
-
Dieser Schritt ist noch nicht übersetzt. Hilf mit, ihn zu übersetzen!
-
Locate slot at the base of the battery and insert your thumb.
-
Push up/toward the battery while lifting up and away to release from slot.
-
-
Dieser Schritt ist noch nicht übersetzt. Hilf mit, ihn zu übersetzen!
-
Use a JIS #000 screwdriver to remove all twelve 3mm screws that surround the back of the phone.
-
-
-
Dieser Schritt ist noch nicht übersetzt. Hilf mit, ihn zu übersetzen!
-
Heat your iOpener in the microwave for 30 seconds.
-
Place the iOpener on the front screen. Move the iOpener so all parts of the screen are heated evenly.
-
After multiple heating cycles, proceed to next step.
-
-
Dieser Schritt ist noch nicht übersetzt. Hilf mit, ihn zu übersetzen!
-
Slide opening pick around perimeter of the glass. Make sure not to push edge too far under the screen.
-
-
Dieser Schritt ist noch nicht übersetzt. Hilf mit, ihn zu übersetzen!
-
Gently pry the screen up and lift off.
-
-
Dieser Schritt ist noch nicht übersetzt. Hilf mit, ihn zu übersetzen!
-
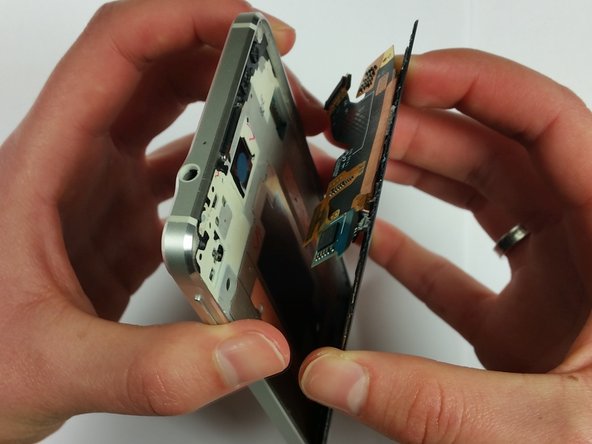
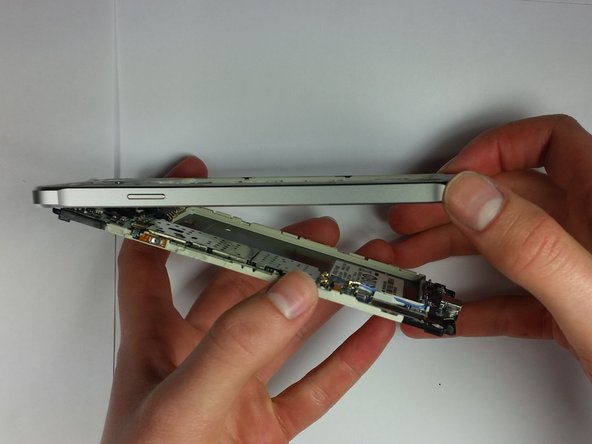
Find the plastic clips on the side of the battery slot.
-
Using a Plastic Opening Tool, release the clips by pulling up inside the crevasse in the plastic walls and separate the two pieces.
-
-
Dieser Schritt ist noch nicht übersetzt. Hilf mit, ihn zu übersetzen!
-
Using the Phillips #00 screwdriver remove the two 3mm screws.
-
-
Dieser Schritt ist noch nicht übersetzt. Hilf mit, ihn zu übersetzen!
-
Using your fingers or a Metal Tweezer, apply slight pressure and pry up each of the four pin connectors shown in the picture.
-
-
Dieser Schritt ist noch nicht übersetzt. Hilf mit, ihn zu übersetzen!
-
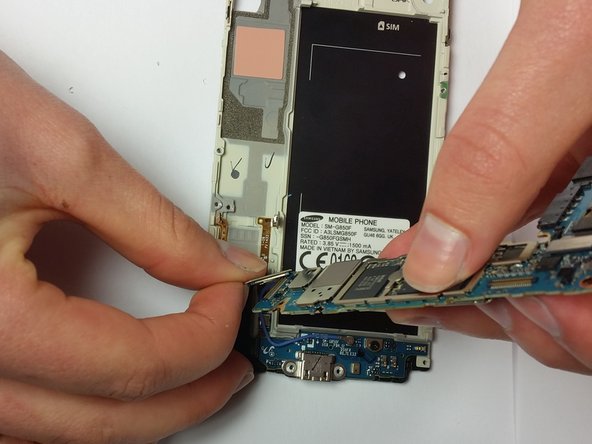
Finally, remove the last connector that is attached by a blue cable.
-
-
Dieser Schritt ist noch nicht übersetzt. Hilf mit, ihn zu übersetzen!
-
Find the end of the blue piece shown in the picture and gently lift the top of the part away from the casing.
-
-
Dieser Schritt ist noch nicht übersetzt. Hilf mit, ihn zu übersetzen!
-
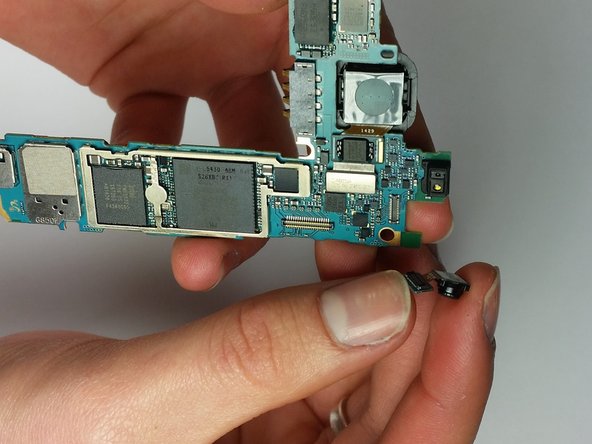
Locate the small camera on the upper part of the piece.
-
Using a tool or your finger, apply slight pressure to pop the front camera out of place.
-


Rückgängig: Ich habe diese Anleitung nicht absolviert.
6 weitere Nutzer:innen haben diese Anleitung absolviert.
Team

Cal Poly, Team 20-17, Maness Winter 2015 Mitglied von Cal Poly, Team 20-17, Maness Winter 2015
CPSU-MANESS-W15S20G17
4 Mitglieder
5 Anleitungen geschrieben