Einleitung
This guide shall detail and illustrate how to replace the charging port and headphone jack for a Samsung Galaxy Y in the situation of either part not working.
Was du brauchst
-
-
Use the blue plastic opening tool to pry the back-panel off of the device.
-
-
-
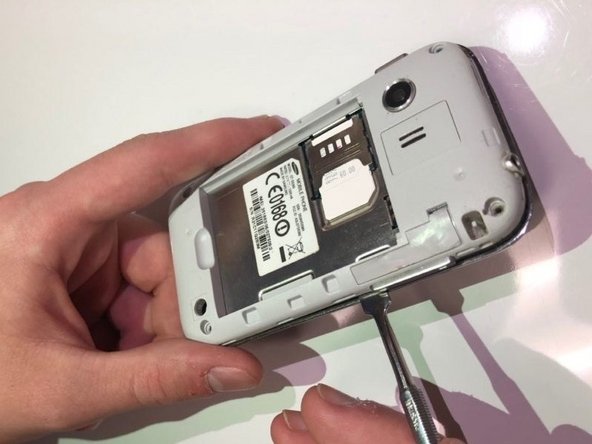
Use the screwdriver with a PH000 screwdriver head to remove the four 5mm screws located in the corner of the interior back panel.
-
Remove the SD card as well by sliding the card out of it's slot.
-
-
-
-
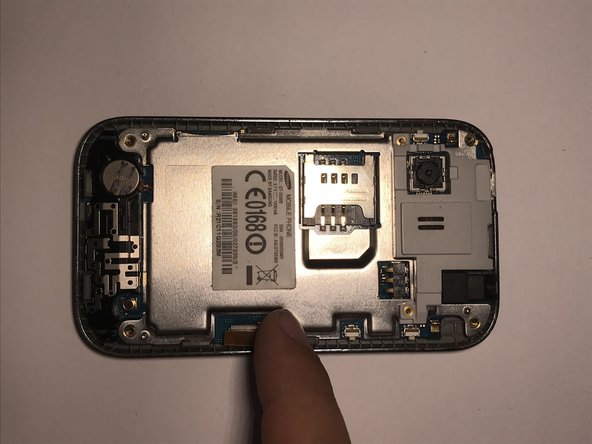
Use metal pry tool to separate the interior back panel from the interior hardware and screen.
-
-
-
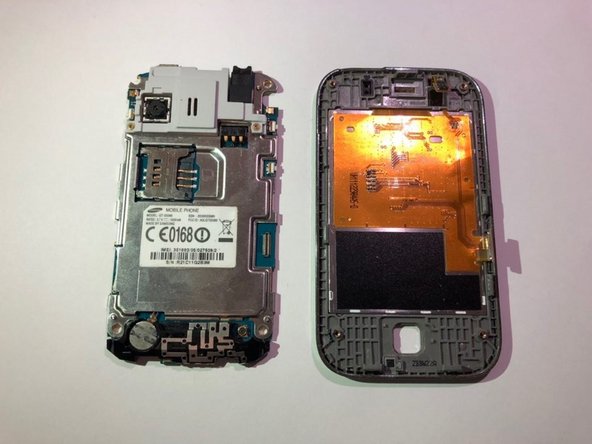
Disconnect the orange motherboard connection, then remove interior hardware from the front screen display.
-
-
-
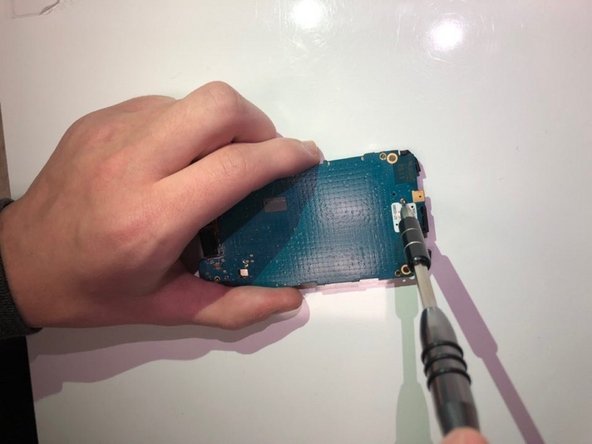
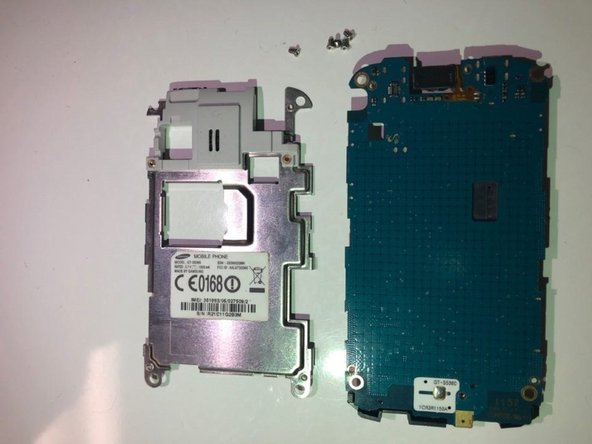
Use a Phillips #000 screwdriver to remove the five 2mm screws located in the corner of the silver protective panel.
-
If the motherboard is cracked or damaged, then replace with a new one.
-
-
-
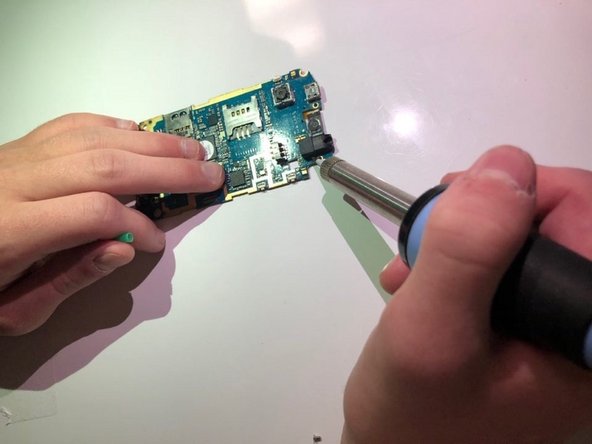
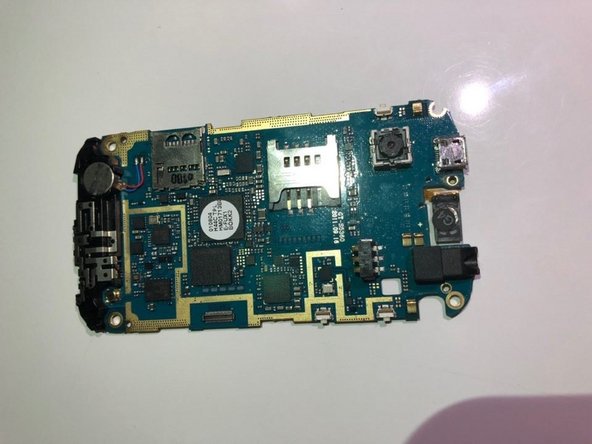
Desolder the charging port and headphone jack connections.
-
Wait until the metal cools down to pull the pieces off.
-


To reassemble your device, follow these instructions in reverse order.
To reassemble your device, follow these instructions in reverse order.
Rückgängig: Ich habe diese Anleitung nicht absolviert.
Eine weitere Person hat diese Anleitung absolviert.
Team

University of North Texas, Team S5-G4, Thompson Fall 2018 Mitglied von University of North Texas, Team S5-G4, Thompson Fall 2018
UNT-THOMPSON-F18S5G4
4 Mitglieder
6 Anleitungen geschrieben