Einleitung
This repair guide will demonstrate how to properly replace your Main Motherboard on your device. By doing so, you can crucially extend the lifespan of your device. In addition, you will also experience much faster response time from your device.
Was du brauchst
-
-
Place the device on a flat surface, upside down, so the bottom of the screen would be facing upwards.
-
Remove the ten 3.5mm Phillips #0 screws from the back plate.
-
-
-
-
Adjust the rubber holders that are keeping the USB cable still on the motherboard, so you can remove the cable entirely from the inner compartment.
-
-
-
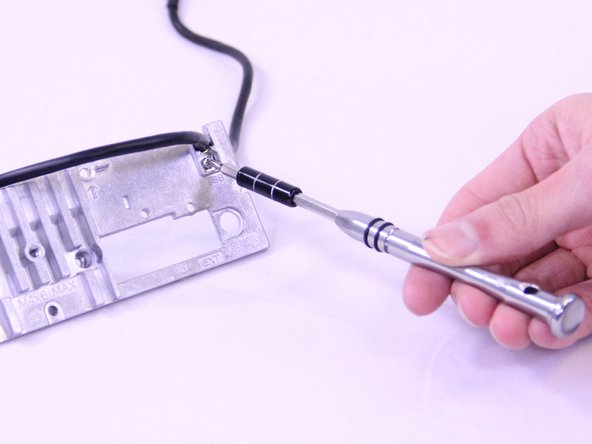
Remove the 3.5mm Phillip #0 screw that secures the USB cable to the back panel.
-
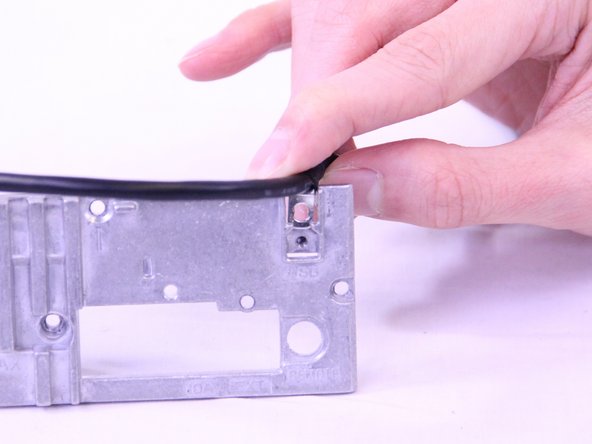
Pull the USB cable off of the back plate.
-
-
-
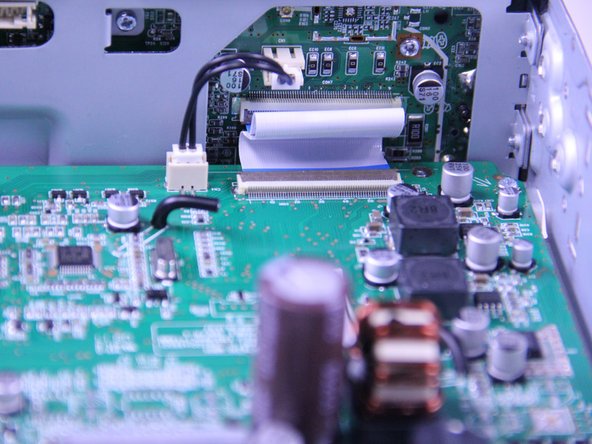
Disconnect the display power cable from the motherboard.
-
Use a spudger to flip up the retaining flap on the display ribbon cable ZIF socket.
-
-
-
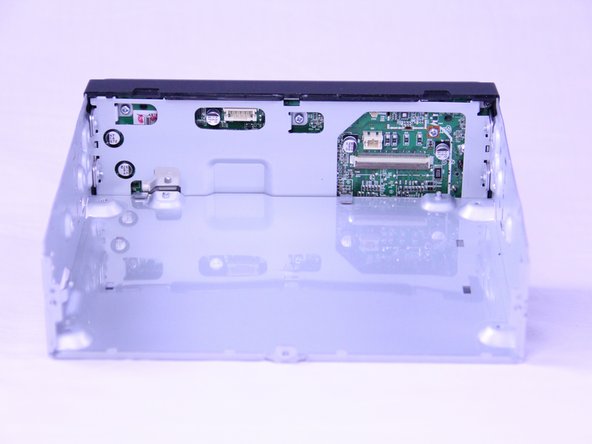
Unscrew the four 3.5mm Phillips #0 screws from the motherboard.
-
Use a spudger to gently lift the motherboard up and out of the radio.
-


To reassemble your device, follow these instructions in reverse order.
To reassemble your device, follow these instructions in reverse order.
Team

USF Tampa, Team S1-G5, Cagle Spring 2018 Mitglied von USF Tampa, Team S1-G5, Cagle Spring 2018
USFT-CAGLE-S18S1G5
2 Mitglieder
5 Anleitungen geschrieben