Zum Hauptinhalt wechseln

Tagital T7X Speaker Replacement

Was du brauchst

  1. Tagital T7X Speaker Replacement, Case: Schritt 1, Bild 1 von 3 Tagital T7X Speaker Replacement, Case: Schritt 1, Bild 2 von 3 Tagital T7X Speaker Replacement, Case: Schritt 1, Bild 3 von 3
    • Place the Tagital T7X on a sturdy surface.

    • Insert the plastic opening tool into the crack and pry open the tablet. Move the tool along the edge, while continuing to pry up the casing.

  2. Tagital T7X Speaker Replacement, Speaker: Schritt 2, Bild 1 von 3 Tagital T7X Speaker Replacement, Speaker: Schritt 2, Bild 2 von 3 Tagital T7X Speaker Replacement, Speaker: Schritt 2, Bild 3 von 3
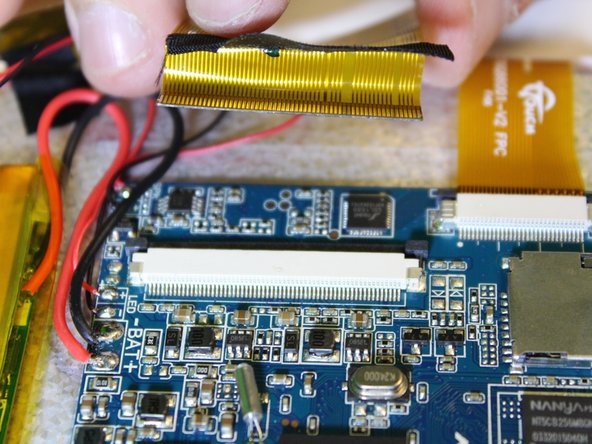
    • Remove the ribbon cable on the top left corner of the mother board.

    • Gently lift the black tape up to see the ribbon cable socket.

  3. Tagital T7X Speaker Replacement: Schritt 3, Bild 1 von 3 Tagital T7X Speaker Replacement: Schritt 3, Bild 2 von 3 Tagital T7X Speaker Replacement: Schritt 3, Bild 3 von 3
    • Push both side buttons away from the socket by using a spudger.

  4. Tagital T7X Speaker Replacement: Schritt 4, Bild 1 von 2 Tagital T7X Speaker Replacement: Schritt 4, Bild 2 von 2
    • Gently pull the ribbon cable away from the socket.

    • Don't be afraid to use some force for this step.

  5. Tagital T7X Speaker Replacement: Schritt 5, Bild 1 von 2 Tagital T7X Speaker Replacement: Schritt 5, Bild 2 von 2
    • The soldering iron can destroy components on the motherboard. Only touch the soldering iron to the solder already on the board.

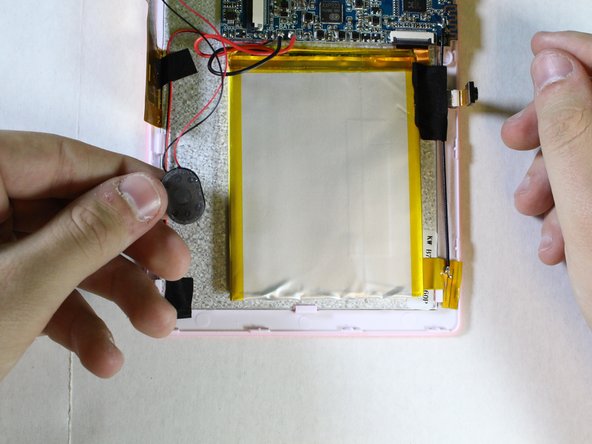
    • Touch the tip of the soldering iron to the solder connecting the positive (red) wire.

    • Pull back on the wire with the iron in place, removing it from the hot solder.

    • Repeat this step for the negative wire.

    • The solder will be melted almost instantly. There is no need to hold the iron on the solder for than a second or two. Visit IFixit's soldering guide for more info.

  6. Tagital T7X Speaker Replacement: Schritt 6, Bild 1 von 2 Tagital T7X Speaker Replacement: Schritt 6, Bild 2 von 2
    • Remove the speaker from the motherboard.

Abschluss

To reassemble your device, follow these instructions in reverse order.

Ein:e weitere:r Nutzer:in hat diese Anleitung absolviert.

Hanlong Chen

Mitglied seit: 02/10/16

265 Reputation

2 Anleitungen geschrieben

Team

USF Tampa, Team 2-1, Sullivan Spring 2016 Mitglied von USF Tampa, Team 2-1, Sullivan Spring 2016

USFT-SULLIVAN-S16S2G1

4 Mitglieder

12 Anleitungen geschrieben

0 Kommentare

Kommentar hinzufügen

Seitenaufrufe:

Letzte 24 Stunden: 0

Letzte 7 Tage: 0

Letzte 30 Tage: 0

Insgesamt: 202