Diese Version enthält möglicherweise inkorrekte Änderungen. Wechsle zur letzten geprüften Version.
Was du brauchst
-
Dieser Schritt ist noch nicht übersetzt. Hilf mit, ihn zu übersetzen!
-
Remove the 2 rubber foot pads from the bottom (opposite the hinge) with the small Plastic Opening tool.
-
-
Dieser Schritt ist noch nicht übersetzt. Hilf mit, ihn zu übersetzen!
-
Remove the 10 7.1 mm screws using Phillips #1 screwdriver.
-
-
Dieser Schritt ist noch nicht übersetzt. Hilf mit, ihn zu übersetzen!
-
Loosen the back cover by using a plastic opening tool all the way around the device.
-
-
Dieser Schritt ist noch nicht übersetzt. Hilf mit, ihn zu übersetzen!
-
Remove the back cover by gently lifting up on one side of the device.
-
-
Dieser Schritt ist noch nicht übersetzt. Hilf mit, ihn zu übersetzen!
-
Remove the tape holding the speaker wire to the battery on both sides using a small opening tool.
-
-
Dieser Schritt ist noch nicht übersetzt. Hilf mit, ihn zu übersetzen!
-
Remove the 4 Phillips 3.2 mm screws holding the battery in place, with the Phillips #1 screwdriver.
-
-
-
Dieser Schritt ist noch nicht übersetzt. Hilf mit, ihn zu übersetzen!
-
To disconnect the wire from the mother board, gently press down with the flat end of Spudger and pull on the wire.
-
-
Dieser Schritt ist noch nicht übersetzt. Hilf mit, ihn zu übersetzen!
-
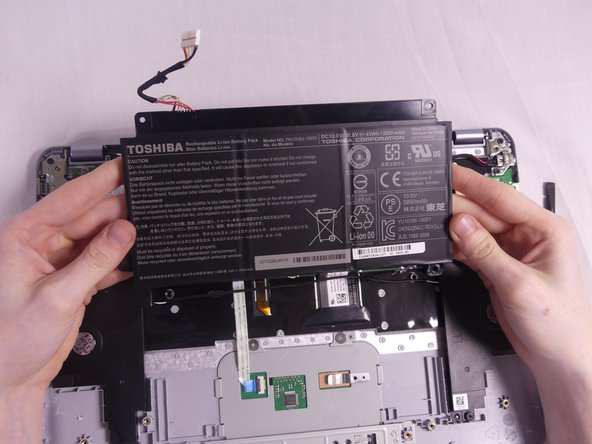
Remove the battery by gently pulling on the bottom corners.
-
-
Dieser Schritt ist noch nicht übersetzt. Hilf mit, ihn zu übersetzen!
-
Unscrew the 4 Phillip screws using a Phillips # 1 Screwdriver.
-
-
Dieser Schritt ist noch nicht übersetzt. Hilf mit, ihn zu übersetzen!
-
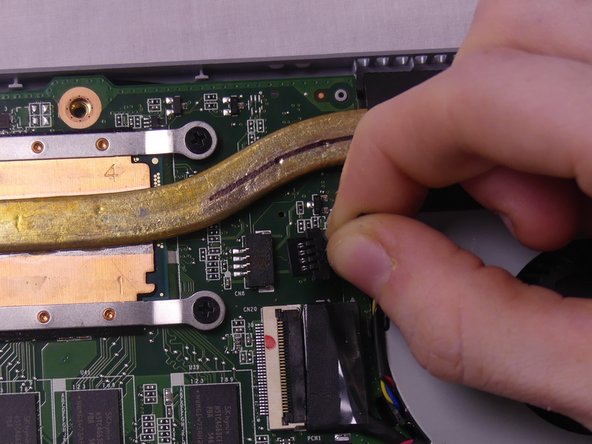
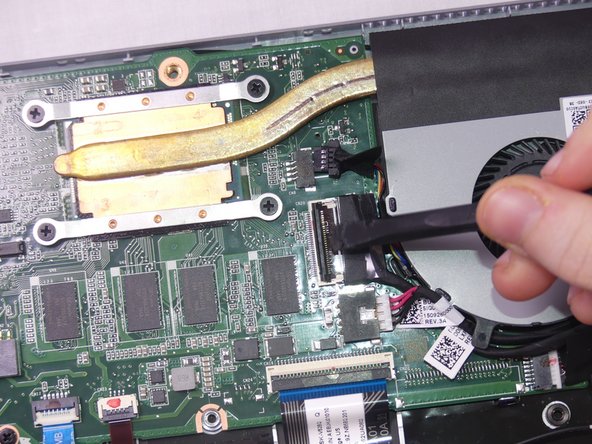
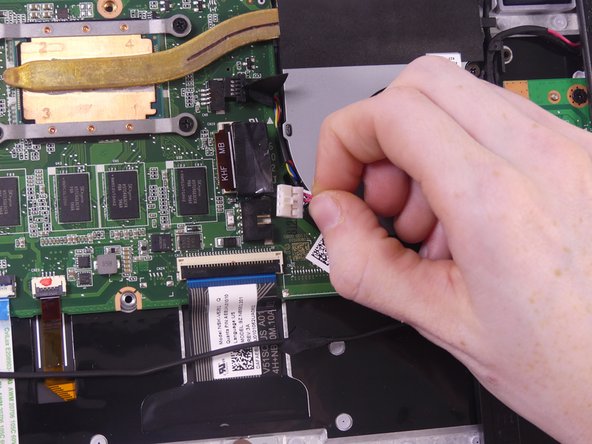
The top wire is the fan's wire. Remove it by pulling it from the motherboard.
-
-
Dieser Schritt ist noch nicht übersetzt. Hilf mit, ihn zu übersetzen!
-
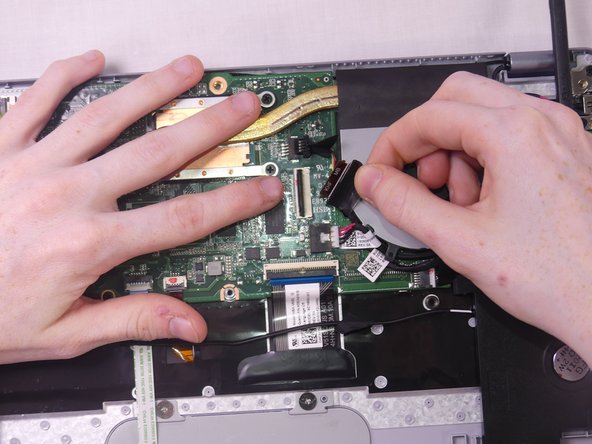
To remove the Wifi PCB wire lift up the hinged flap with your finger or with the aid of the spudger tool.
-
After the flap is lifted, pull the wire up out of the connector socket.
-
-
Dieser Schritt ist noch nicht übersetzt. Hilf mit, ihn zu übersetzen!
-
Remove the headphone jack wire by pulling it out of the connector socket.
-
-
Dieser Schritt ist noch nicht übersetzt. Hilf mit, ihn zu übersetzen!
-
Remove the Phillip 3.6 mm screw from the fan using a Phillips #1 screwdriver.
-
-
Dieser Schritt ist noch nicht übersetzt. Hilf mit, ihn zu übersetzen!
-
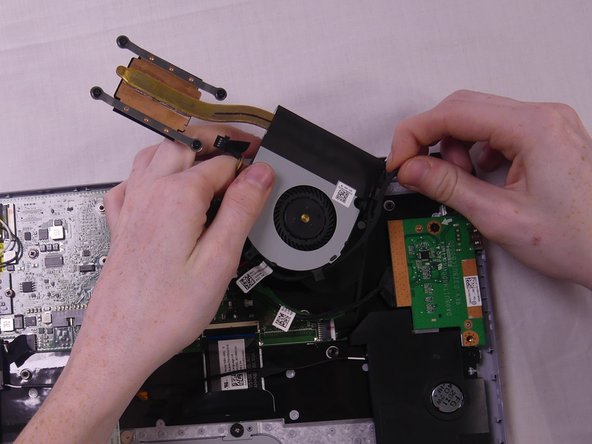
Lift up on the metal plate that hold the screws to start removing the fan.
-
-
Dieser Schritt ist noch nicht übersetzt. Hilf mit, ihn zu übersetzen!
-
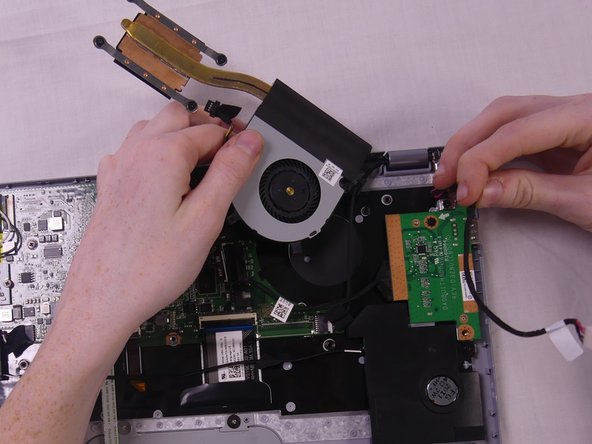
Once lifted, you will notice that there are two wires tucked under plastic tunnels on the right side of the fan. Remove these wires.
-
Once the wires are removed the fan should be removed entirely.
-


Rückgängig: Ich habe diese Anleitung nicht absolviert.
3 weitere Nutzer:innen haben diese Anleitung absolviert.
Team

USF Tampa, Team S1-G121, Cagle Fall 2017 Mitglied von USF Tampa, Team S1-G121, Cagle Fall 2017
USFT-CAGLE-F17S1G121
3 Mitglieder
14 Anleitungen geschrieben
4 Kommentare
Where do you purchase a replacement fan?
I was able to replace my fan without removing the battery (skip steps 5-8). Also able to skip steps 12 (Wifi PCB wire) and 13 (headphone jack wire) by carefully moving those wires out of the way while removing the fan. Note that when removing the heat sink, the the old thermal paste should be cleaned off and new paste applied (it may come on the new heat sink). The fan I bought on eBay was a C30 model with different heat sink, but I was able to swap the old heat sink onto the new fan. Final note when reassembling - the rubber footpads are NOT interchangeable. One has a small round hole and the other has a short slot.